Cleaning Knits at Home Using Eucalan

It happened.  We finally broke 90 degrees.  I know Oklahoma's summer was particularly short this year (jump for joy), but to be honest, I LIVE for the milder seasons of fall and spring.  Crisp evenings with a hint of chiminea smoke in the air?  Of course!  Long sleeves and scarves and pumpkin everything?  I'll take it! One of my favorite parts about fall is the wardrobe changes and the shift from wearing as little as possible without looking indecent (ahem), to carefully selecting the layers - texture upon texture, solids with patterns - warm and cozy all the way.

In preparation for this exciting time of year, I recently brought out my sweaters to start getting them ready for wear.  Woolens don't typically need as much cleaning as other types of garments, but they are also a little more finicky than your every day cotton top or pair of jeans.  So for the most part, I err to my laundry motto:  "When in doubt, DRY CLEAN".  However, when one has as many sweaters as I do (which is a lot), this can quickly add up to a costly visit.  Clearly, some alternatives are needed.


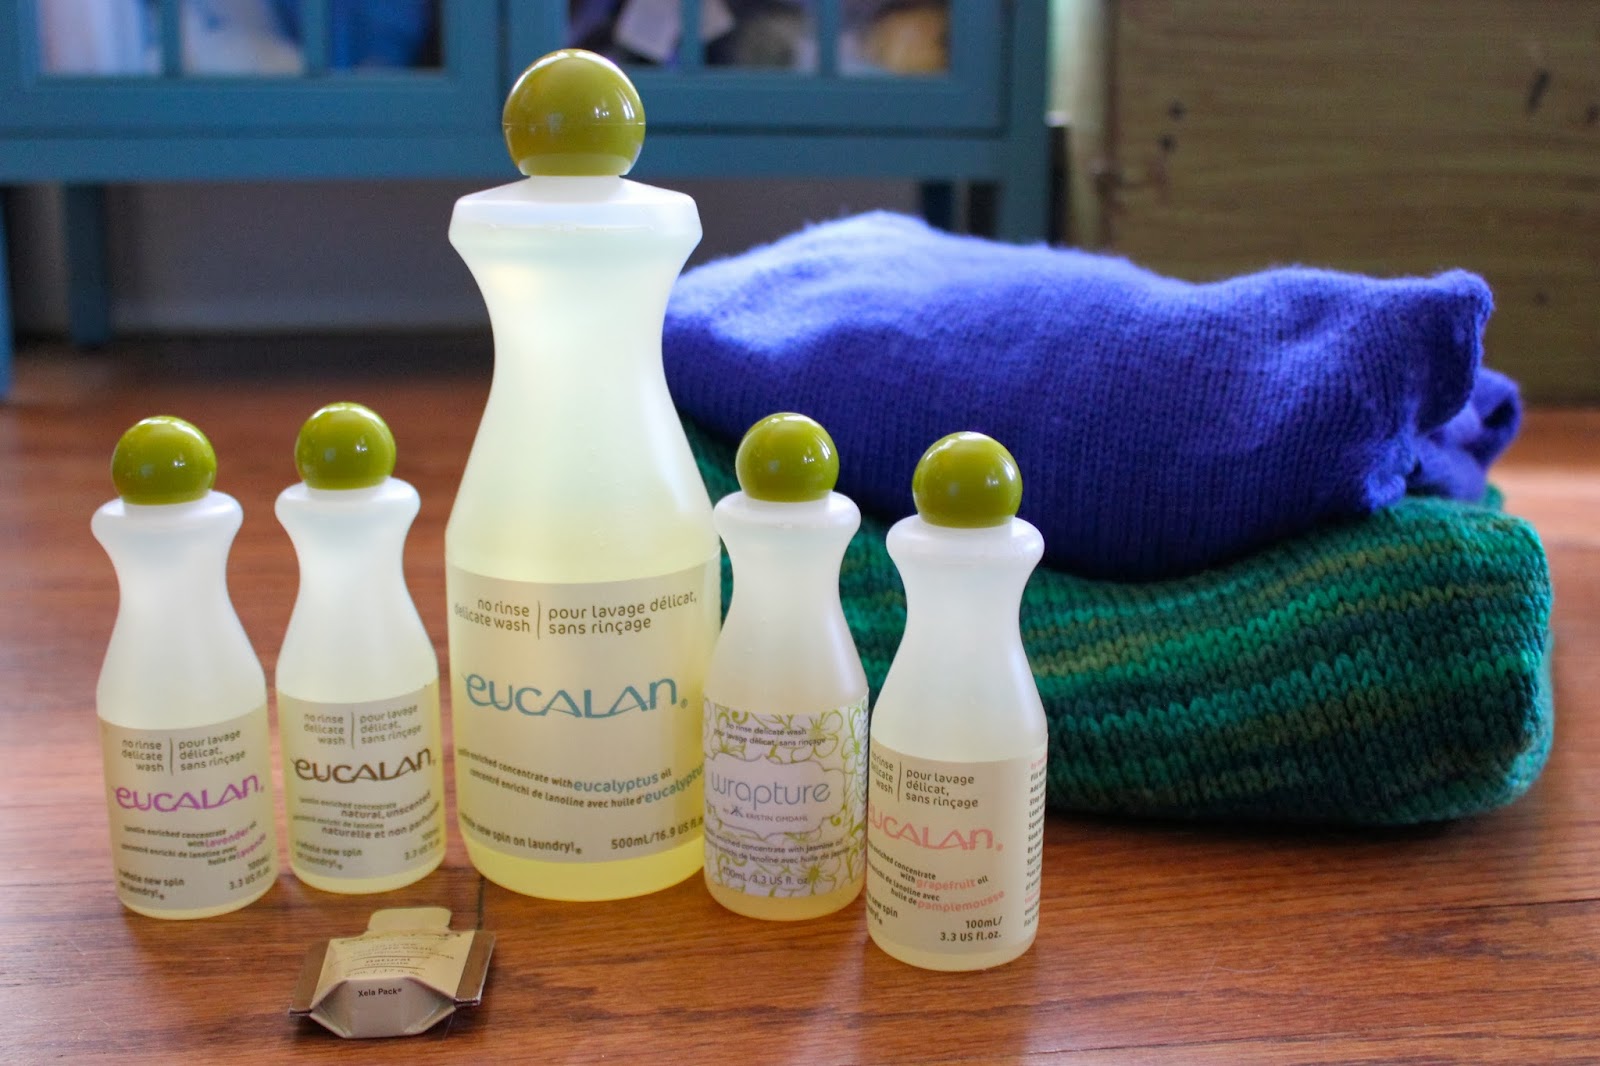
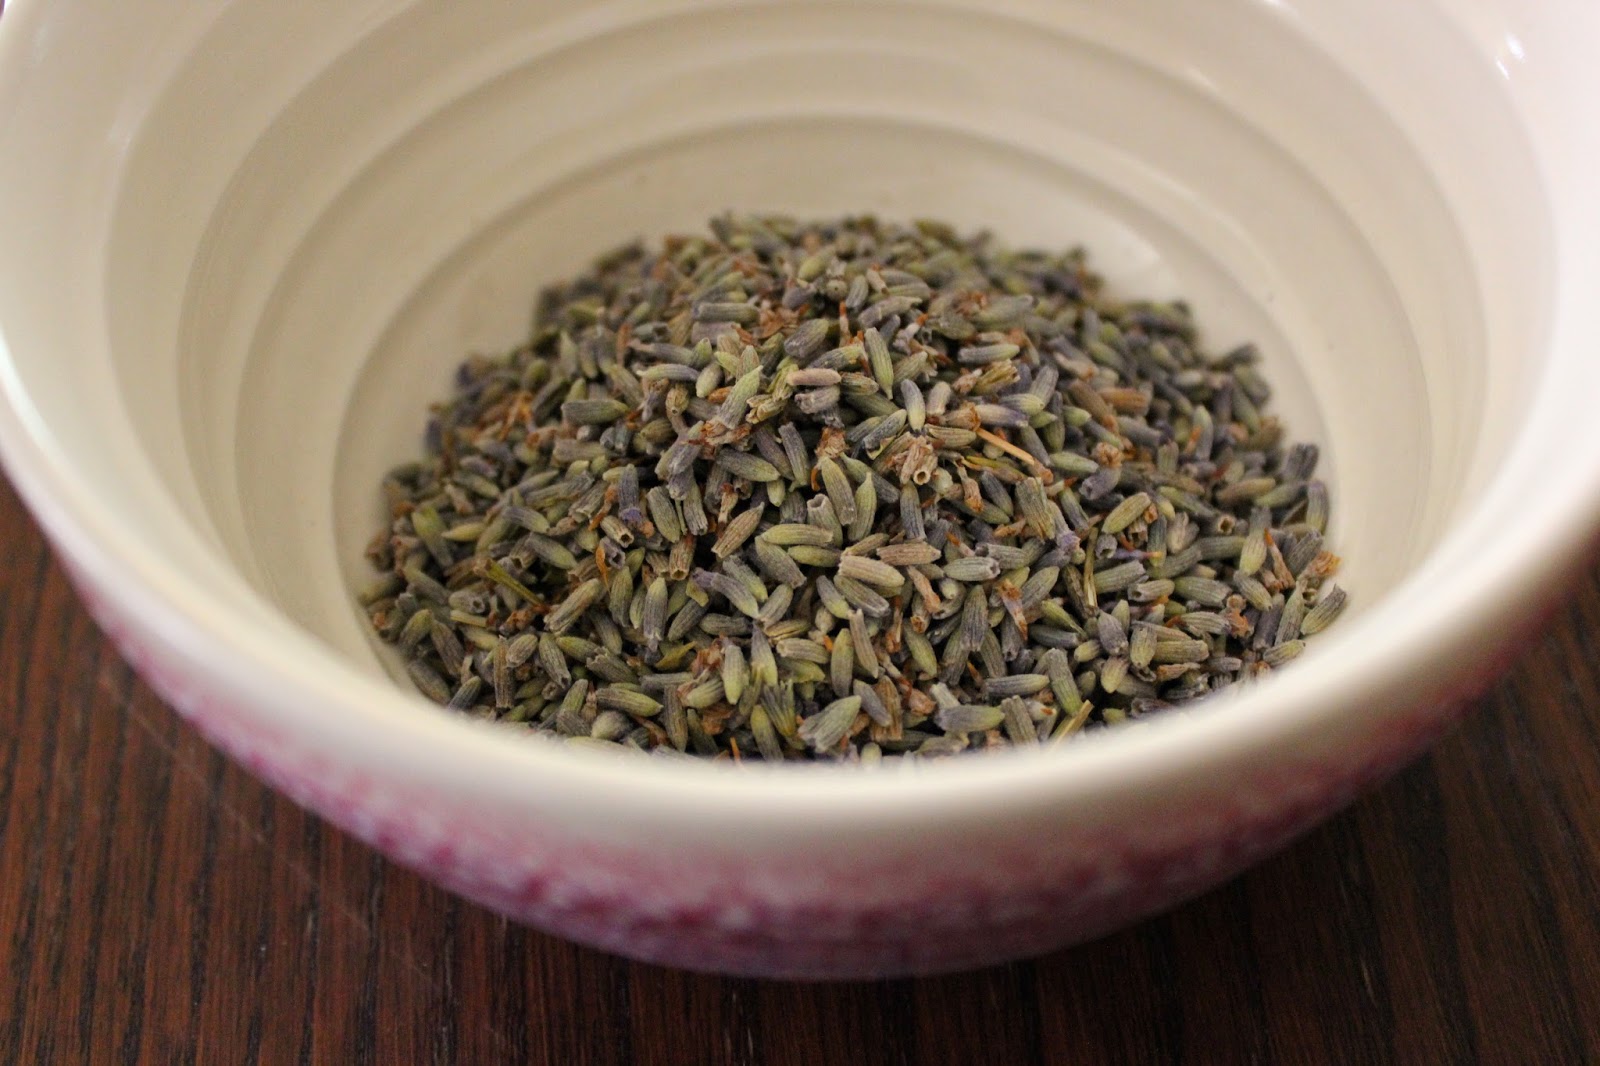
Love Knitting offered to send me some Eucalan to try out, which is a delicate, no rinse wool wash intended for cleaning a vast array of garments, but of most interest to me: knits!  It's an eco-friendly product containing lanolin, which is a natural conditioner for wool that reduces static and makes the fibers softer.  Eucalan comes in a variety of fragrances, including eucalyptus, lavender, grapefruit, natural scent, and Wrapture, which contains jasmine oil. (I'm refraining from jumping down the rabbit hole that is reminiscing about the intoxicating jasmine bush in my childhood back yard.  Mmmmm).  Once I received my package from Love Knitting, I set to work and washed literally every sweater that I own.  Yes, every one.


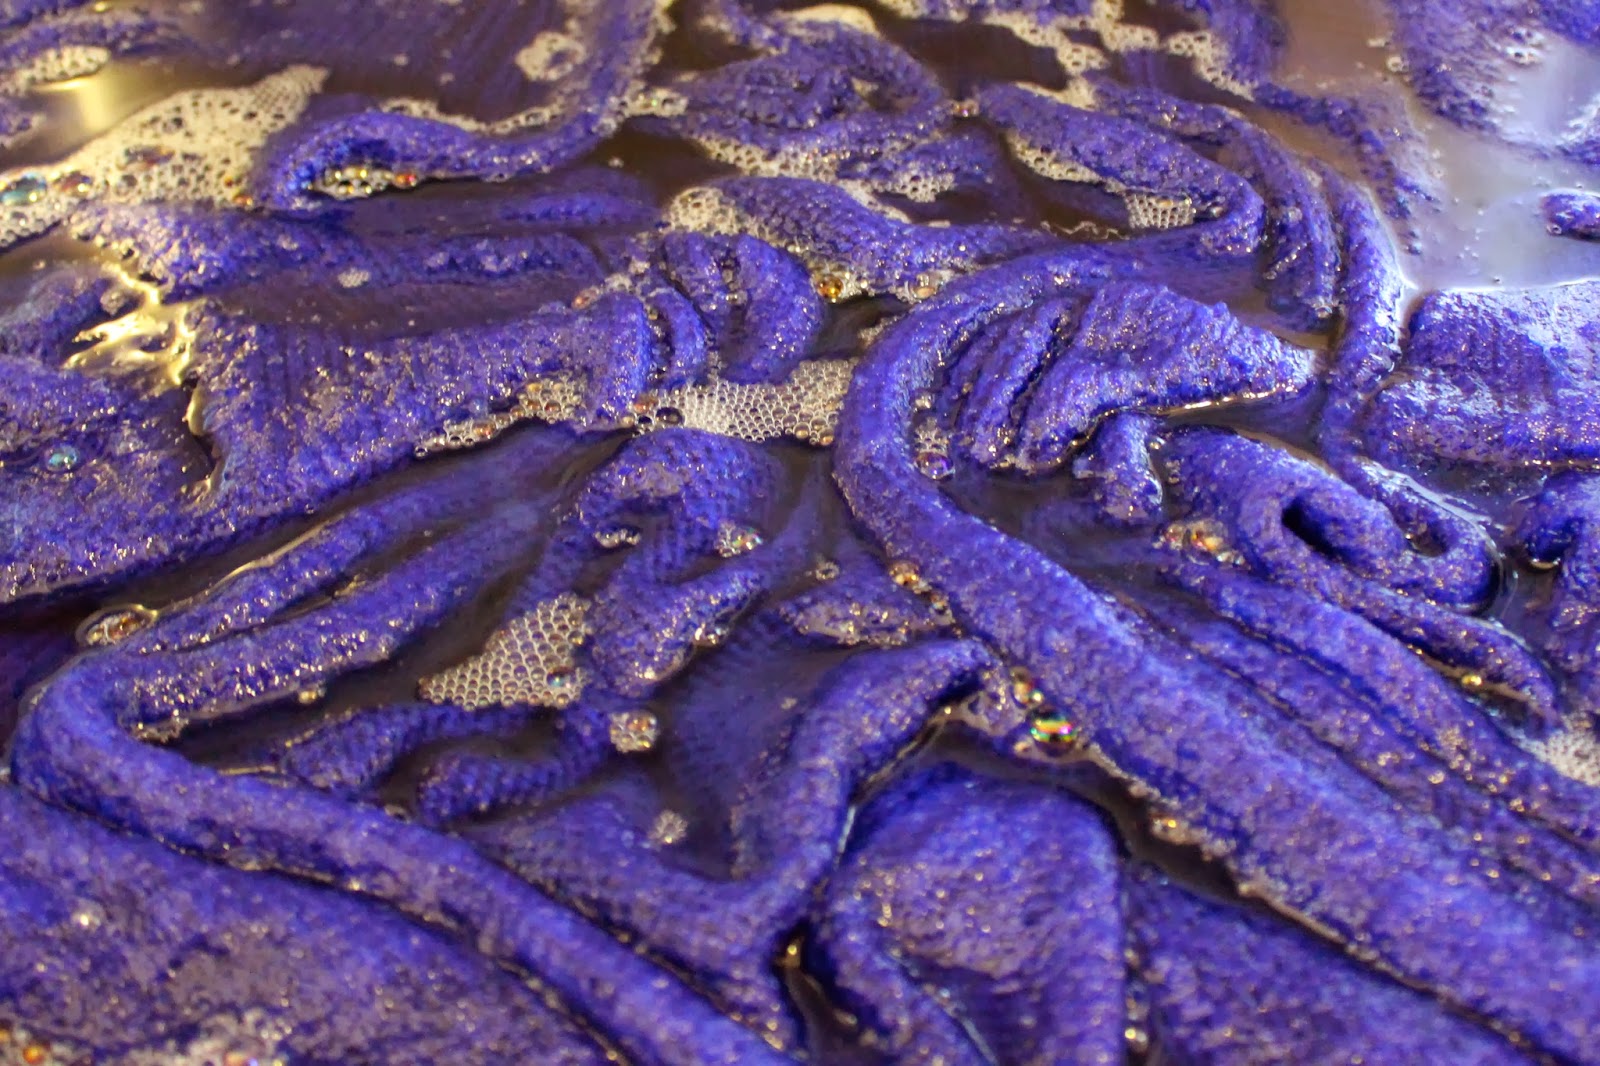
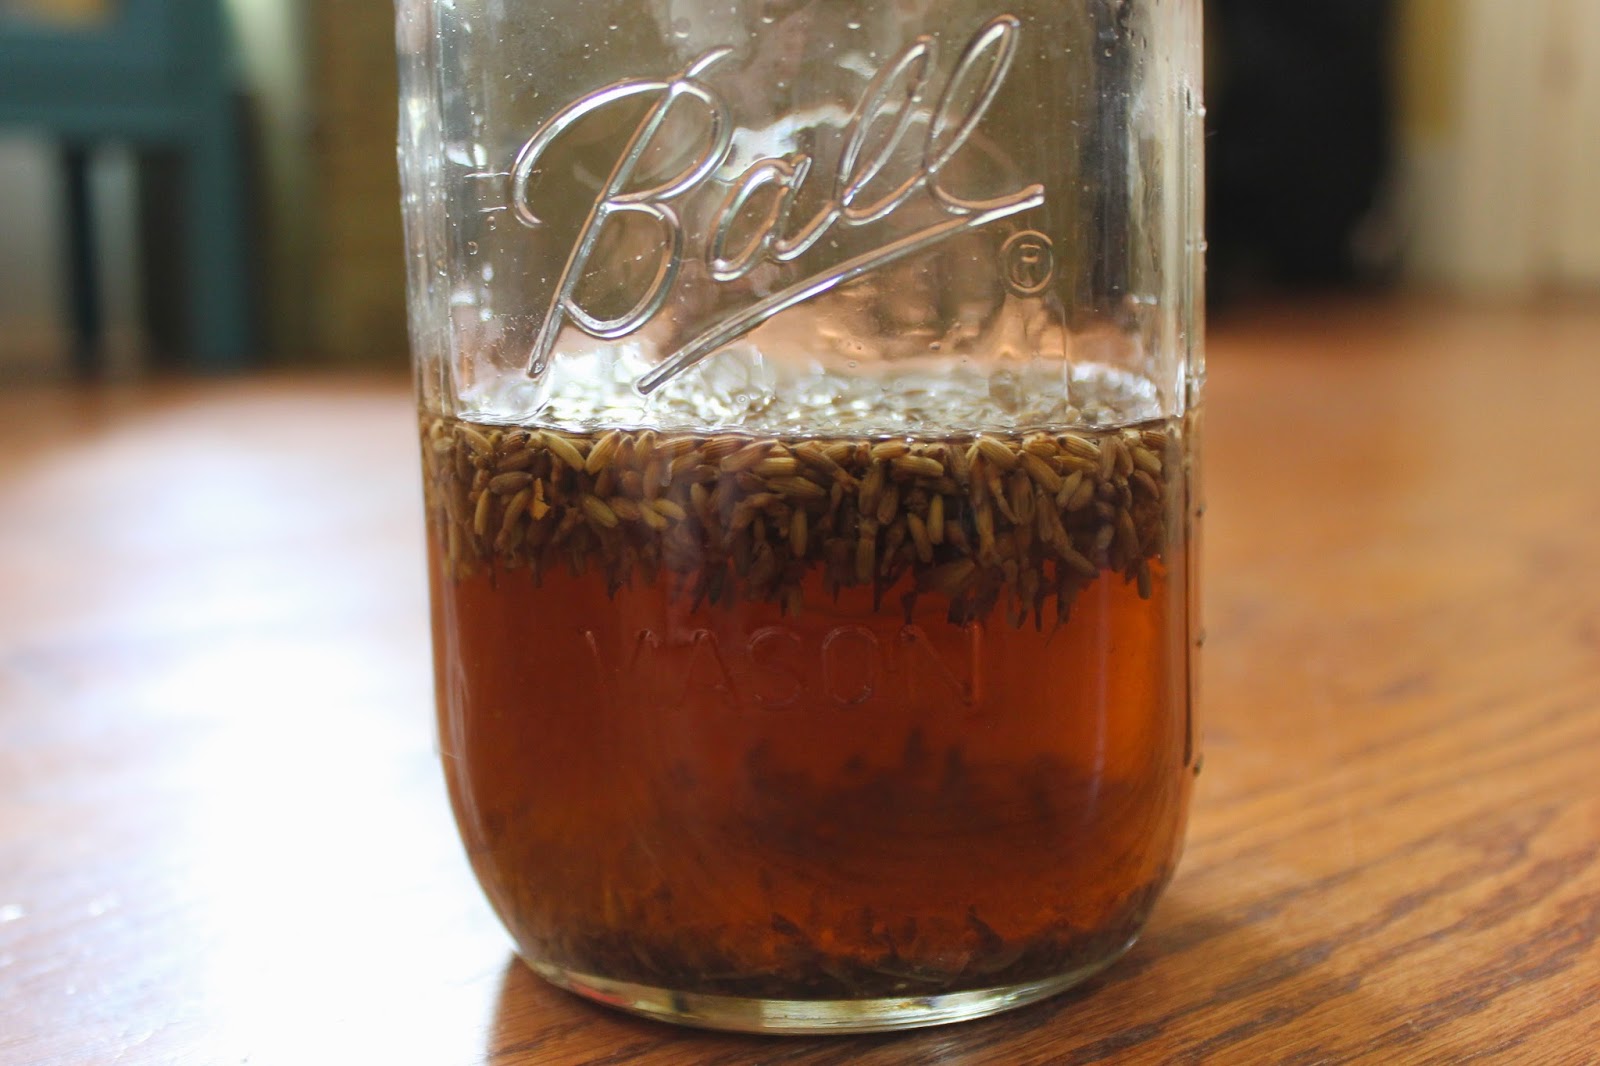
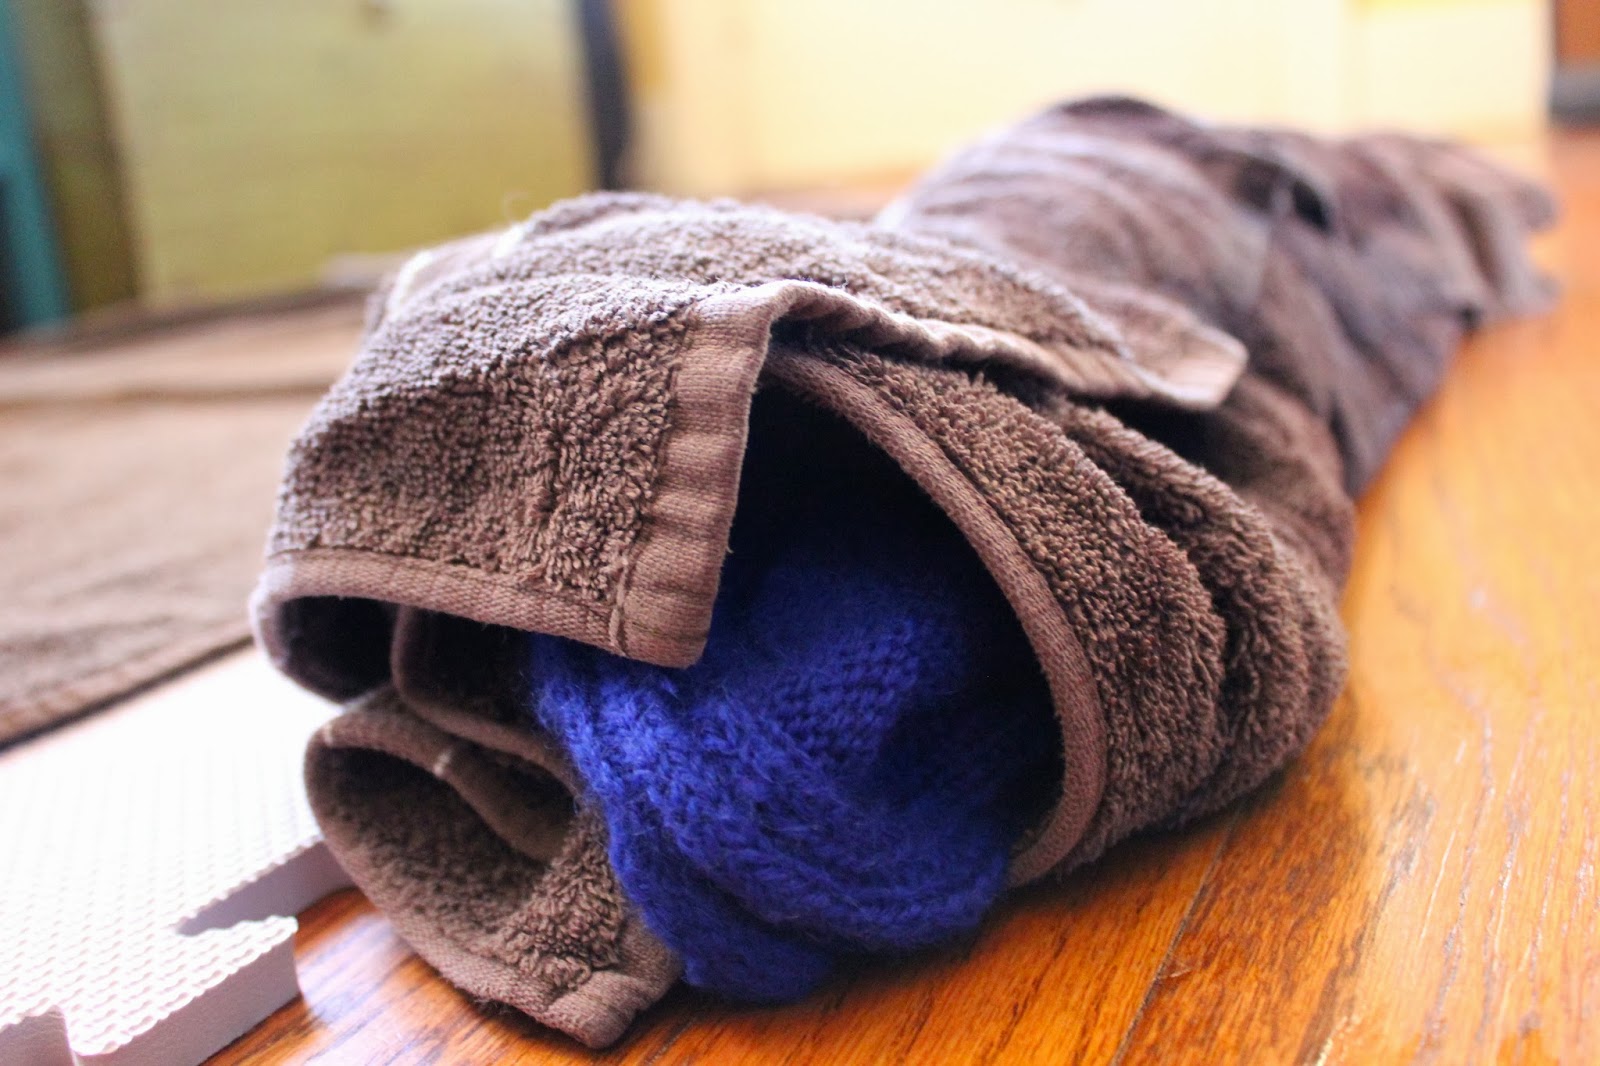
For the garments that specified "hand wash" or "dry clean only", I soaked them in my kitchen sink after adding one tsp of Eucalan per gallon of cool water.  Each sweater was washed separately unless I had another one of similar coloration.  After soaking for about 15 minutes, the instructions direct you to squeeze the garments gently in the water in order to make sure the lanolin oils get to all of the fibers.  Then drain the basin, squeeze out what water you can without wringing, and reshape and dry the garments flat.  After I drained the water each time, I rolled the garment up in a towel and pressed on it lightly to soak up some of the excess water before laying out to dry.


I felt comfortable washing my less delicate sweaters in my front loading washing machine.  To wash with Eucalan in this type of machine I added 2 tbsp to the fabric softener compartment and set the machine to rinse and spin only with cold water.


Both washing methods worked great for my garments.  While a couple of the fragrances sound like they might be a little overbearing (i.e. grapefruit and eucalyptus), they are actually quite pleasant.  Each scent  lingers on the garments mildly, adding just enough aroma to be rendered enjoyable without even coming close to overdoing it.  I noticed a stronger scent in the garments that I soaked in the basin than I did on the ones washed in the machine.  Despite the faintness, I think they will be very soothing in wear.  Overall, I loved the Wrapsody scent the most - very feminine and romantically perfumy without disappearing into old lady-ness or obnoxious odor.


One of the great things about the product is that since no rinsing is required, you run less of a risk of felting or agitating the fibers on your more delicate knits.  In addition, I especially loved that the wash seemed to moisturize my hands instead of drying them out.  One thing I used to hate about my barista days was the dry skin and split fingers from washing sinks full of mugs.  Despite the constant rinsing of my hands during this process, it really felt like it was conditioning my skin in addition to my woolens... Win-win?

Overall, I'm excited about the quality of washing I observed from using Eucalan, the pleasant aromatherapy I will enjoy when donning my favorite cardigan next month (!), the lovely skin treatment my hands got out of the deal, and how much I am going to save on dry cleaning bills this winter (!!!).  Now I just need to take a pill remover to these babies and they'll be good as new!

You can purchase Eucalan products from Love Knitting here.

Love Knitting provided the products for this review; however, the words and opinions are my own.

Infused Witch Hazel Yoga Mat Cleaner

It was time to retire my dingy, rubber yoga mat, discolored from afternoons of after work class days in the back seat of my car (don't judge) and crumbling into lace like patterns on the corners from the teeth of an overzealous cat who just can't seem to leave my things alone... even if they are hidden in the closet.  Oh, faulty old house closet doors that won't fully shut for portions of the year.  Needless to say, it was time to start anew.  With a brand new yoga mat.  On my 30th birthday this month, I received such a luxurious gift (thanks Mom and Dad!).
I resolve not to let this mat fall into disrepair in the manner that my last one did.  (I swear it's not my fault!  If only you knew this cat!)  One way I have planned to go about this is by making some delicate cleaner to use on my mat after home use.  At home it's easy to get lazy.  I wanted to use ingredients that are eco-friendly, not harsh on my mat, and that smell nice, a rejuvenating fragrance to keep that post yoga euphoria going for a while longer.
After a little research, I discovered that the Lululemon mats have pores that can become clogged from popular DIY cleaner additives such as essential oils or tea tree oil.  (Sigh of disappointment as the "rejuvenating fragrance" criteria flies out the window.)  However, I came up with an alternative to solve this problem - infusing the other ingredients with herbs.  Clearly I have solar dyeing on the brain. Infusing with pigment, infusing with fragrance.  Whatever.  As long as it works, right?
This is an incredibly simple mixture that I based loosely off of this one here.  Initially, you will need a mason jar, lavender buds (or herbs of your choice) and a bottle of witch hazel astringent.


Empty the witch hazel into your jar, and add some lavender.  It really doesn't take much - I think I used about an ounce.  Seal the jar and let it sit for about a week.  You can check every few days to see how strong the scent is becoming.  Witch hazel has a unique soapy odor of its own, which will probably not be overpowered, but you can get a mixture of fragrances in there.  This is what it looks like as its infusing, below.


Once you determine that the witch hazel is ready (I went with about 7 days of infusing), strain the liquid from the buds and return to the jar.  Now you're ready to mix your cleaner.  And when I said this was simple, I really meant it.  Fill a spray bottle 3/4 full with filtered water, and then top off with the witch hazel.  Apply to a clean, soft rag and wipe down your mat after use.  I would recommend not spraying the mixture directly onto the mat, because it will absorb into the pores and really won't do much good when it comes to wiping down the surface since it is infusing into the mat (see what I did there?).  If you spray down the rag a little bit, it's much more effective at cleaning off the mat.


Now to be fair, if you aren't interested in going through the trouble of infusing your own witch hazel, you CAN go to Whole Foods and buy a bottle of lavender scented witch hazel.  I discovered this as I went to buy supplies and was slightly annoyed since I thought I had a brilliant idea... but you know what?  It's about the journey, and INFUSING THINGS IS FUN, dang it!  So there you go.
Also, I realize that a tiny mister like the one depicted above will not go very far in cleaning a yoga mat on a (hopefully) daily basis, but let's be honest here - who really wants to look at photos of a cheap plastic spray bottle?  You're welcome.  Let's just infer that you can use one of those big ol' guys for real life purposes if you want to.
Namaste.

Unleashing Your Creativity

Following patterns, templates and tutorials can fulfill a creative need while helping you to hone an artistic skill.  There's only so much you can take from it mentally, however.  Skill-wise it can be great practice, but when relying on another person's instruction you lose the innovation, spontaneity and scale of creativity that comes from improvisation or original construction.  Even if you've always been a paint by numbers kind of person, you can find a way to create something that was conceptualized and developed all on your own.  Here are some tips for "unleashing your creativity" that are related to my own experience.

1. Identify your skill

I've always been interested in art/craft, but have to admit that I'm not that great at drawing and painting. Knitting became my strongest creative skill in my 20's, but I had never done anything beyond knitting accessories and garments from patterns in books with step by step instructions.  It hadn't occurred to me until a few years ago that I could do more with my skill than just follow a pattern.  Even if you don't know how to use your skill for something larger creatively, just open your mind to the possibilities.  An idea may come.

2. Develop a concept that you are passionate about.

Once you identify your medium, you have to figure out what to do with it!  It's easy to mimic the trends out there (and there are a lot of them), but the best work comes from developing a concept that you're passionate about - something that means something to you.  Even if you want your piece to be simply aesthetic, go with an idea that you think is great... not one that you only chose because you thought others would like it.  If you're passionate about the subject/concept of your work, you will be more likely to finish and to produce something of high quality.

3. Open your eyes to inspiration.

Inspiration is all around us.  As I really like to communicate through my work, even the tiniest details in nature hold inspiration if we stop to contemplate them.  Stop to observe a leaf that was skeletonized by an insect, or the patterns of decay in a fallen limb.  Pay attention to your surroundings, things in the urban environment and the creativity around you.  There are inspirational muses all around us if we take the time to notice them.

4. Surpass your perceived limitations.

Creativity is a mind-expanding experience.  I used to make things because they were functional.  I also used to have wild ideas that would have been amazing to see created, but I would think "nah..." and let the slip away.  Now I embrace my ideas.  I keep a journal on hand just to write them down for later.  The good thing about indulging your imagination is that ideas keep coming!  You start to get inspired and pretty soon you have more ideas than you have time to execute.  Don't let your own personal reservations keep you from pursuing a great concept.  Try to think outside the box, and on a regular basis, do something "just because".  Let your reason be, "why not?"

5. Experiment!

Interested in trying a technique but you're not sure how it will turn out?  Try it!  You might be surprised, and if it doesn't turn out at least you know what doesn't work.  By removing your reservations toward not meeting your expectations, or better yet, removing your expectations altogether, you open yourself to compromise and flexibility.  If you're a Type A personality like me, this will be difficult but all the more rewarding.  This brings us to the next point... following your instincts mentally and creatively.

6. Go with your gut!  Not everything has to be planned.

When I was preparing for my Decomposition: Colony installations, I obviously knew what the pieces of my installation looked like, but I had NO idea how the overall installations would turn out.  I didn't know what the site would look like, what I would install the pieces into or if I would find something that would work at all.  Finally on that day as I climbed up the fern enclosed trail to what would become Colony I, a lot was left to chance.  I took a deep breath, took my time, and just went to work.  It was almost like a stream of consciousness as I put each little mushroom in place.  I didn't second guess myself, and just continued on it with purpose.  It wasn't planned.  I just did it.  I did what felt right.  In the end I couldn't have been happier with the result.

7. Do the work.

Sometimes it's unfortunate, but I know from time to time I will get into a funk and it's hard to find the motivation to start on anything.  As Steven Pressfield talks about in The War of Art, the best way to get inspired to keep working is to just start doing the work.  Even if you don't feel like it, make yourself get going.  Chances are that you will find inspiration along the way and that initial work (even if you're not crazy about the result) will lead to more work.

8. Not a trained artist?  Don't worry about it!

If you don't have a degree in art it's easy to waste energy worrying about whether you belong in the art world.  Maybe you haven't taken an art class in a very long time.  Maybe you don't have formal training or experience with art critique.  Perhaps the word "artist" makes you feel self conscious.  Rather than allow yourself to be constantly riddled with anxiety, just don't worry about it.  As far as labels go, just leave them alone.  Just be you, and just do what you do.  If you have a strong concept and produce high quality work, people may like.  You may be surprised by the response you get - I was.  Art is a very subjective thing.  Just worry about your work and whether or not you're satisfied with it, and let everyone else worry about their own opinions.

It's scary to get started in creative endeavors when you are out of practice, but I hope these lessons that I picked up can encourage you on your journey.  So remember...


  1. Identify the skill that can most effectively and naturally help you to communicate your creative vision.
  2. Develop and pursue a concept or idea that you're passionate about or that means something to you, in order to produce the most satisfying, high quality work.
  3. Open your eyes to the inspiration that is all around you.
  4. Surpass your limitations and don't restrict your creativity with perceptions about what you can do or how your skill should be done.  Pursue ideas, because "why not?".
  5. Experiment, and don't let expectations hinder a potentially surprising good outcome.
  6. Go with your gut and stop trying to plan everything.  Sometimes the best outcome results from just doing, and not over analyzing.
  7. Do the work, even if you feel uninspired.  With effort, inspiration will come.
  8. Don't fret over your lack of formal training or experience in the creative world.  Trust your skill and your intuition, and instead focus on producing high quality work that you are passionate about.

Tutorial || Washi Tape Pennants - Knitting Needle Organization

When setting up my new studio space, one thing of importance to me was making my knitting needles easily accessible.  Up until now, my double pointed needles have been stored in their original packaging, and grouped together with all the other double pointed needles in an inconvenient pouch.  Every time I go to look for a certain size of needles, I have to sort through this pouch and then put it away in the organizer on top of my bookshelf. Now that I have a desk to work at, it makes sense to display these in the open, which also makes each size easier to find!  I organized my different double pointed needles by their US size, although you could easily organize them by millimeter size if that's easier for you.
Materials:
A roll of washi tape,
A paint pen (I used white, but a metallic one would look really great too!)
1+ sets of double pointed knitting needles
Copper wire
Wire cutters
Scissors
Not shown: a mug or vase to display them in


To begin, take a set of double pointed needles and wrap them with the copper wire, enough to hold the needles in place without any slipping out.  At the top, leave a "flag pole" of a few inches and cut with wire cutters.
Take the washi tape, and wrap the top of the "flag pole" with it.  Wrap about 1.5" around one side, and stick the back of it to the other side of the tape, lining up the edges so the front side of the tape is showing on both sides forming a rectangular "flag".


Cut at an angle twice to make a triangular pennant shape out of the washi tape rectangle.


With the paint pen, write your needle size on the pennant and place it in the storage container!


Done!  A nice and easy way to display your double pointed needles while still knowing what the heck the size is when you need to use them!

Tutorial || Tiered Moss/Copper Hanging Planter

I'm all about a great way to display plants, and this planter idea has been floating around in my head for a while.  I'll try to keep it from making me want to buy ALL OF THE SUCCULENTS, but that's no guarantee.  This project only took a couple of hours and it's perfect for cascading succulents that like to dry out a little bit in between waterings.  The moss holds in moisture after you water it, however.  You can either hose it down gently (this is what I've been doing when I water my other containerized porch plants) or soak it in the sink or a bucket.  If you put this indoors, make sure that you hang it over the bathtub or something after watering to let it drain out completely... unless you just like having water all over the floor.  Just sayin'.


Materials needed:

A bag of sphagnum moss Needle-nosed pliers Approx. 50 feet of 14 gauge copper wire Three plants (cascading types that can handle drying out will work best) A bucket for soaking the moss, filled halfway with water Yarn/twine is optional if you would like to tie up the moss ball while you wrap your wire.


1.  Begin by cutting the copper wire into lengths of about 36 inches.  You will need five pieces of wire for each tier of the planter.  Meanwhile, soak the moss in a bucket.


2.  Take five pieces of cut wire in a bundle and find the center of the length of wires.  Using the pliers, twist the wires around each other to form the center of the bottom of your planter.  Spread the wires apart in a circular/sunburst fashion.  You now have ten wires around the circumference of the center twist.


3.  Place a handful of wet moss in the center of the wires to form the foundation for your plant.
4.  Take two adjacent wires and twist them at the edge of the bottom of the planter.  They should still be spread apart from each other on the bottom to provide more support - just bend them toward each other at the corner to twist.
5.  Go all around the edge of the planter twisting sets of two wires to begin the side supports of the planter.
6.  Next, bend each wire in a set away from the other toward the wire on the other side.  Now twist these two wires together forming five new sets of wires.  Continue to repeat steps 5 and 6, adding moss around the edge as you go and leaving a pocket in the center where your plant will be inserted.
7.  Place the plant in the center pocket, and add more potting soil if needed.  Cover the top and sides with more moss.
8.  Continue twisting the wire at the sides until you have reached the top.  Gather all the wires, centered above the plant about 4 inches and join them together.  Using the pliers, twist the wires into one coiled wire.  For the top tier of the planter, make a loop with the coil and then twist the ends around the coil below the loop.  You can then hang it from a plant hook.  For the lower tiers, you can join them to the tier above by wrapping the ends of the coil around the wire twist on the bottom of the planter tier, and then securing it by wrapping the ends around the coil.


That's it!  Water once you notice the moss going dry.  What do you think?  Anyone want to make a guess at how many of these will be hanging on my porch by the end of the summer?!  :)
IMG_3456

Tutorial || Ombre Jersey Rug

A few months back, I made a rug as a going away/housewarming gift for a couple of friends moving to Seattle.  The good thing about an ombre or variegated accent piece is that it brings out all shades of a main color and ties in other similarly hued accessories.  In the words of The Dude, "That rug really tied the room together!"  And it's true.


All you need for this DIY is a minimal knowledge of crochet stitches, a pair of scissors, a giant crochet hook (I used size 19, the largest I could find at the time) and a ton of t-shirts.  Buy all the same color (such as green, or red) and then get as many different shades as you can - light, dark, dull, bright, just as many shades as you can find of the particular color you are going to use.  Larger t-shirts are better, since you get more material out of them also.  Once you get all of your t-shirts, I would recommend stacking them or laying them side by side in the order that they will be used.  Line them up from light to dark, to light to dark, etc.  Since some of the shirts will be similar shades you can fade in and out a couple of times and probably get to use all of them.  As far as where to purchase your shirts, I got all of mine at Goodwill.  It's true that this can get expensive quickly, but if you're making a humungous rug is it going to cost more than you would pay to buy one?  Probably not.


Start out by cutting your shirts into long strips, about 1 inch wide.  I typically just cut down the shirt length-wise, from the neck to the bottom edge.  Next, you will attach these strips to each other to make t-shirt yarn.  Here's how:
1. Cut a slit in the end of your first strip.  Take a second strip, and slip the end of it through that slit.  Now you have to secure the second strip so that it does not come out of the first one.
2. Cut a slit in one end of the second strip (while it is still through the first strip).  Take the opposite end of this second strip and place it through the slit on its first end.  Pull to tighten at the joining end.


Repeat steps 1 and 2 until you have enough yarn to make a rug the size of your choice.  I usually just add strips as I go, making yarn for one shirt for instance and balling it up, then making more when I get to the end of the ball.  Now you're ready to start crocheting your rug!
Start out by crocheting a chain that is as wide as you would like for the rug to be (or as long, just depending on which direction you want your stripes to go).  Here is a video tutorial on how to make a chain.
This chain is your first row.  Turn and continue down the chain making a single crochet stitch into each stitch of the chain.  Here is a great video tutorial on how to make a row using single crochet.  Once you get to the end of the row, you will need to chain one more stitch as you turn, then begin to single crochet into your previous row of crocheted stitches.

When you get to the end of your second row, turn and stitch back down the row again as established.  You will keep doing this until the rug reaches your desired length.  It's fun to watch the fade in color unfold!  Here's what it will look like when you're done...


This last photo is by courtesy of Sharalee, one of the owners of the rug.  They had a rectangular space, which is why I made it in rows.  However, I've made one in the past that was circular and it looks amazing in that shape!  Unfortunately I have no good photos of that one and it is no longer in my possession because my cat.. ahem.. became a little too fond of it... But to make a circular rug, all you really need to do is chain about 6 stitches, and then begin your single crochet stitch from there in the very first stitch of the chain to join it in a loop.  You will crochet once into each stitch for the most part, but will need to crochet twice into every 3rd - 5th stitch or so to make it lay flat.  As you go along it's easy to gauge if you need to do that more often or less often, as the rug will curl if the outer round has too few stitches or it will bunch up if you have too many stitches.
This is a pretty easy and affordable project that will add some color into your home!

Tutorial || Silver Knitted Mushroom Necklace

 Those little silver 'shrooms from last week's 52 Forms of Fungi post are too cute not to find a use for, so today I wanted to share how you can make your own and WEAR them on a chain as a cute little accessory.  Note:  You will need to know some basic knitting and crochet skills here.
Knitted mushroom stalk pattern:
cast on 20 stitches with straight needles
Row 1: knit two stitches together to end of row
Row 2: purl to end of row
Rows 3 & 4: repeat rows 1 & 2
Row 5: knit to end of row
Row 6: purl to end of row
Rows 7-10: repeat rows 5 & 6 twice
Cut yarn and place all stitches on the double pointed needle.  Set aside to start on the mushroom cap pattern.
Knitted mushroom cap pattern (front half):
cast on 20 stitches with straight needles
Rows 1-4: same as mushroom stalk pattern
Row 5: place double pointed needle behind the straight needle with the stitches on it.  The right (knit) side should be facing the same direction.  Knit the first stitch of the front needle together with the first stitch from the second needle.  Repeat until all stitches have been knitted.
Row 6: pur to end of row
Row 7: slip slip knit, knit 1, knit two stitches together
Row 8: purl 3 stitches together
cut yarn with a 6 inch tail, pull through the last stitch and tighten.
Knitted mushroom cap pattern (back half):
cast on 20 stitches with straight needles
Rows 1-4: same as mushroom cap front half pattern
Row 5: knit to end of row
Row 6: purl to end of row
Row 7 to end: same as mushroom cap front half pattern
Finishing:
Sew the right and left sides of the stalk together so that the knitted (right) side is facing out.  You now have a cylindrical stem.  Put the two mushroom cap halves back to back so the knitted (right) side is facing out.  Sew the sides together up to the top, leaving the bottom open.  Weave in all ends using a sewing needle.
Making necklace pendants out of the mushrooms:
Make a slip knot and put it on the crochet hook.  Make a single crochet stitch through the top of a mushroom and make a chain the length that you would like it to hang.  Chain an additional 6 or 7 stitches and then make a single crochet stitch back through the top of your desired length.  Cut thread and pull the end tight through the remaining stitch.  Weave in the end.  Do this with each of the mushrooms (however many you want to use) at varying lengths (or however you would like to wear them) and then thread the necklace chain through the little loop you made at the top of each crochet chain.