Living Wall || Phase 2

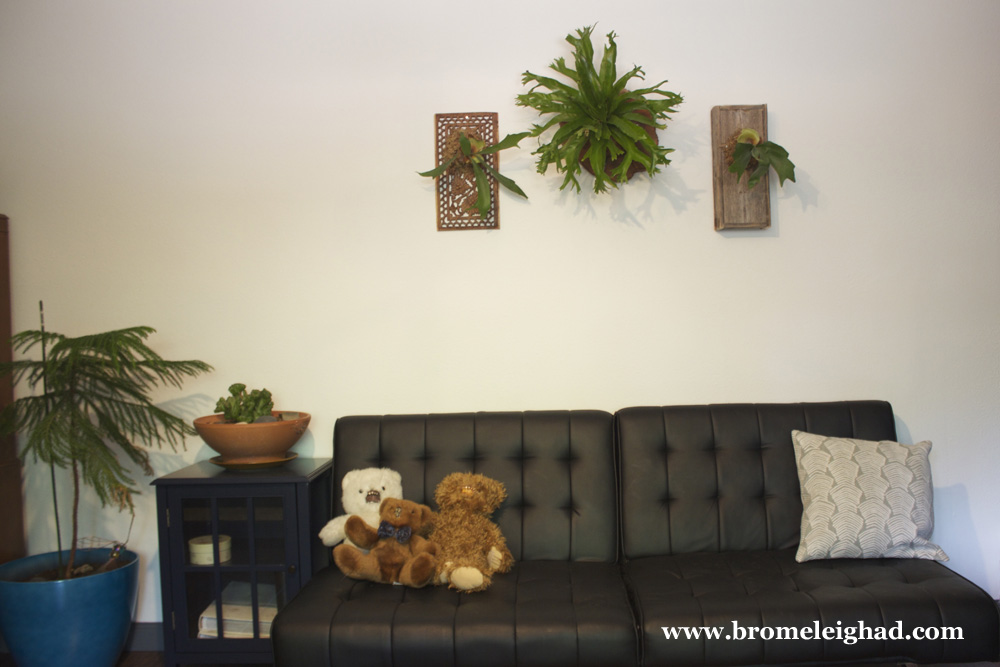
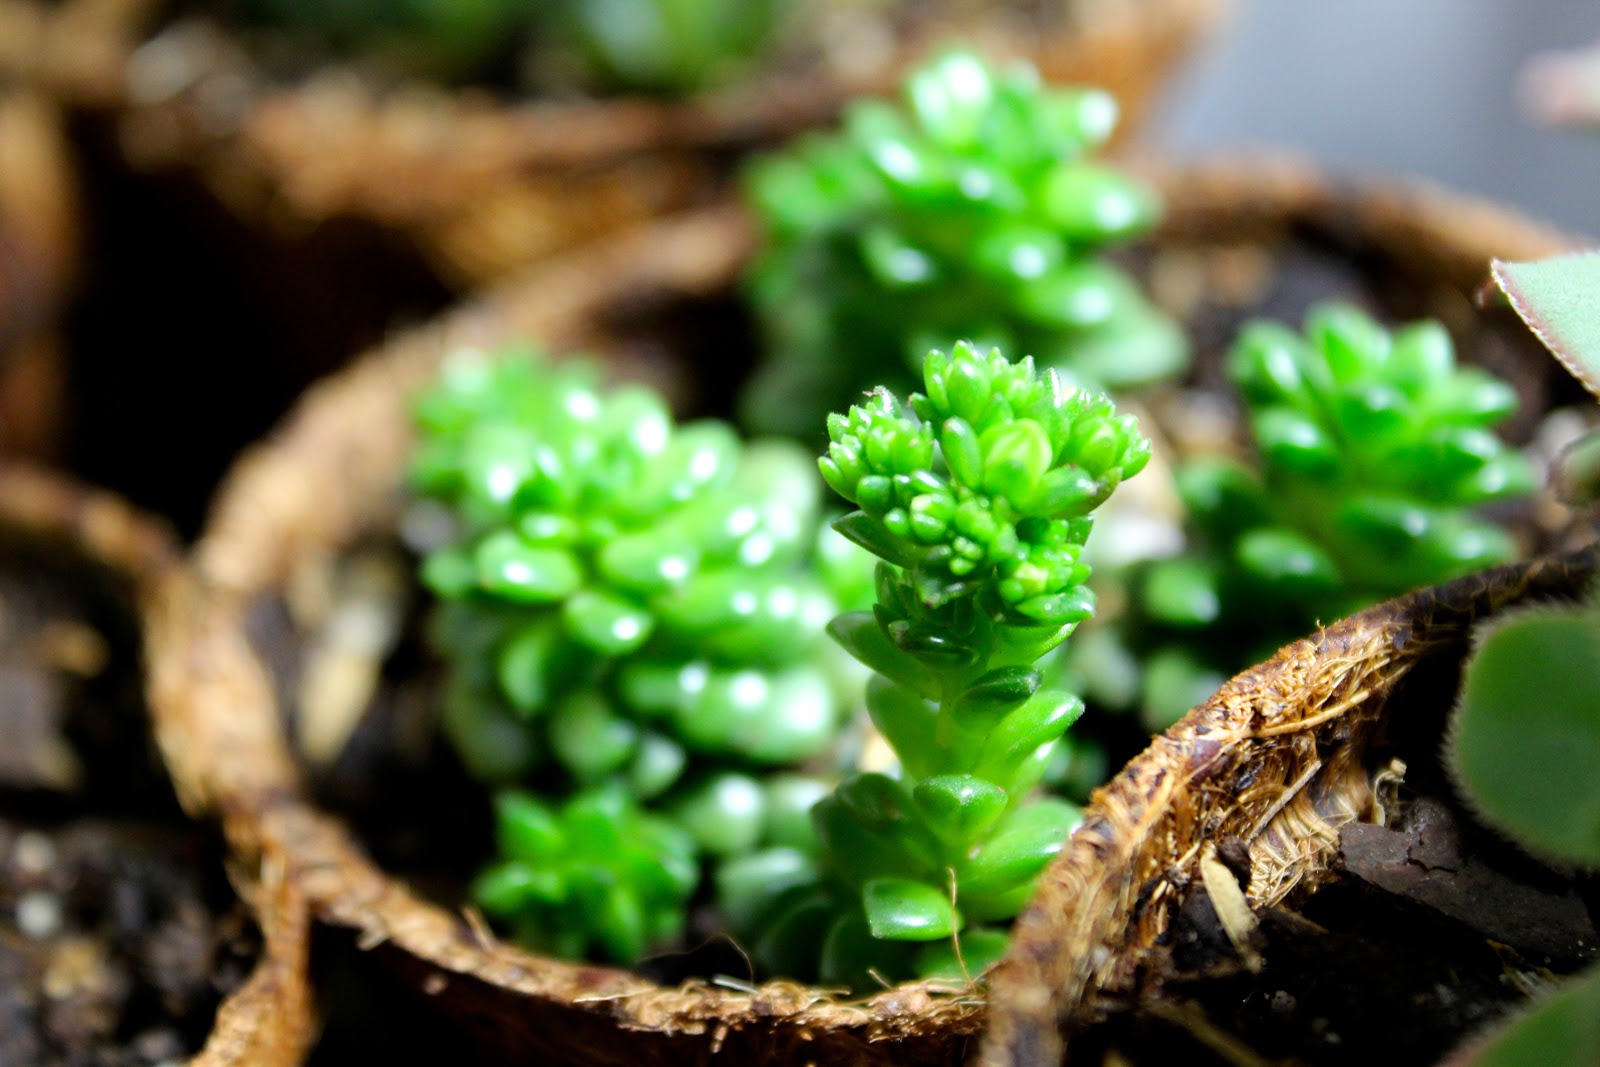
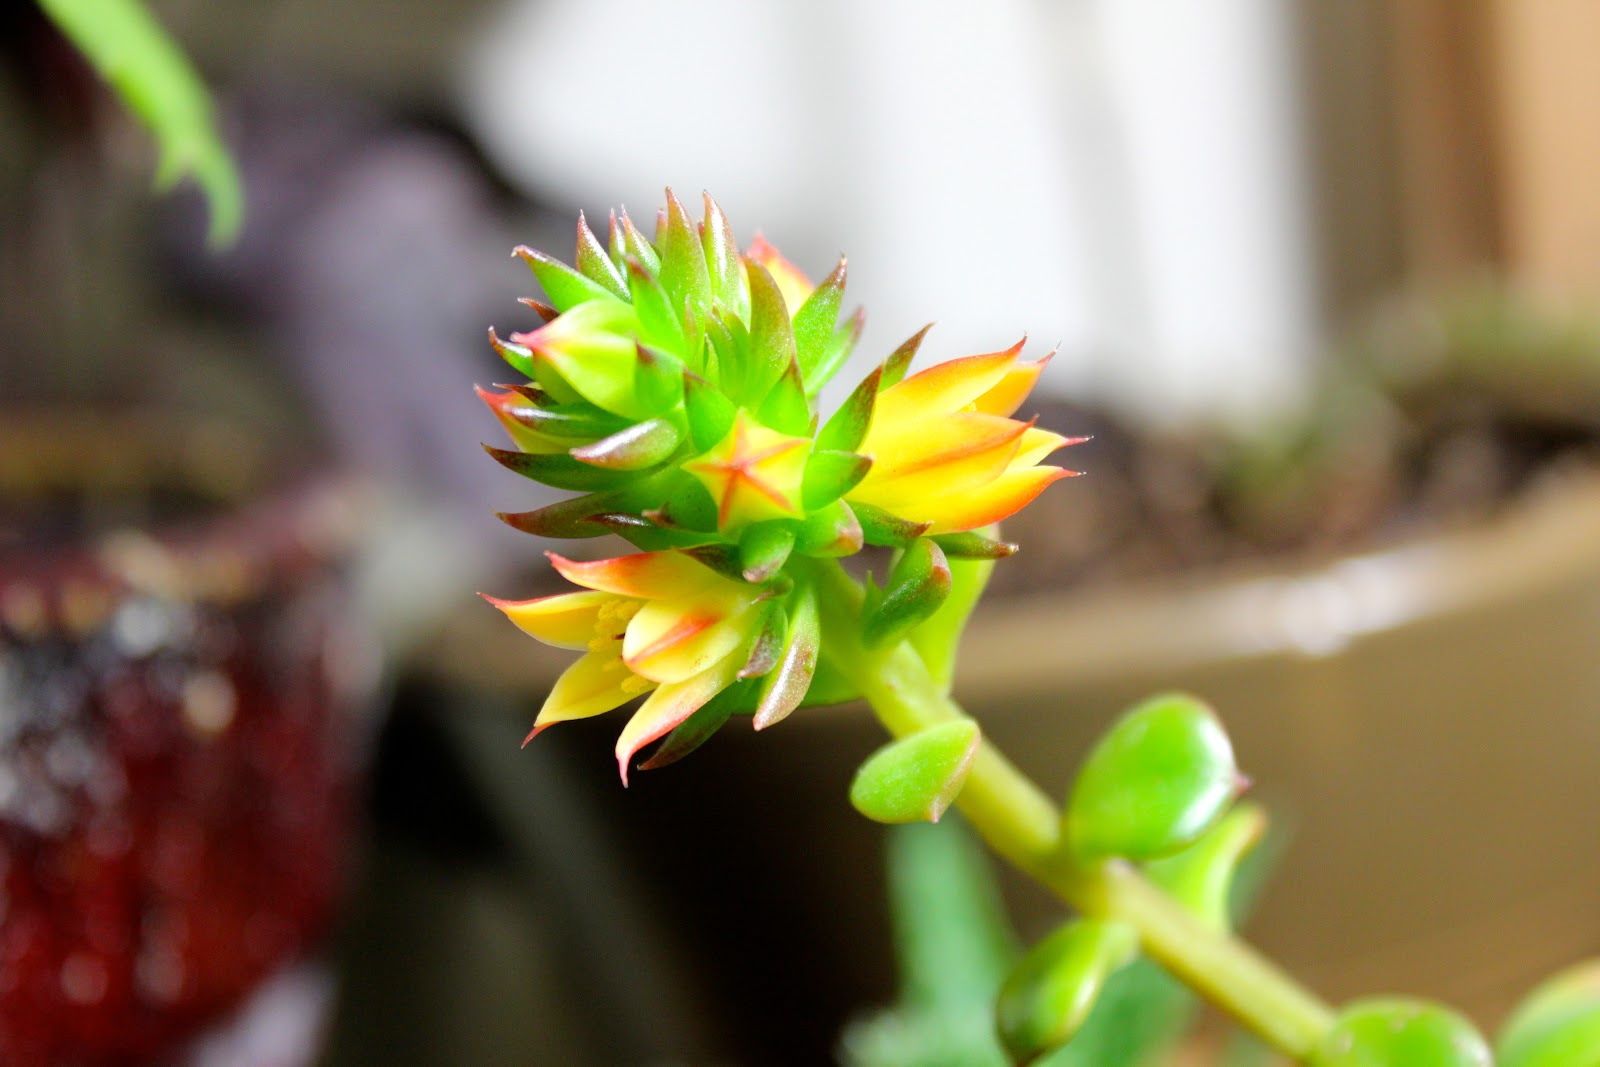
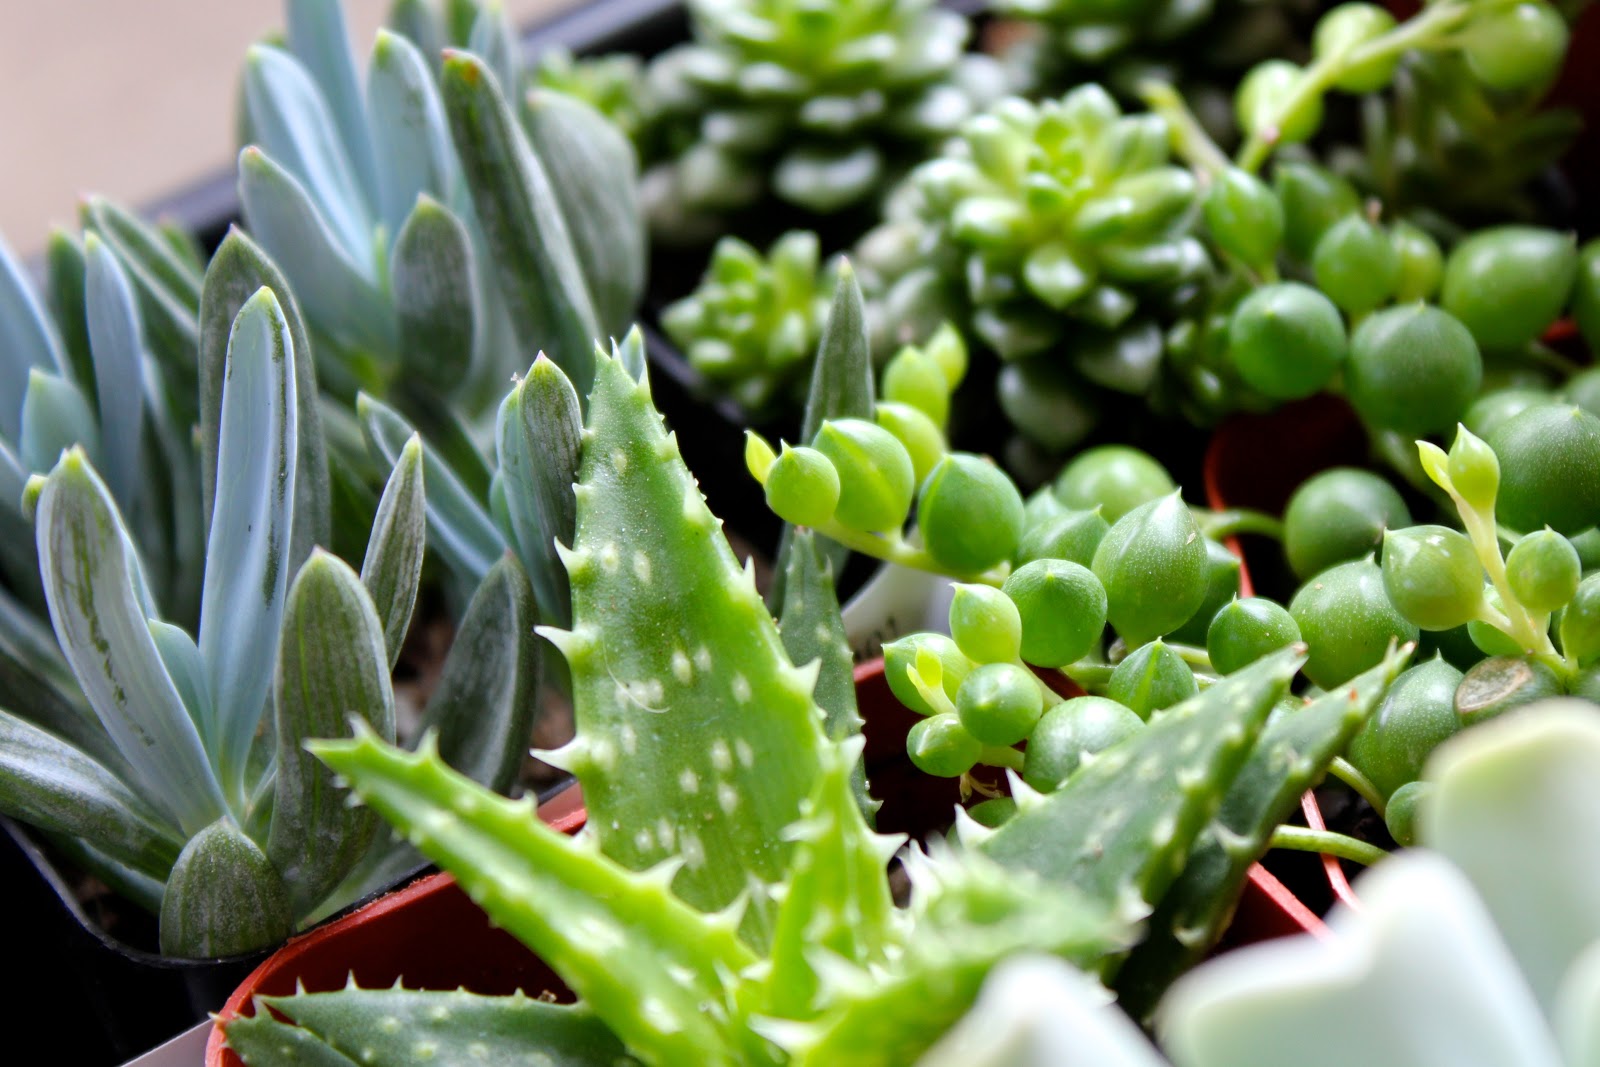
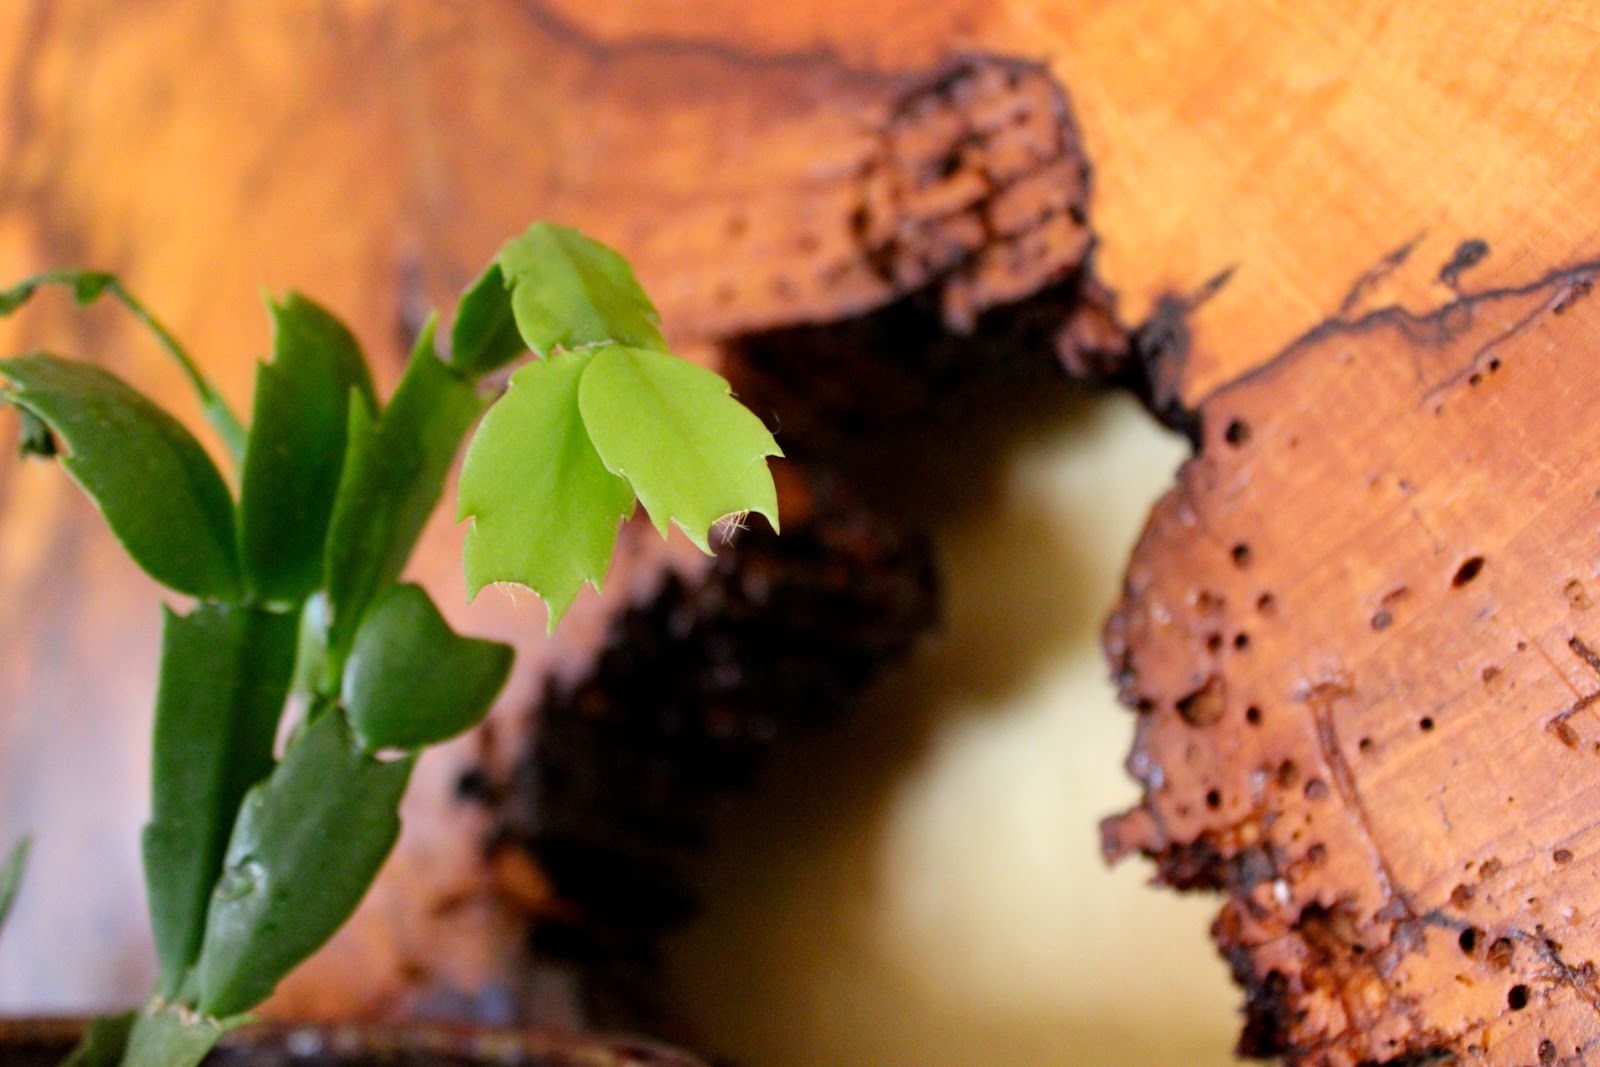
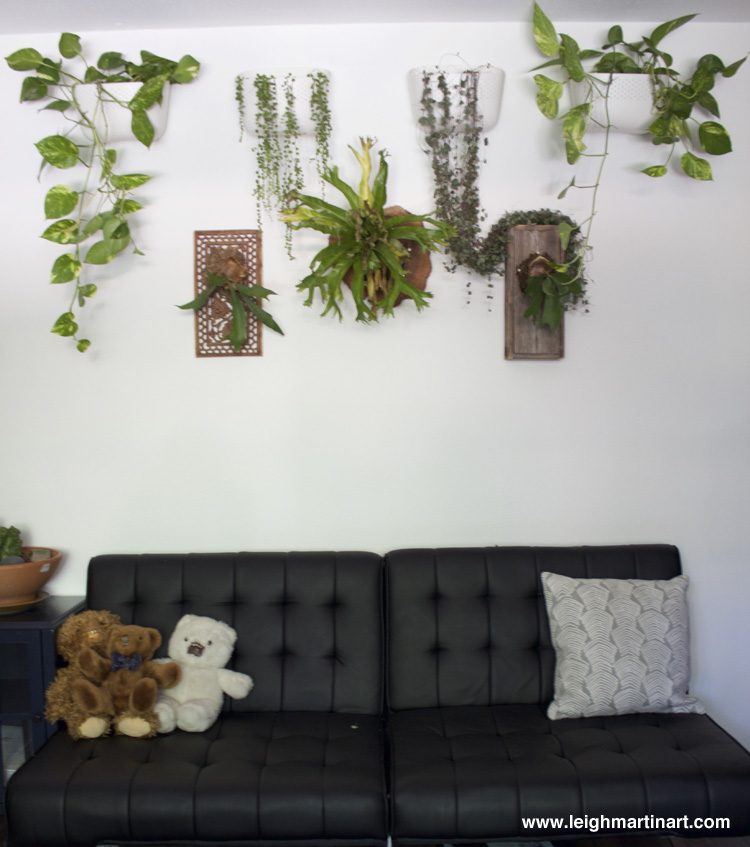
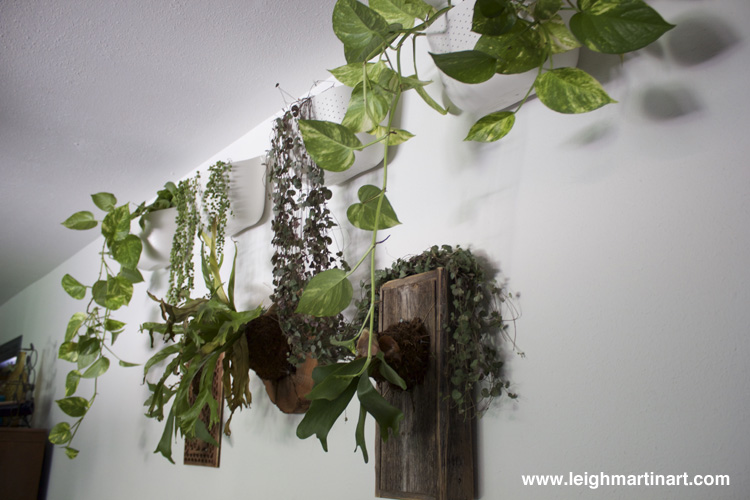
Earlier in the summer, I posted about beginning the realization of a longtime dream of mine... constructing a living wall.  It started out with a birdnest fern mounted on a tree cross section, and then I mounted some small staghorn ferns to hang on either side across from a big picture window in our living room.  It's a pretty slow process, but adding to the wall is very satisfying - like finding the perfect piece for a gallery wall. 
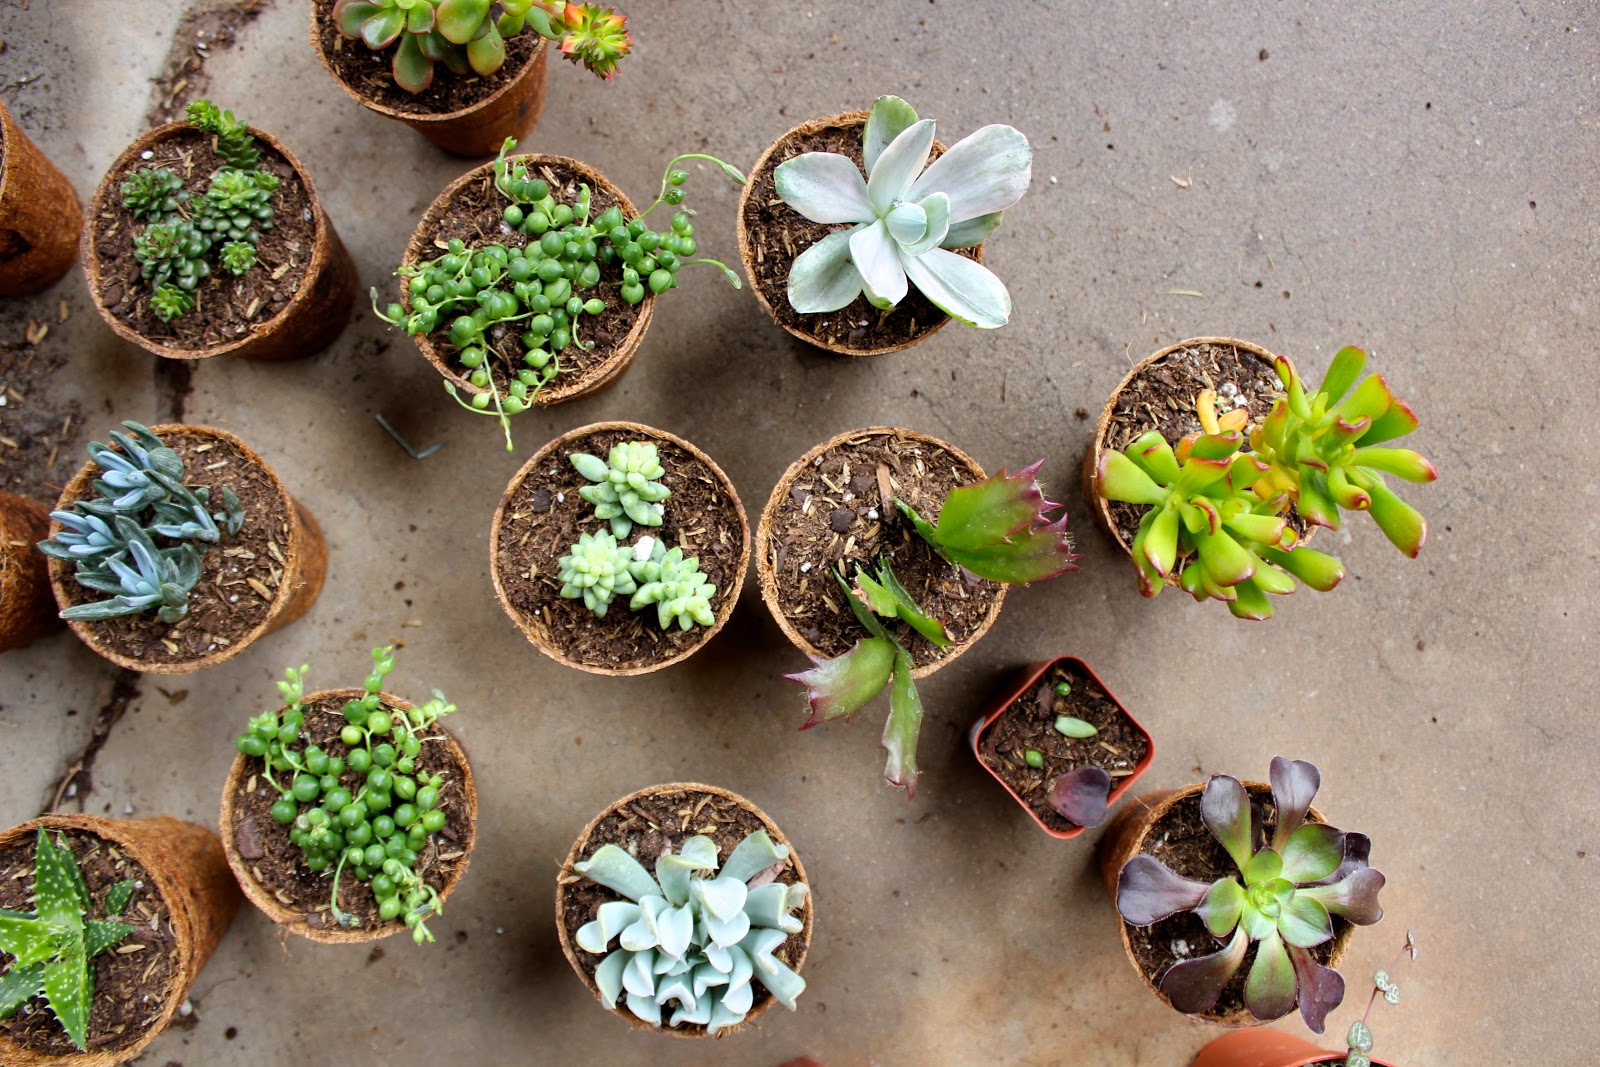
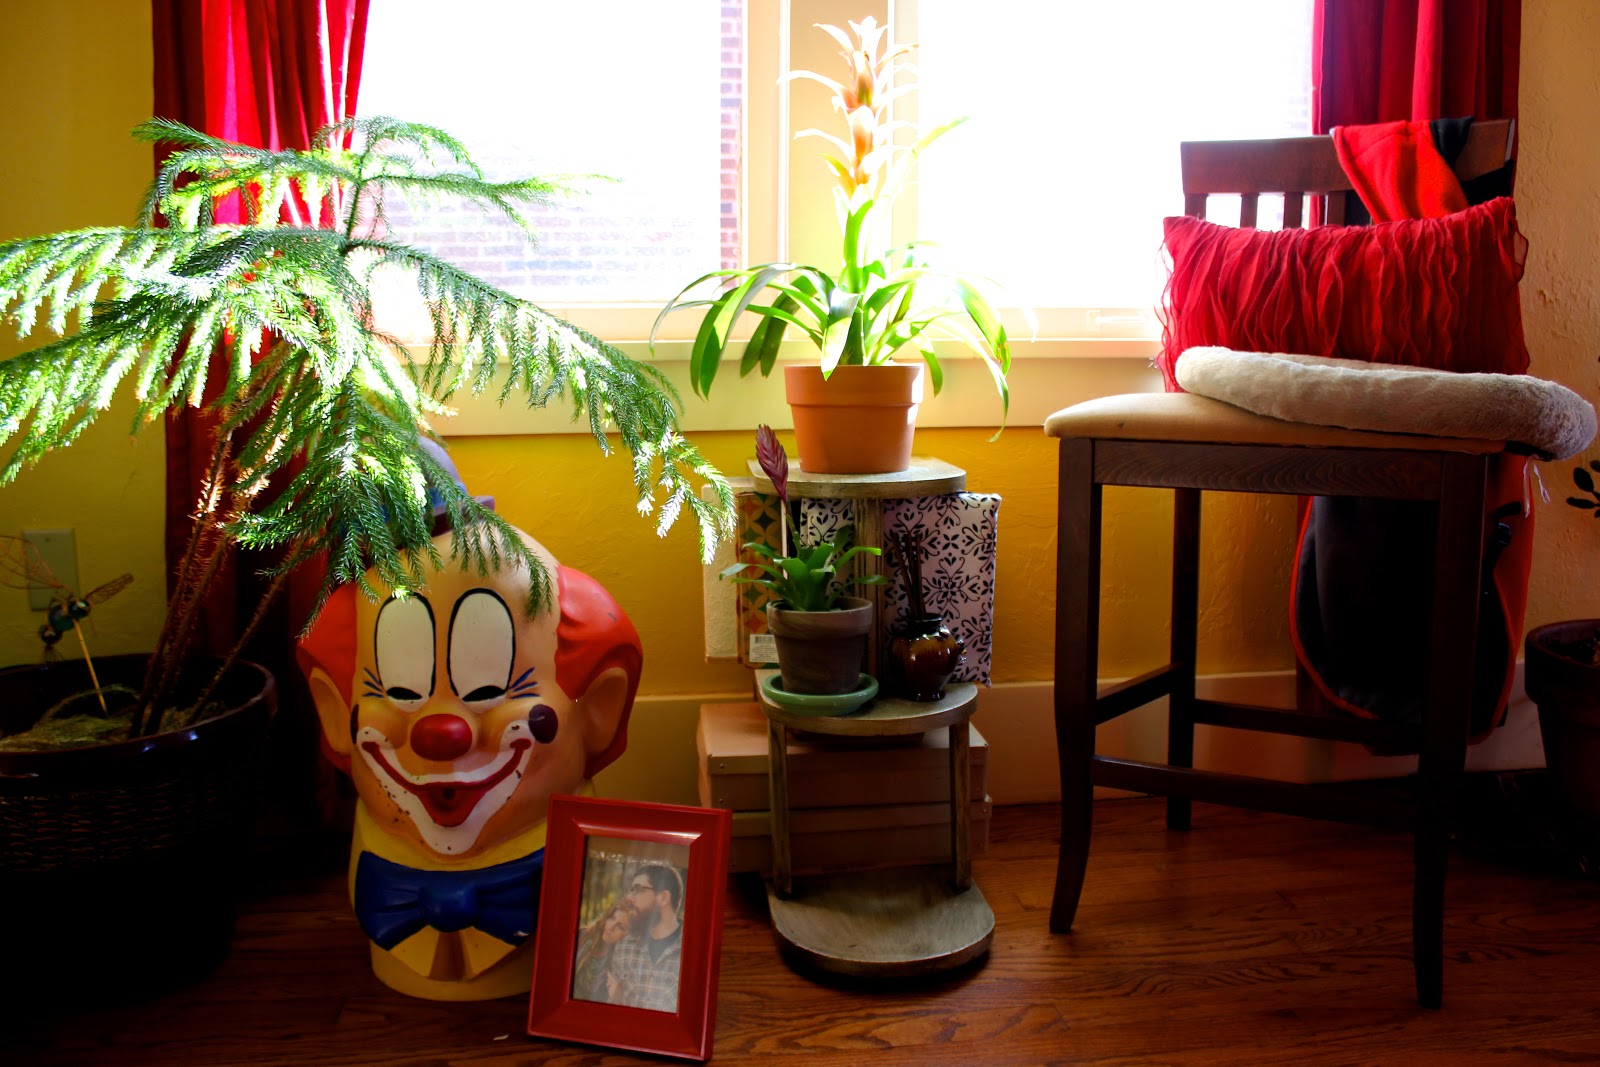
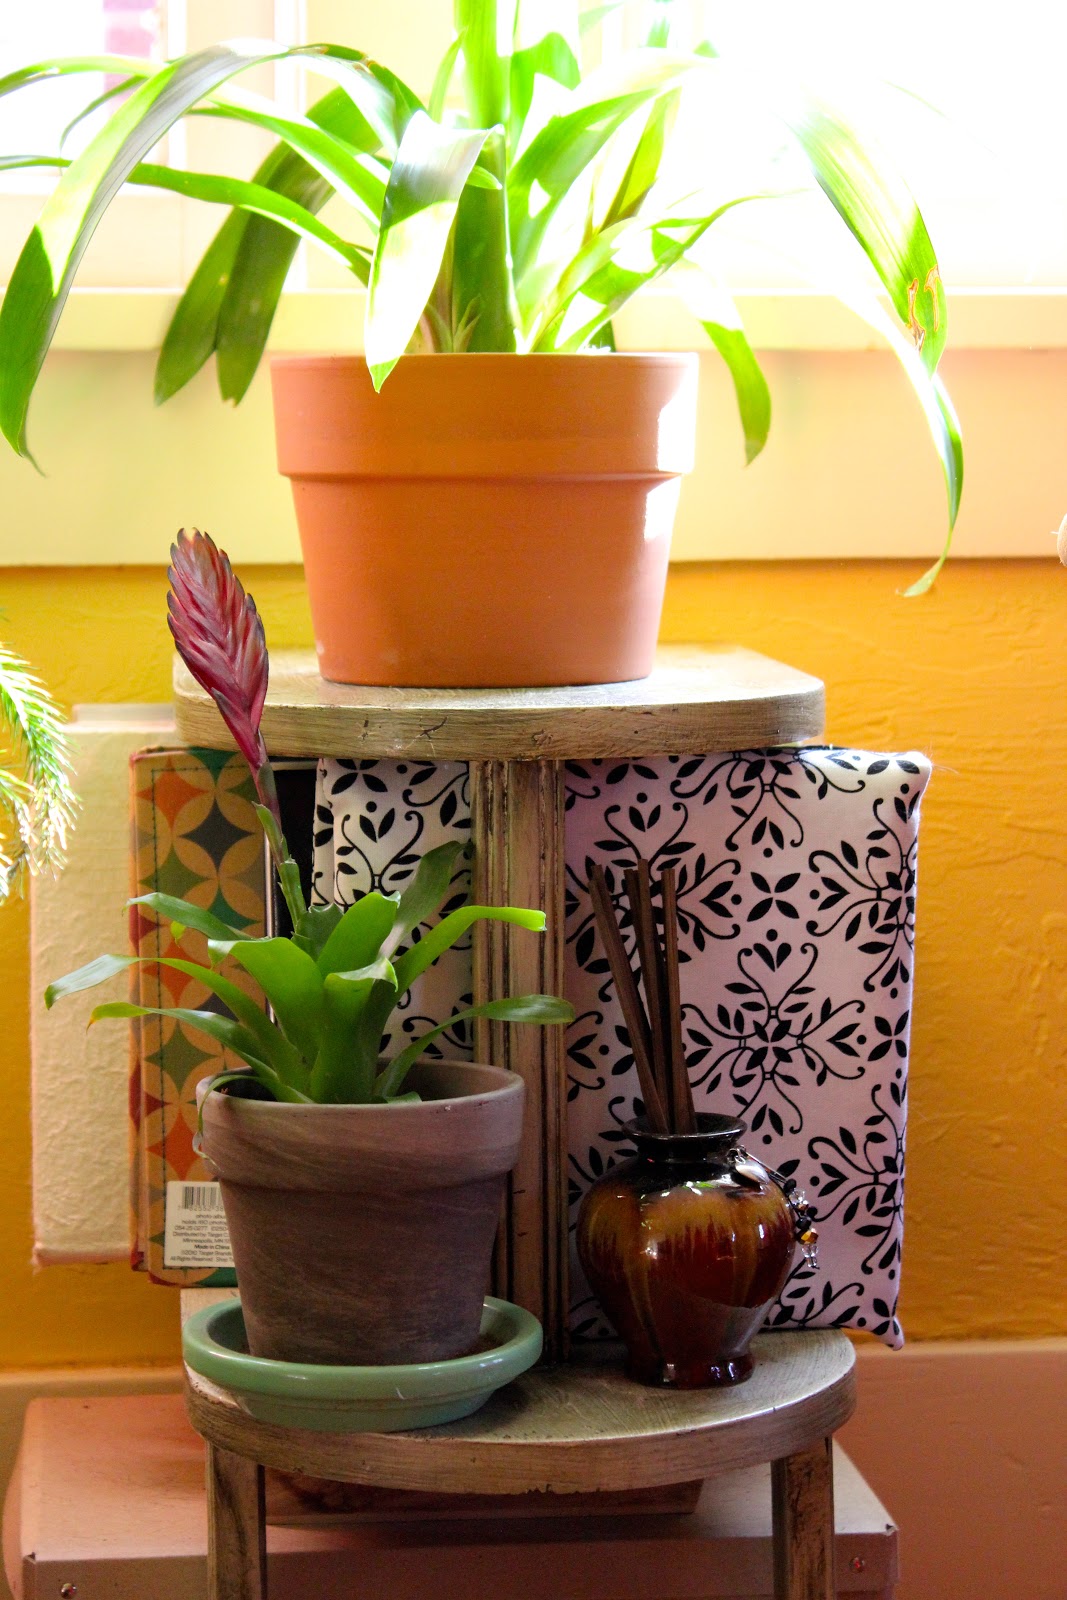
For my birthday in August, I got some Woolly Pocket Living Wall Planters to add to the mix.  I've had my eye on these for a while - they've got a nice modern design and address some of the issues that I have always had with indoor plants (particularly those that hang).  How do you avoid water overflow?  How can I mount the planter so that it is adequately supported?  To hang, you mount an anchor in the wall and the planter slips down over it.  I really like this feature, because it makes for easy replanting if necessary... you know, if you're still getting used to the ins and outs and accidentally kill something...  Ahem.  For watering, there is a reservoir on the wall side that you fill and it percolates through tiny holes into the soil.  All of the water is contained, but the roots do not sit in saturated soil unless you just water way too much.  I've found that I need to water less than I anticipated that I would (which wasn't very much to begin with), so that's been something to get used to.  Unfortunately, as I figured this out the string of pearls there in the center became a casualty.  The pothos are doing great though!

I installed my planters at the top of the wall so my vining plants can hang down.  At some point I would like to trellis these across the ceiling or further out on the wall, but it won't be that necessary until I add more to the installation.  Around the time that I was adding this phase, my birdnest fern started to look pretty sickly, and after some research I came to the conclusion that the temperature in the room was just too high for it during the day. We use an energy conservation thermostat and participate in a program through our local utility that basically leaves the house pretty warm in the afternoon.  Since that area is exposed to sunlight more than other parts of the house, it tends to be the warmest.  Sadly, the fern didn't make it, but I plan to get a larger staghorn to attach to its mount and hang in its place.

living wall update


living wall update 1

This post contains affiliate links, which means that I may receive a small commission if you purchase a product through the links provided, at no additional cost to you.  The only products I promote are ones that I have tried and feel strongly about supporting! 

June Garden

All the rain we've had this summer has really helped the garden take off.  It was a little slow to start, because it was, well, underwater... but after a little compost and some sunshine it's pretty thick!  With whatever space I don't take up with my veggie plants, I like to plant zinnia and cosmo seeds, and also allow all the basil germinate from plants that bolted in the garden last fall.  

june garden 2

june garden 3


Fennel is a new one for me, to grow and to eat.  This bronze fennel is really striking in the garden though, and I'm excited to harvest both seeds and the bulb before long.


june garden 4


Last year's oregano made it through the winter and decided to bolt (along with the sage and parsley) this past month.  It's huge and smothering the peppers at the moment, but the flowers sure are pretty (and pollinators are loving them)


june garden 5


My reasons for loving zinnia are pretty much apparent here - there is so much color variation!  Each new bloom is a pleasant surprise with an unexpected hue.


june garden 6


At our previous house, I had a butterfly milkweed plant growing in my flower bed that just randomly germinated in a gaillardia plant I brought home one year.  Every time I drive by that house I'm sad that I didn't bring it with me, along with the purple coneflower that I moved back from Austin with.  Both are huge and nicely established now, covered in blooms all summer long.  Hopefully they are being enjoyed by the new tenants and passersby!  In any case, I planted a few different types of milkweed throughout our yard with hopes of enjoying these plants once again.  The one above is tropical milkweed.


june garden 7

june garden 8

june garden 9

june garden 10

june garden 11

june garden 12


My niece helped me build this herb bed in the spring.  It needs to be weeded, but is otherwise flourishing.


june garden 13


First little pumpkin of the season!  (first one ever, for me)


june garden 14

Living Wall || Mounted Staghorn Ferns

I first became acquainted with staghorn ferns when living in Austin - a good friend who was also a coworker had one in our office, but it had unfortunately seen better days by the time I arrived there.  I tried to revive it, but really didn't know much about the plant despite my otherwise green thumb.  All I knew was that one of my favorite garden centers down there, The Great Outdoors, had a giant staghorn hung from an old live oak tree, and there are few non-tree plants that have had that kind of impact on me.  Every year, the Zilker Botanical Gardens host a garden festival, which was where the office plant originated from.  I picked one up that year only to experience the same failure and disappointment at my inability to get one of these interesting specimens to thrive.  Now several years the wiser, I have realized after many house plant casualties the phenomenon of "loving a plant to death".  Too much water, folks.  It's one of the main reasons that people kill indoor plants!  Once I learned to be patient about plant care, I found that I had much greater success with long term health of indoor greenery.
Living walls have interested me for a number of years now.  With the exception of my studio, much of our house is pretty dim during the day.  However, the living room boasts a large window facing the east, and the room is bright in the morning hours and lit indirectly in the afternoon.  The wall facing the window is long and from the get go I saw it covered in plants when envisioning our new home.  Last year for my birthday, J gave me a birdnest fern, mounted on a tree cross section by a local business, Ghostcat Botanical.  This winter I found a couple of stag horn ferns in 4" pots and finally found a couple of pieces of wood to mount them on at an antique mall over Memorial Day weekend.  One is a box built from old barn wood, and the other is a hand carved panel, presumably from some type of cabinet door.
Mounting staghorn ferns is actually pretty simple.  Supplies include a mount such as a board or tree cross section, sphagnum moss, nails and hammer (or screws, your preference), and fishing line.  Staghorns are epiphytic plants, which means that they do not actually need potting medium - the roots will just attach to the surface that they are mounted to.  Since mine were started in the 4" pots they did have a little soil around the roots, which I wrapped with moist sphagnum moss.  I then set the root ball on the mount to determine where to place my nails.  Using about 6 nails around the perimeter of the root ball, I drove them in about an inch from the edge of where the root ball would be.  You can mark these spots and remove the plant while hammering.  Once nails are in place, position the plant again and make sure the moss is covering all surfaces of the soil.  Tie the fishing line to one of the nails and bring it over and around the root ball in a clockwise direction to a nail on the opposite side and wrap the line around it a couple of times.  Be sure to take the line underneath the flat fronds at the base of the plant and be careful not to damage or remove them, even if they are brown.  From here, take the line clockwise across the root ball again, to the nail just past the first one you tied on to (in the clockwise direction).  Wrap a couple of times, and take the line clockwise to the nail just past the second one you wrapped.  Continue to wrap, bringing the line just past the opposite nail that was previously wrapped until you have gone around the whole root ball a couple of times.  It doesn't necessarily matter exactly what pattern you wrap in, as long as the line is consistently supporting the root ball on all sides.  I wrapped around the base a couple of times as well, before tying the line off to the tail of line where I started and tucked both ends behind the moss. Gardenista has a great tutorial on mounting staghorn ferns as well, which I definitely recommend checking out if you're interested in trying it.
I know it's not exactly what one would call a living wall just yet, but it's a start!  I can't wait to keep adding to it over time and watching these babes grow.  On another note, I'm in the process of harvesting spores from the birdnest fern and plan to try my hand at propagating them.  I'll let you know how it goes!
 

Black Swallowtail Larvae

I'm growing dill this year mainly to use in pickling, so I don't mind so much that the little patch of fragrant herbs are being consumed by these beautiful black swallowtail caterpillars.  At least, I won't mind until I go to make pickles, in which case… bummer.  So many of these little guys are hanging out that I'm thinking another round of seed sowing is in order so they won't run out of food-- I would love to see some black swallowtail chrysalises in the garden!  Now to figure out where that seed packet went...

Ample Moisture

Oklahoma saw a late spring this year, and just in the last couple of weeks have we started receiving some of those "April showers" that supposedly bring on the "May flowers" and henceforth.  I planted my garden weeks ago and have relied on my trusty garden hose to keep it watered, but for several days we saw some continuous rain amounting to a few inches in the end.
I've seen some inky cap mushrooms pop up here and there since my entire garden is covered in a nice thick layer of wood chip mulch, but as the rains kept going they really seemed to find their happy place.  One morning I came outside to witness this - an entire area of the garden covered in these little shrooms.  It's odd how quickly they change.  I took these photos about 30 minutes to an hour after I first spotted them.  Initially, they still looked fresh and the caps were not curling upward yet.  By photo time they had started to deteriorate some and A noticeable change in color was apparent.  I came out an hour later and they had disintegrated into a mere memory.  Had I not seen them earlier I would not have known of their presence, save for a close observation of tiny black fibers across the mulch.
I love the textures in this top photo - this is one of my favorite attributes of fungi: the textures.  So intricate, despite how small they are.
And now it's raining again...

Mystery Plants Galore

A couple of owners back, a Horticulture professor lived in our house.  Fitting, huh?  I'm rather thrilled by it, as we've got quite the assortment of trees that I've always wanted to grow, in addition to many plants that I am not so familiar with.  Now that springtime has arrived, things just keep popping up -- first a chorus of daffodils, and then earlier this week I noticed all of these little yellow flecks from across the yard while I was observing a fruit tree (plum, I think) with bees collecting pollen to their little hearts' delight.  Upon closer inspection, I discovered these beautiful little shrubs - tons of them, all lining our far back fence and smelling sweeter than I ever could have expected.  And I will admit, I had NO idea what they were.
Fortunately, my fellow nature lover Misti, who is far more knowledgeable in non-tree plant species than I am came to the rescue… and identified it as golden currant!  We have currants!  I will admit that while I know what currants are, I don't think I've actually eaten one… but I do intend to try my hand at making some preserves this summer!  I know that mystery plants abound in our half acre yard, but I'm really looking forward to discovering more of them… and adding more unusual varieties as well.
Have any of you grown golden currant before, and do you have any good recipes to use them in?

Tutorial || Tiered Moss/Copper Hanging Planter

I'm all about a great way to display plants, and this planter idea has been floating around in my head for a while.  I'll try to keep it from making me want to buy ALL OF THE SUCCULENTS, but that's no guarantee.  This project only took a couple of hours and it's perfect for cascading succulents that like to dry out a little bit in between waterings.  The moss holds in moisture after you water it, however.  You can either hose it down gently (this is what I've been doing when I water my other containerized porch plants) or soak it in the sink or a bucket.  If you put this indoors, make sure that you hang it over the bathtub or something after watering to let it drain out completely... unless you just like having water all over the floor.  Just sayin'.


Materials needed:

A bag of sphagnum moss Needle-nosed pliers Approx. 50 feet of 14 gauge copper wire Three plants (cascading types that can handle drying out will work best) A bucket for soaking the moss, filled halfway with water Yarn/twine is optional if you would like to tie up the moss ball while you wrap your wire.


1.  Begin by cutting the copper wire into lengths of about 36 inches.  You will need five pieces of wire for each tier of the planter.  Meanwhile, soak the moss in a bucket.


2.  Take five pieces of cut wire in a bundle and find the center of the length of wires.  Using the pliers, twist the wires around each other to form the center of the bottom of your planter.  Spread the wires apart in a circular/sunburst fashion.  You now have ten wires around the circumference of the center twist.


3.  Place a handful of wet moss in the center of the wires to form the foundation for your plant.
4.  Take two adjacent wires and twist them at the edge of the bottom of the planter.  They should still be spread apart from each other on the bottom to provide more support - just bend them toward each other at the corner to twist.
5.  Go all around the edge of the planter twisting sets of two wires to begin the side supports of the planter.
6.  Next, bend each wire in a set away from the other toward the wire on the other side.  Now twist these two wires together forming five new sets of wires.  Continue to repeat steps 5 and 6, adding moss around the edge as you go and leaving a pocket in the center where your plant will be inserted.
7.  Place the plant in the center pocket, and add more potting soil if needed.  Cover the top and sides with more moss.
8.  Continue twisting the wire at the sides until you have reached the top.  Gather all the wires, centered above the plant about 4 inches and join them together.  Using the pliers, twist the wires into one coiled wire.  For the top tier of the planter, make a loop with the coil and then twist the ends around the coil below the loop.  You can then hang it from a plant hook.  For the lower tiers, you can join them to the tier above by wrapping the ends of the coil around the wire twist on the bottom of the planter tier, and then securing it by wrapping the ends around the coil.


That's it!  Water once you notice the moss going dry.  What do you think?  Anyone want to make a guess at how many of these will be hanging on my porch by the end of the summer?!  :)
IMG_3456

New Growth

One of my favorite parts about gardening is watching the plants day after day as they put on a little new growth or unfurl a new little blossom.  These succulents are really starting to perk up.  I can't wait to see how much they grow over the next few months.

Raising Succulents

 Just look at these beauties!  Succulents are by far some of the most striking plants to grow at home.  When we were in the Pacific Northwest this past summer, I collected multiple little bits of succulents that we found while walking about, to bring home.  It's amazing how easy it is to grow a new succulent plant from just a little piece that fell off of another one.  There are so many varied textures and colors with these little guys - any time I go to a nursery that carries them I have to resist leaving with an armful!  Luckily for me, my friend Jo Anne from the Anthaus studio asked me to be a part of one of their group's new design ventures... so she and I went wild at a local nursery the other day and now I'm excited to be the caretaker for these babies as we develop this new art project.  I'm excited to tell you more about all of this eventually, but for now I've got to be just a little bit cryptic (sorry... but haven't I piqued your interest??)  Check back soon for more...
Anthaus is an artist collective in Oklahoma City, Oklahoma that "was founded to challenge and inspire artists, designers, and craftsmen to work together using their skills on projects with a unified theme."  They say, "we strive to not only create, but create with a sense of purpose.  Our projects involve those with the same values and are passionate to learn."


Greenhouse Blues

I've dreamt for as long as I can remember of constructing my very own greenhouse, curating it with the most intriguing and exotic of plants and, of course, managing to keep them all alive.  That day has yet to come, but every fall when the mornings get a little more crisp and my bare arms tingle in call of a sweater I realize.... pretty soon the jungle on my front porch will have to come indoors.  This is when the longing for a greenhouse stabs me the most, but as a renter I must concede and bring my plants into the living room where they will face such adversaries as low light, dry hot air, my ever improving sense of how much to water an indoor plant, and perhaps the most fierce and fearful.... the cat.
My houseplant skills have gotten much better over the years, and I actually have a pretty great little chorus of plants going in the living room.  The cat seems to be losing interest with age, or maybe its just that as he grows older he becomes less sprightly and more like a cat... lazy and apathetic.  Either way works for me.
This year when the flora was brought inside we added some air plants to the mix, hung across the ridiculous expanse of a doorway that separates (if you would call it that) the living room from the dining room.  I guess poorly laid out floor plans are good for something, after all.  I am excited to share the air plants with you in just a few days time...
As I tend my leafy friends this winter they will serve as a reminder of what we hope to achieve in the coming year, just contributing for my overwhelming need for a garden.  With a garden, even a greenhouse can wait.