Dye Jar Progress

Since summer is now in full swing here in Central Oklahoma and we've been hitting heat indexes of over 100 degrees, my solar dyeing projects are coming along nicely.  The one on the far left, I started about three weeks ago using prairie coneflower bloom heads and petals.  The center one is osage orange extract, and the one on the right is bald cypress leaves.  These two on the right are for a big project I'm working on to show this fall.  All are mordanted with alum and vinegar.


As you'll notice at the bottom of the jar, after a day or two in the sun (or submerged, one or the other), the leaves start to lose their green hue and take on more of the copper color that you see in the fall.  I just removed the dye stuff from the top of the jar this morning and added some fresh leaves to get some additional pigment.  It seems to be coming out a bright yellow color.


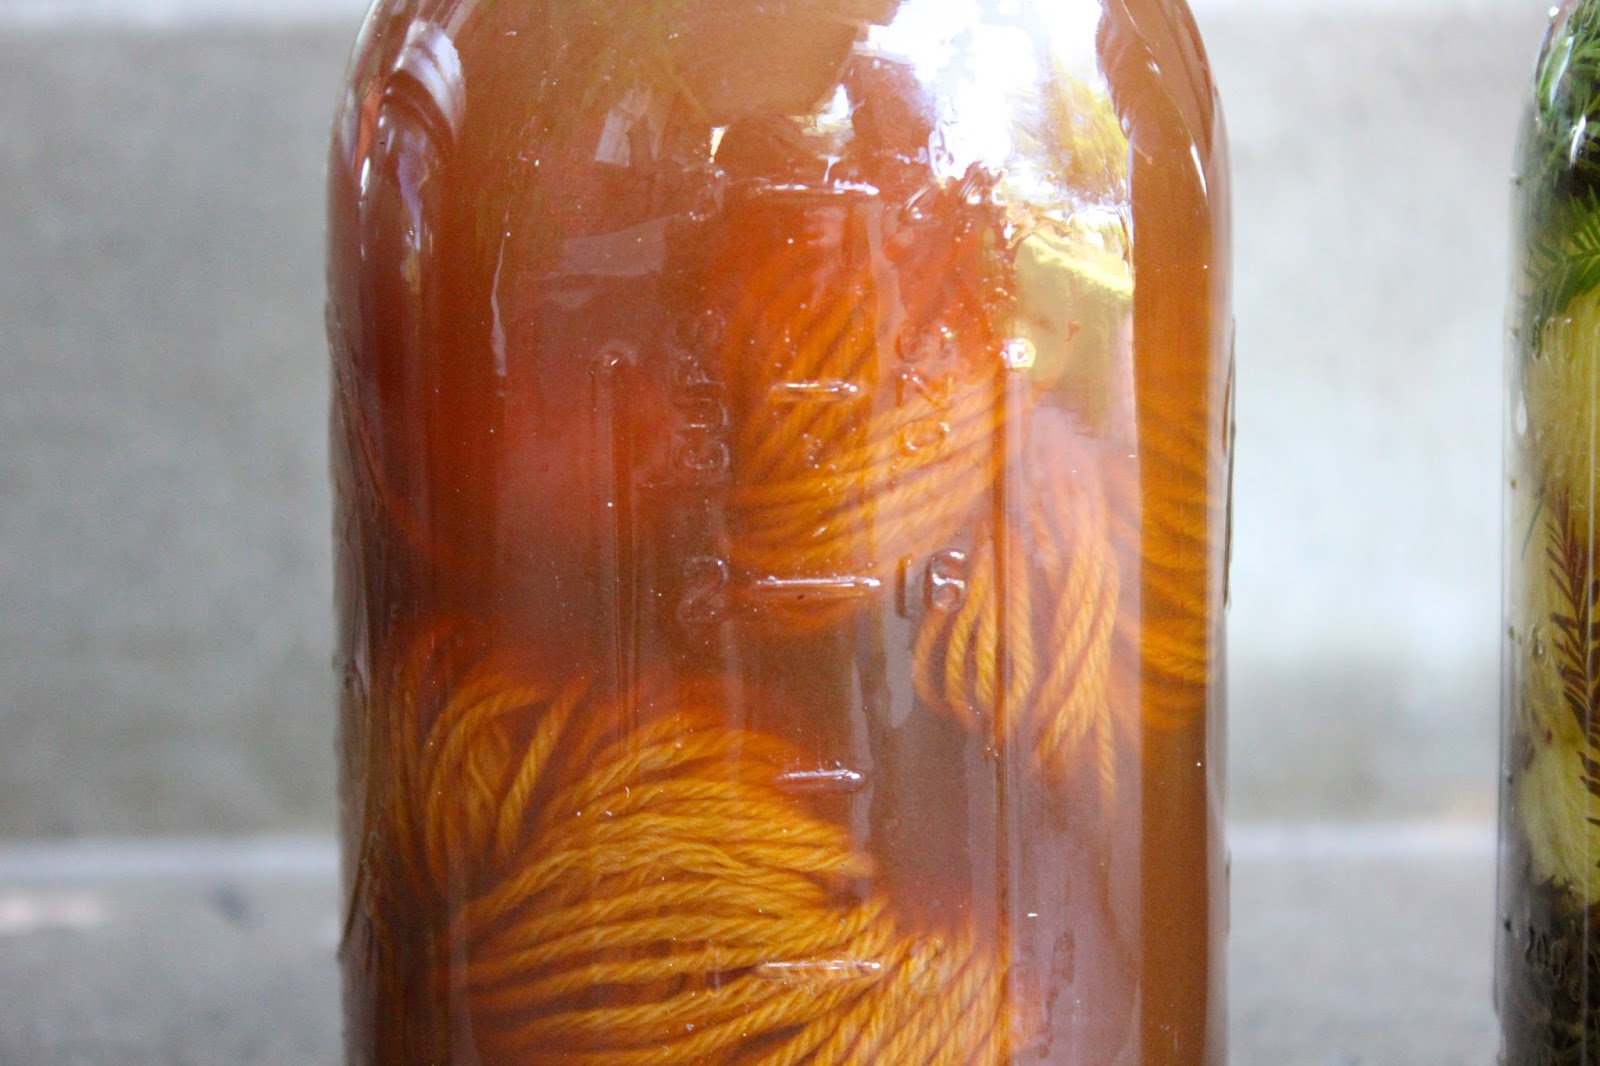
While I would love to try dyeing with actual osage orange root, I had this extract and for the sake of getting some of these jars going I decided to go ahead and use it.  The shade is a beautiful, burnt orange.  Less red than the madder that I used last month.  It's going to add a lot of brightness to the project I'm using it for.


I've really loved watching the evolution of this jar.  After the first week in the sun, the water took on a deep purple hue.  When I started noticing the yarn taking on color, however, it looked more green.  Now, it almost looks like the coneflower heads have produced a blue-green color in the yarn.  I removed the dye stuff from the top of the jar and topped it off with water this morning.  It was a little cramped in there so the yarn was stuffed into the center... Hopefully this will allow it to spread out some and absorb more color in the center section.  This yarn has no project slated for it yet, so I will likely let it sit until the water looks clear and there is no more pigment to be absorbed.


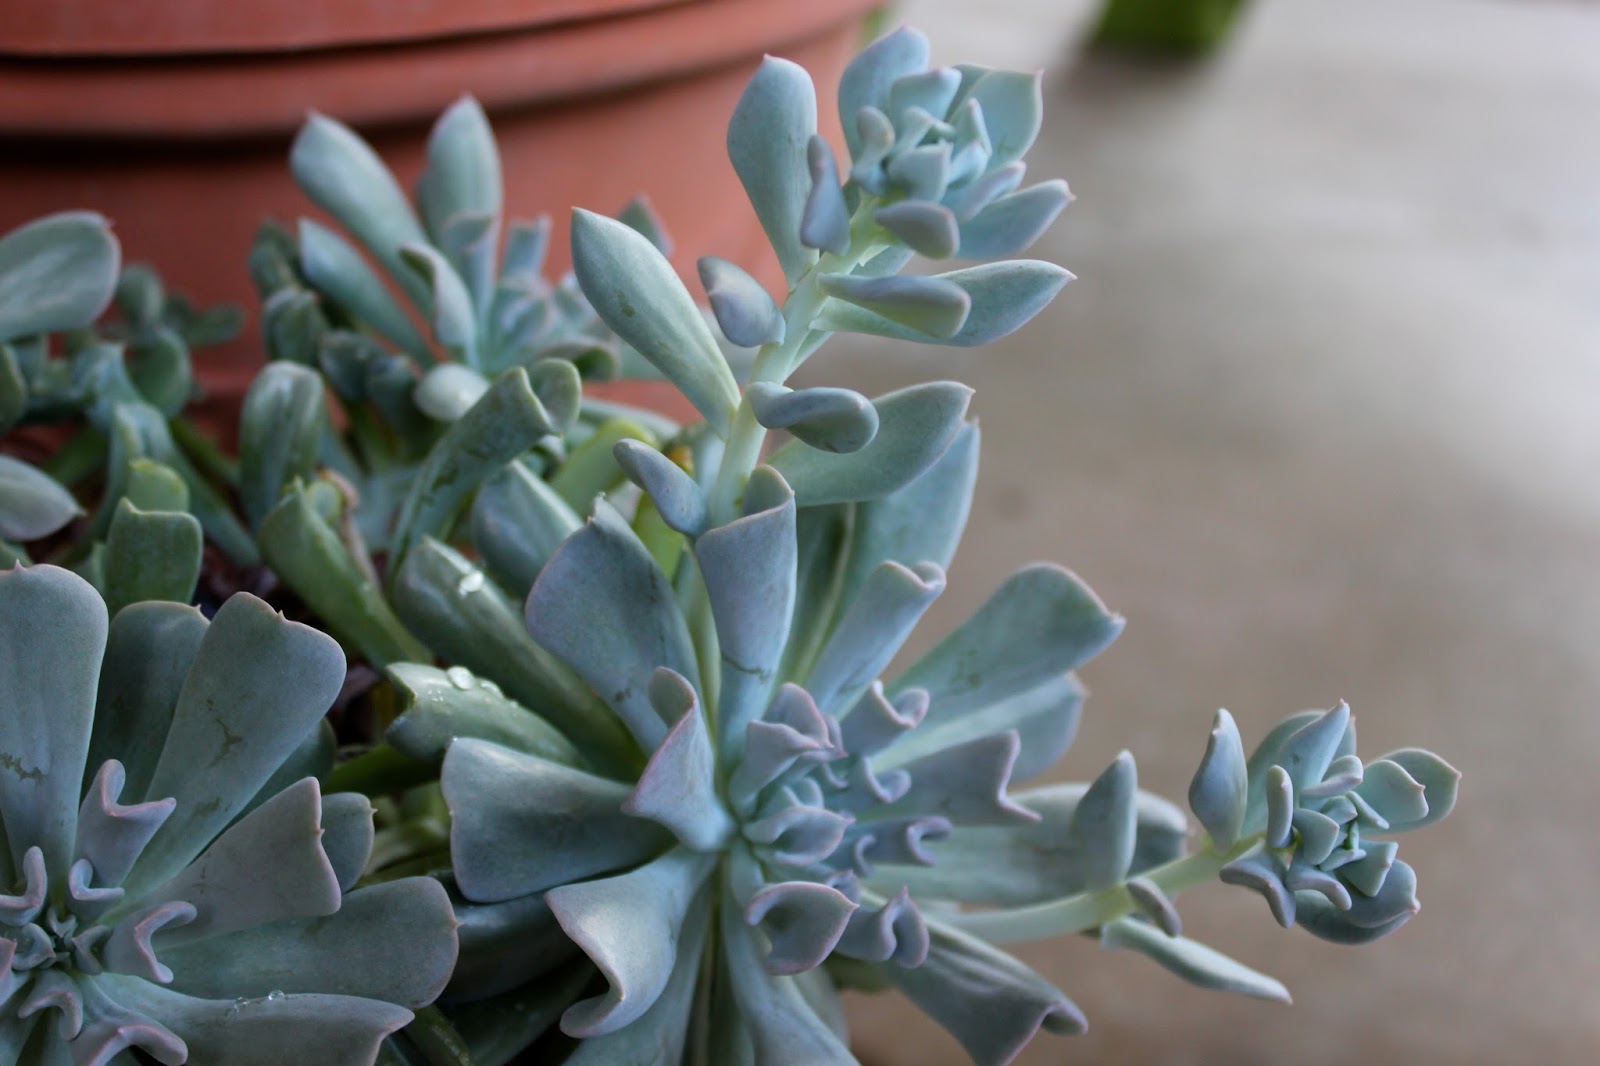
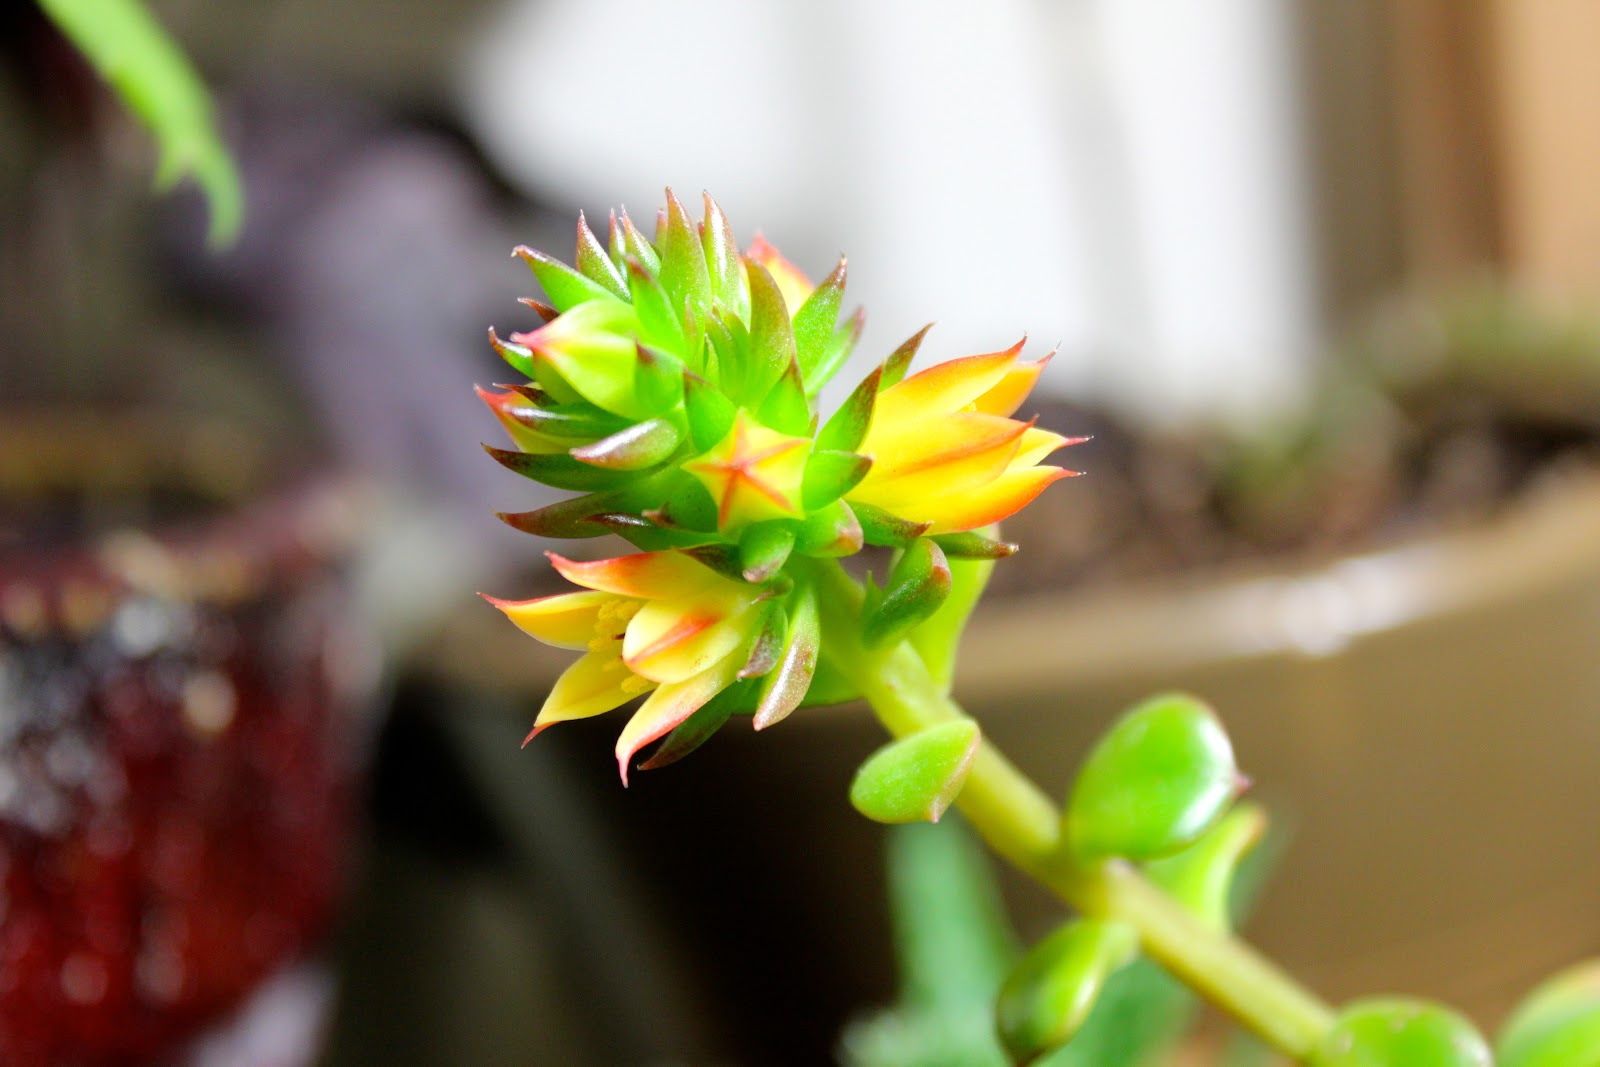
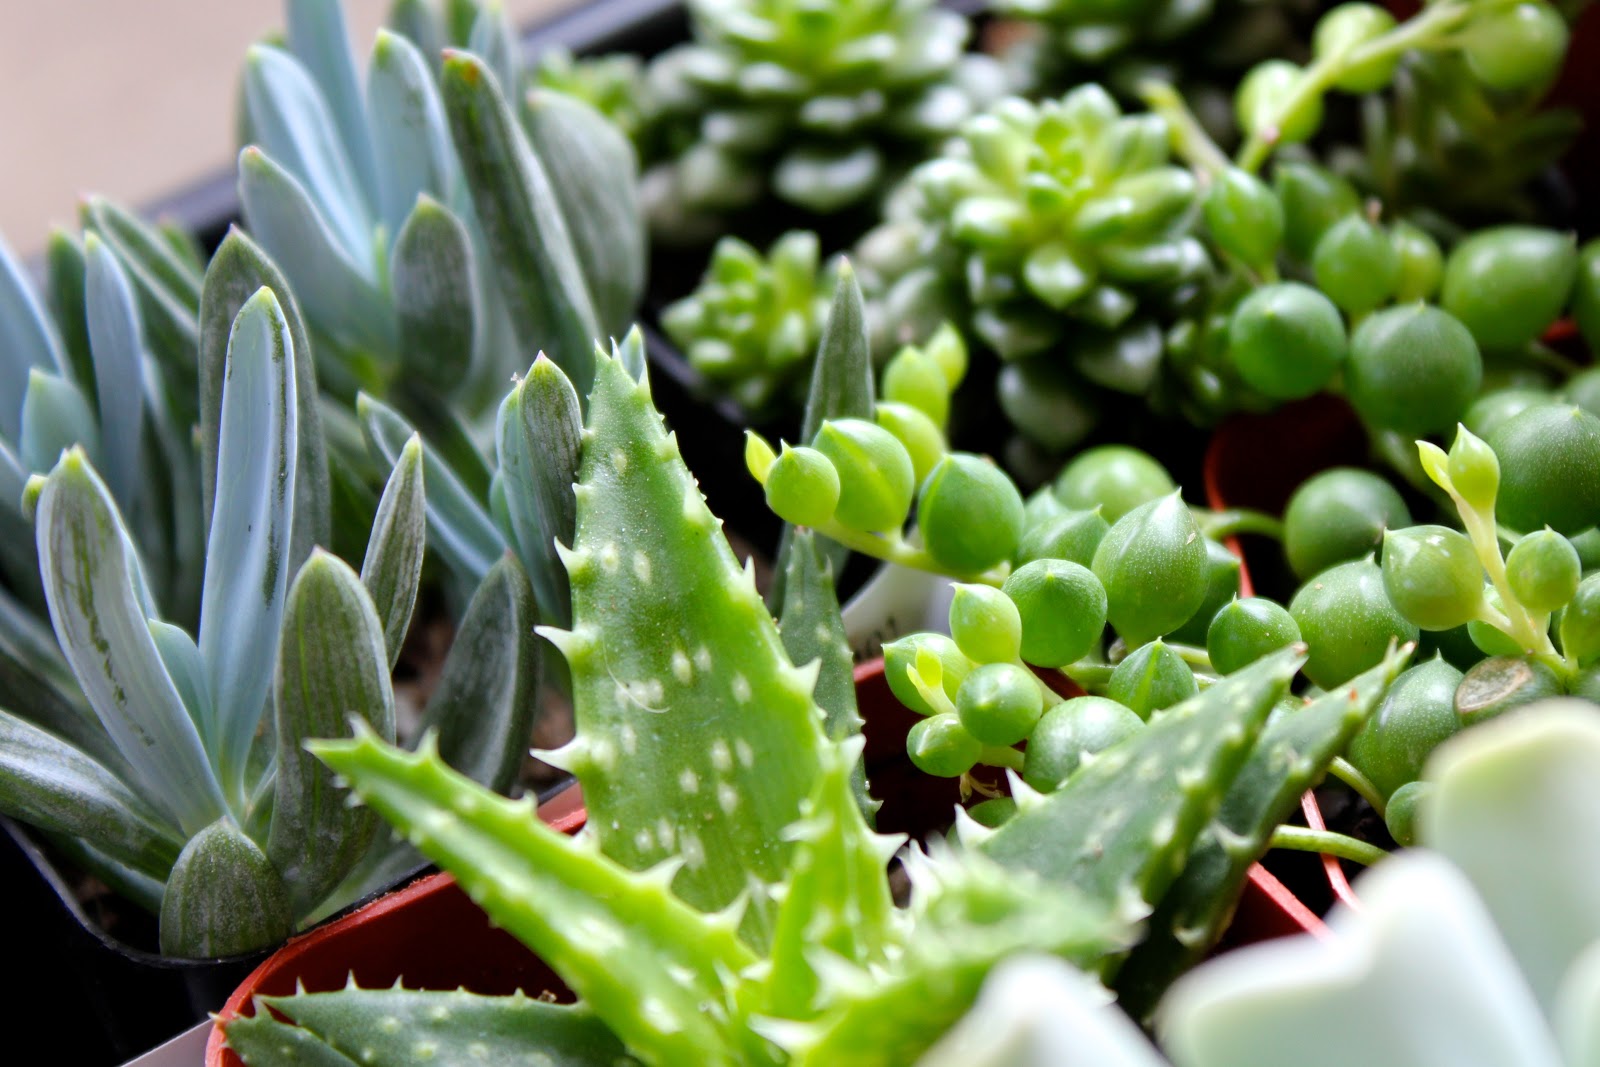
On a side note, check out these stalks that one of my succulents is putting out!  I love watching these guys grow...


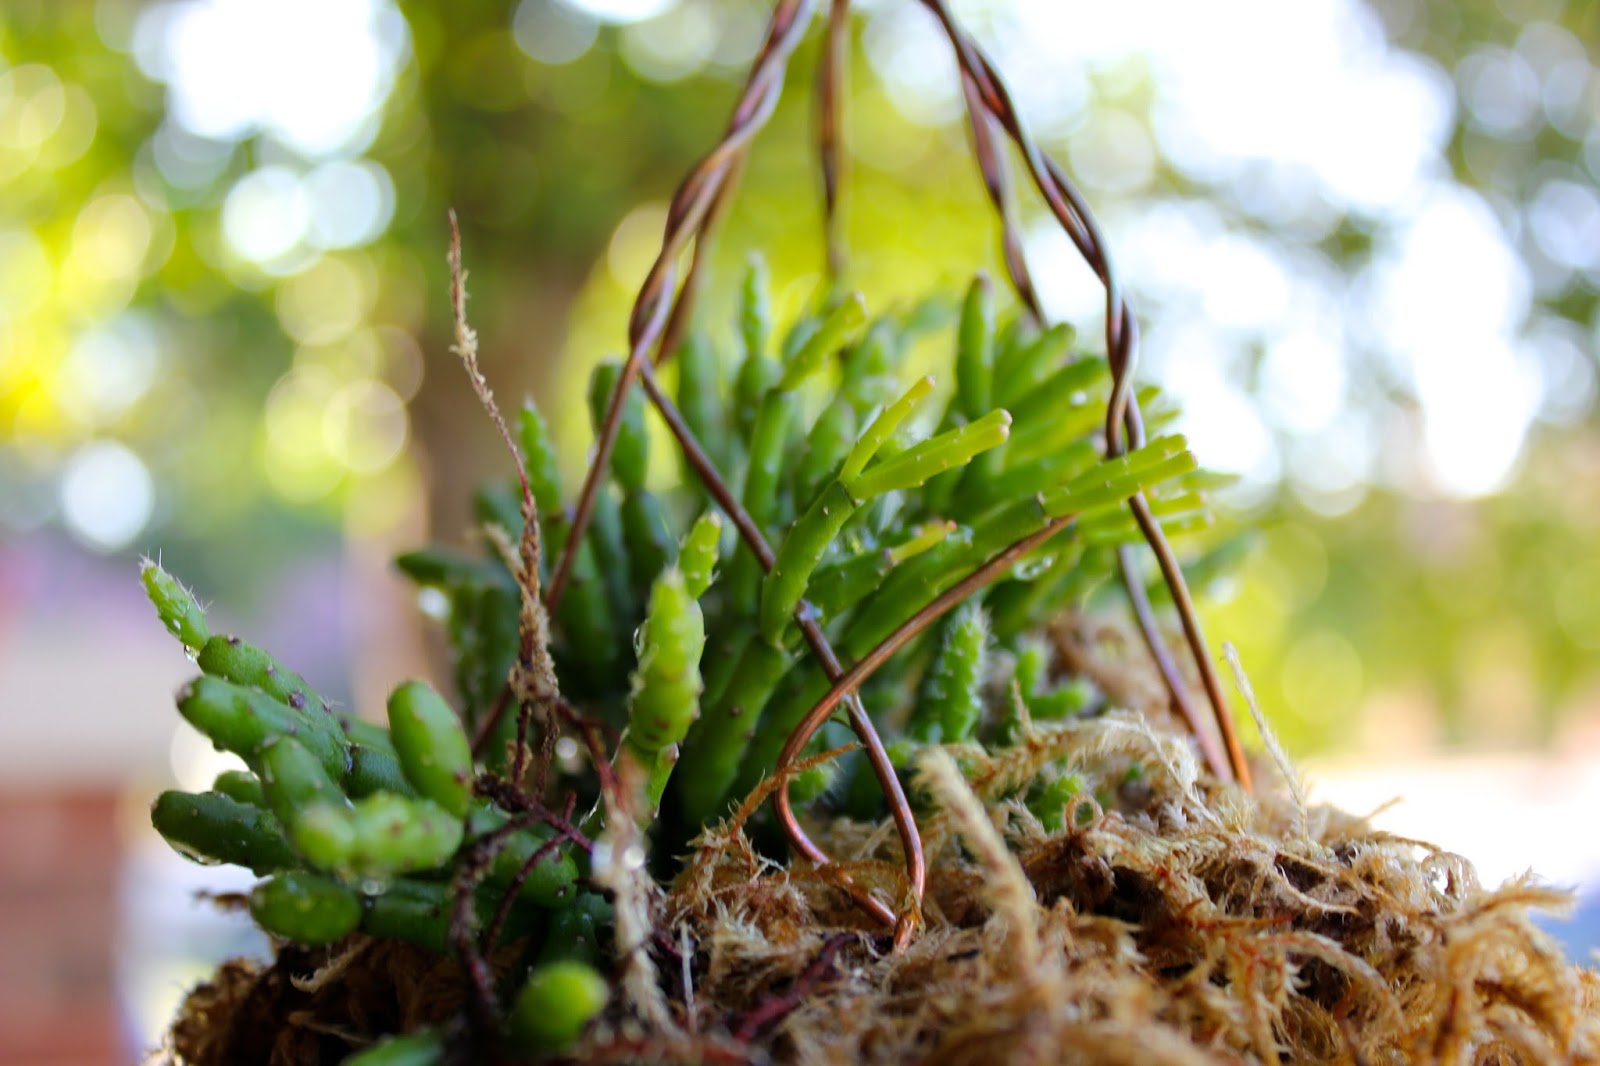
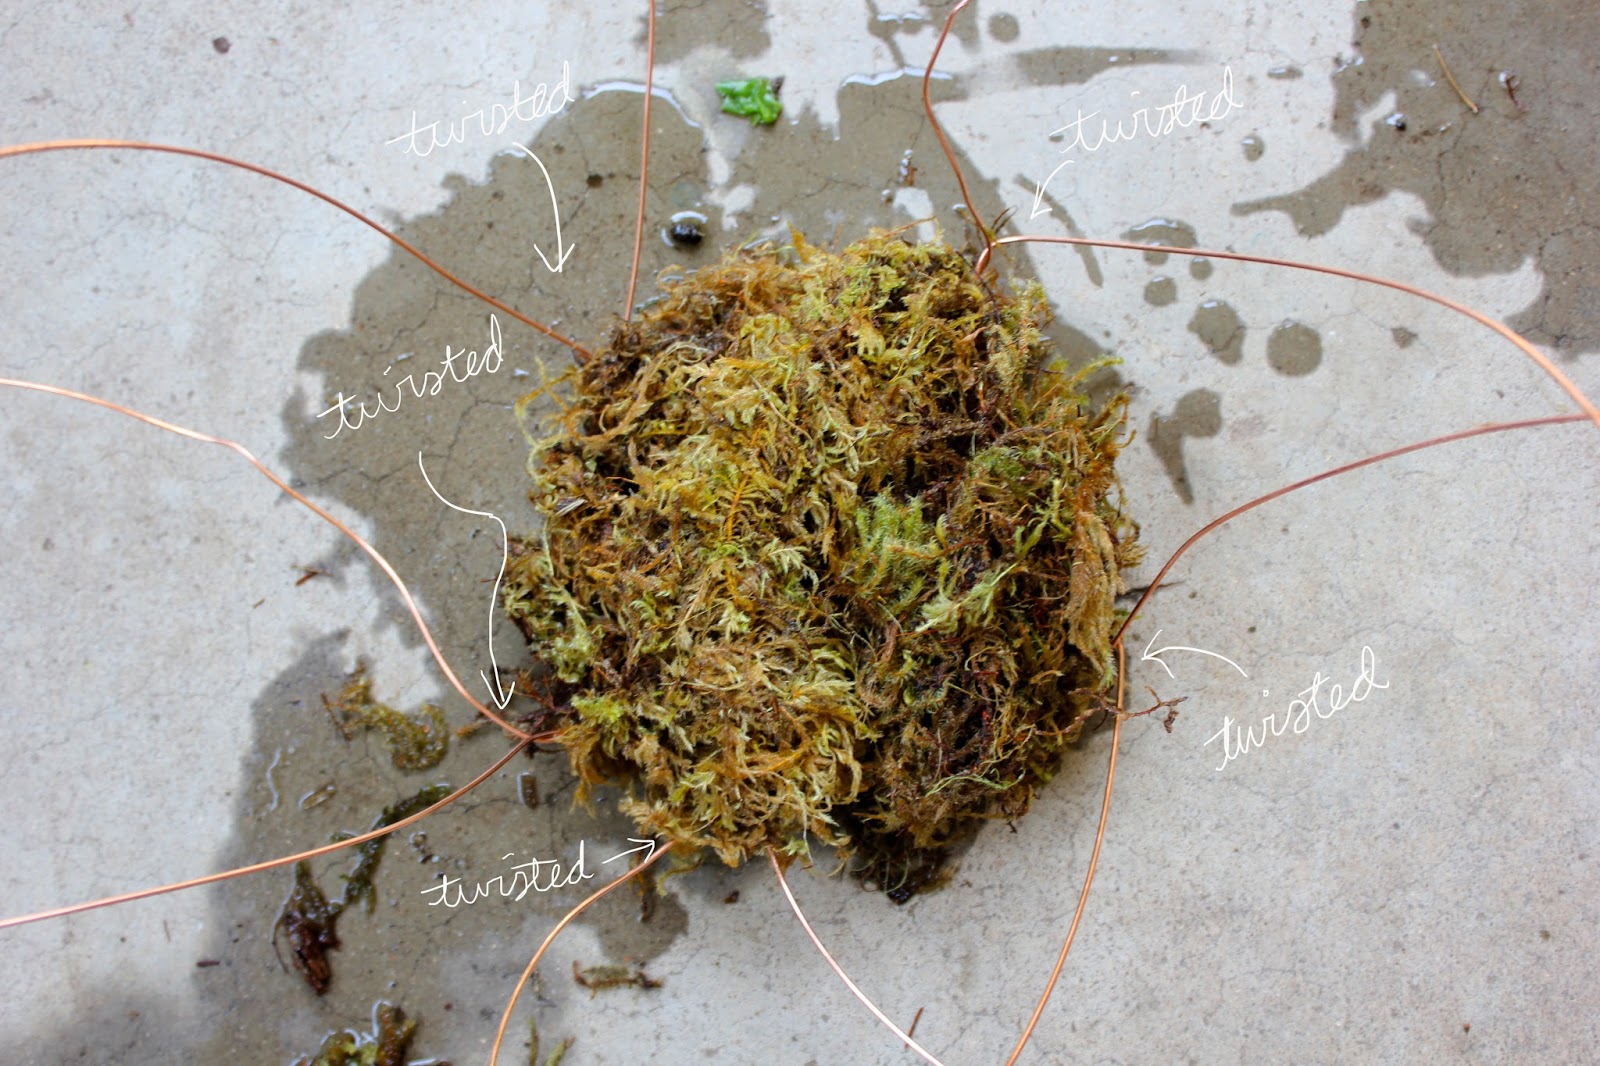
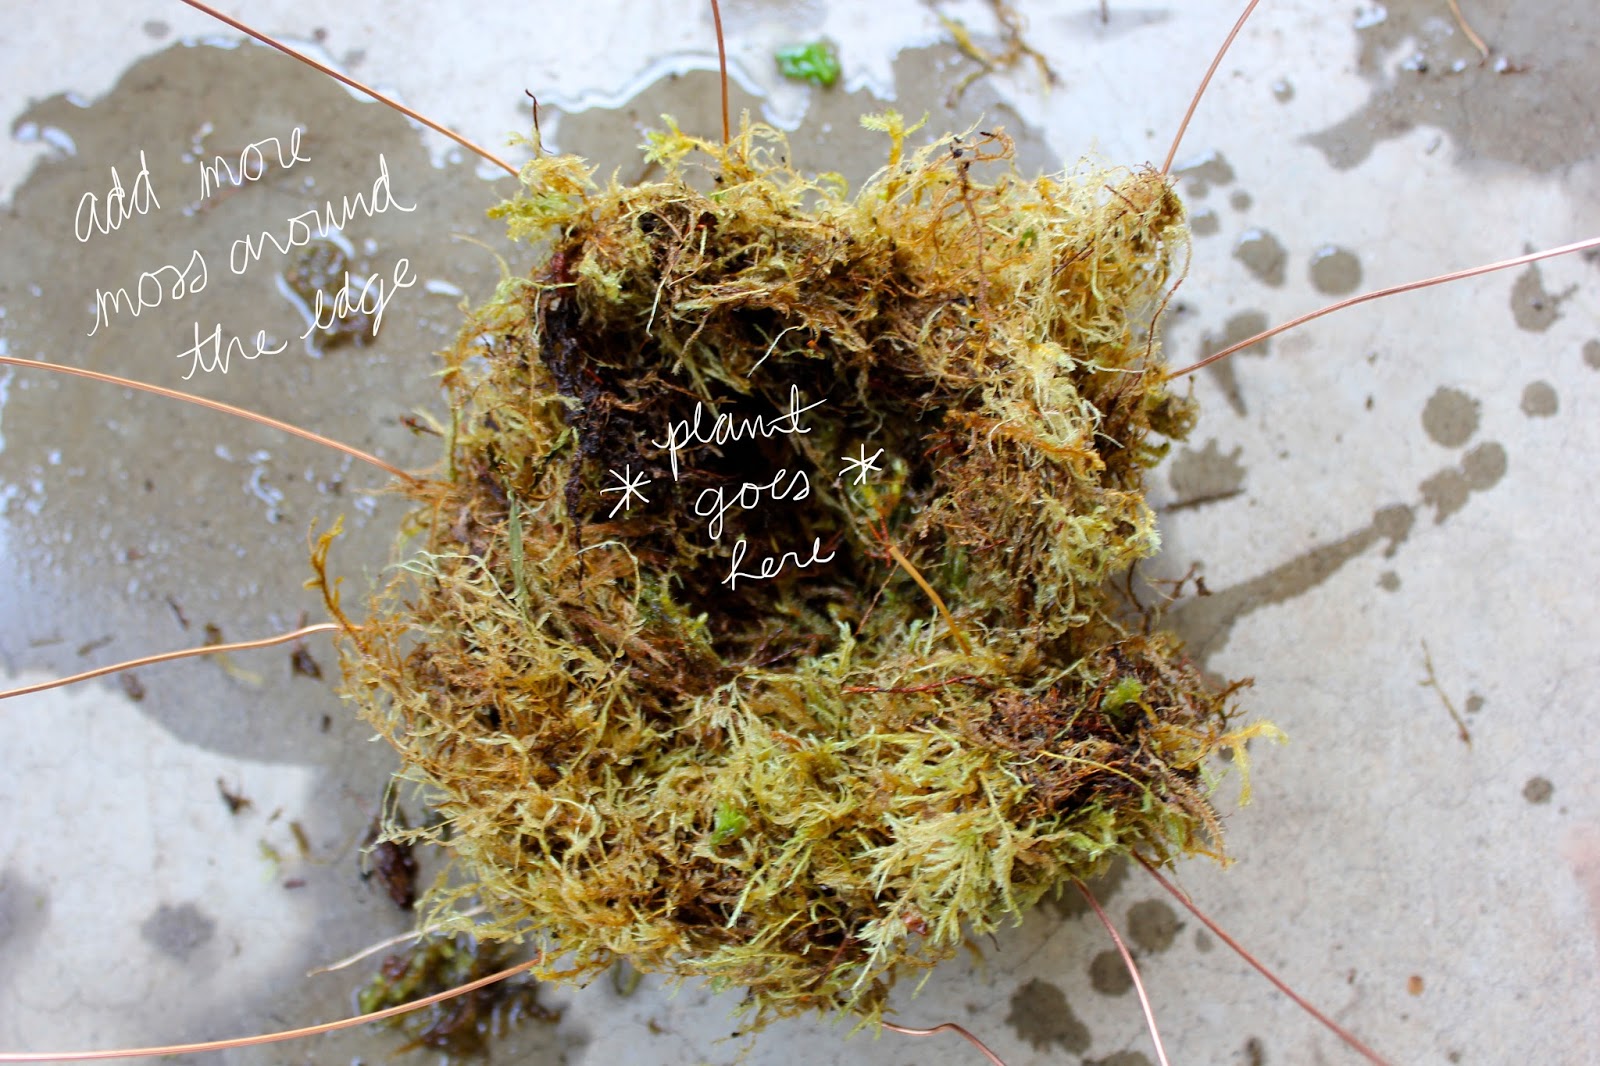
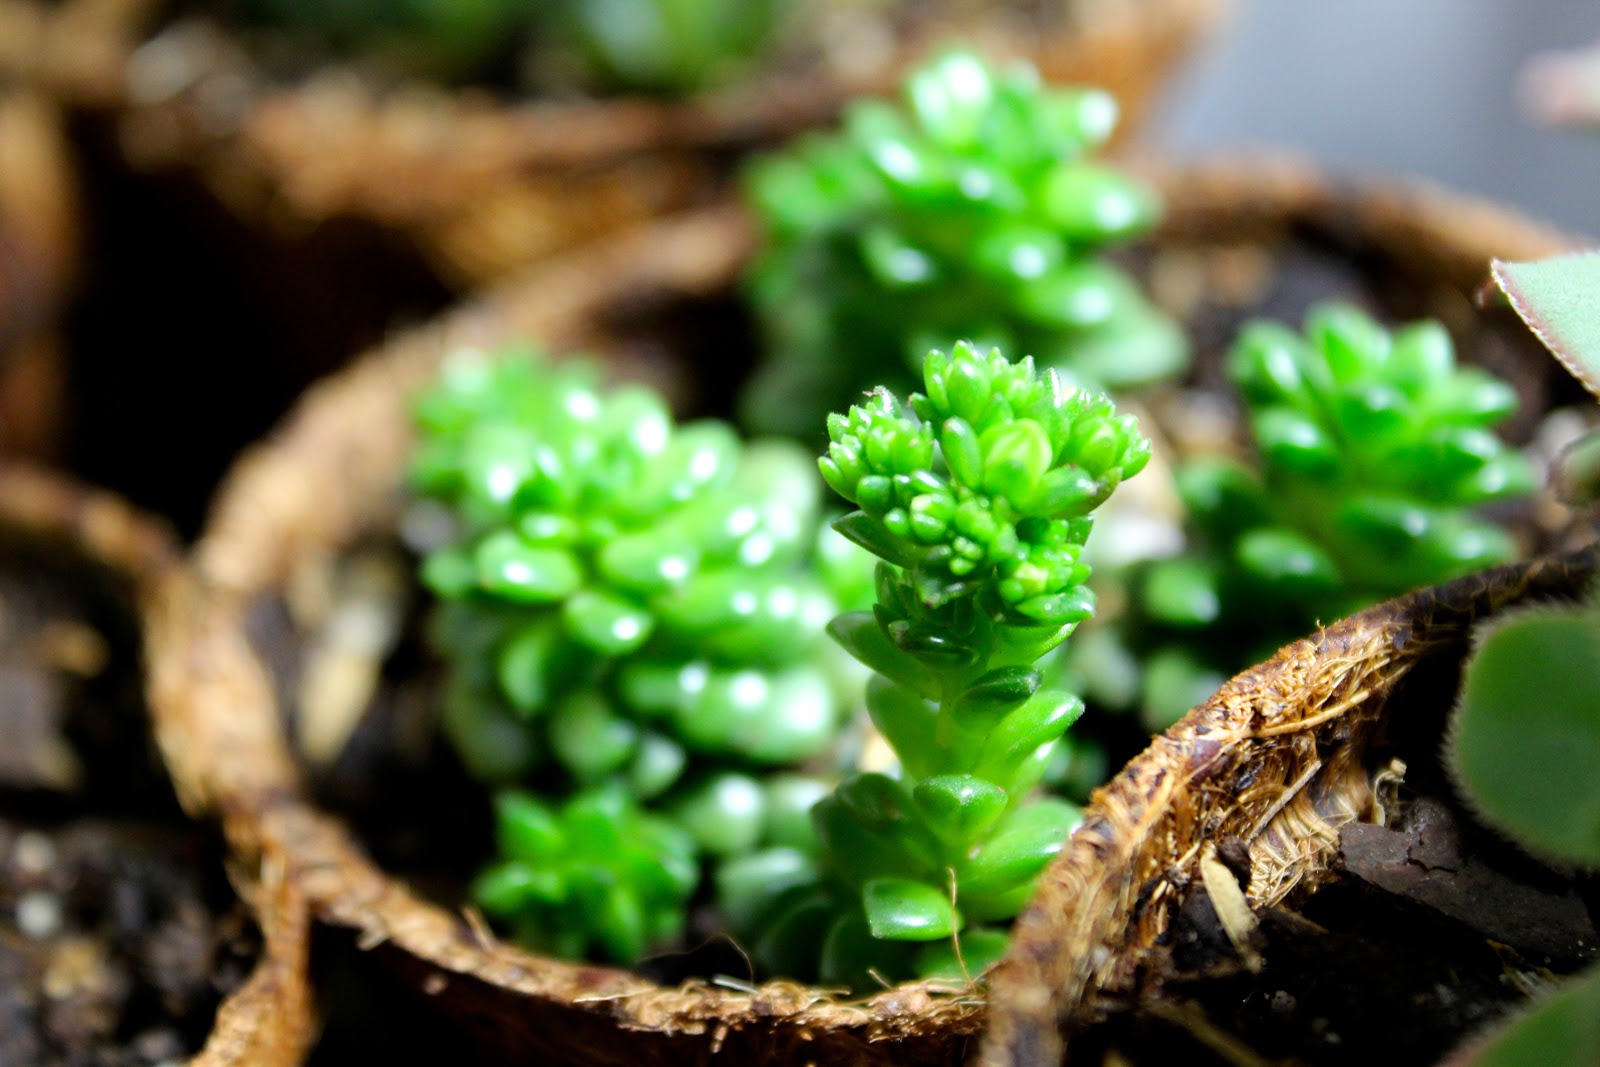
And finally, I'm happy to report that the bottom tier of the copper/moss tiered planter that I made last month is putting on new growth!  This dude will be cascading down the sides of the moss ball in no time!
I've got family visiting for the next few days (hello, three day weekend!) and am looking forward to some quality time and doing some fun things.  I hope you have a lovely weekend as well and I'll be back on Monday with a DIY!

Tutorial || Tiered Moss/Copper Hanging Planter

I'm all about a great way to display plants, and this planter idea has been floating around in my head for a while.  I'll try to keep it from making me want to buy ALL OF THE SUCCULENTS, but that's no guarantee.  This project only took a couple of hours and it's perfect for cascading succulents that like to dry out a little bit in between waterings.  The moss holds in moisture after you water it, however.  You can either hose it down gently (this is what I've been doing when I water my other containerized porch plants) or soak it in the sink or a bucket.  If you put this indoors, make sure that you hang it over the bathtub or something after watering to let it drain out completely... unless you just like having water all over the floor.  Just sayin'.


Materials needed:

A bag of sphagnum moss Needle-nosed pliers Approx. 50 feet of 14 gauge copper wire Three plants (cascading types that can handle drying out will work best) A bucket for soaking the moss, filled halfway with water Yarn/twine is optional if you would like to tie up the moss ball while you wrap your wire.


1.  Begin by cutting the copper wire into lengths of about 36 inches.  You will need five pieces of wire for each tier of the planter.  Meanwhile, soak the moss in a bucket.


2.  Take five pieces of cut wire in a bundle and find the center of the length of wires.  Using the pliers, twist the wires around each other to form the center of the bottom of your planter.  Spread the wires apart in a circular/sunburst fashion.  You now have ten wires around the circumference of the center twist.


3.  Place a handful of wet moss in the center of the wires to form the foundation for your plant.
4.  Take two adjacent wires and twist them at the edge of the bottom of the planter.  They should still be spread apart from each other on the bottom to provide more support - just bend them toward each other at the corner to twist.
5.  Go all around the edge of the planter twisting sets of two wires to begin the side supports of the planter.
6.  Next, bend each wire in a set away from the other toward the wire on the other side.  Now twist these two wires together forming five new sets of wires.  Continue to repeat steps 5 and 6, adding moss around the edge as you go and leaving a pocket in the center where your plant will be inserted.
7.  Place the plant in the center pocket, and add more potting soil if needed.  Cover the top and sides with more moss.
8.  Continue twisting the wire at the sides until you have reached the top.  Gather all the wires, centered above the plant about 4 inches and join them together.  Using the pliers, twist the wires into one coiled wire.  For the top tier of the planter, make a loop with the coil and then twist the ends around the coil below the loop.  You can then hang it from a plant hook.  For the lower tiers, you can join them to the tier above by wrapping the ends of the coil around the wire twist on the bottom of the planter tier, and then securing it by wrapping the ends around the coil.


That's it!  Water once you notice the moss going dry.  What do you think?  Anyone want to make a guess at how many of these will be hanging on my porch by the end of the summer?!  :)
IMG_3456

New Growth

One of my favorite parts about gardening is watching the plants day after day as they put on a little new growth or unfurl a new little blossom.  These succulents are really starting to perk up.  I can't wait to see how much they grow over the next few months.

Raising Succulents

 Just look at these beauties!  Succulents are by far some of the most striking plants to grow at home.  When we were in the Pacific Northwest this past summer, I collected multiple little bits of succulents that we found while walking about, to bring home.  It's amazing how easy it is to grow a new succulent plant from just a little piece that fell off of another one.  There are so many varied textures and colors with these little guys - any time I go to a nursery that carries them I have to resist leaving with an armful!  Luckily for me, my friend Jo Anne from the Anthaus studio asked me to be a part of one of their group's new design ventures... so she and I went wild at a local nursery the other day and now I'm excited to be the caretaker for these babies as we develop this new art project.  I'm excited to tell you more about all of this eventually, but for now I've got to be just a little bit cryptic (sorry... but haven't I piqued your interest??)  Check back soon for more...
Anthaus is an artist collective in Oklahoma City, Oklahoma that "was founded to challenge and inspire artists, designers, and craftsmen to work together using their skills on projects with a unified theme."  They say, "we strive to not only create, but create with a sense of purpose.  Our projects involve those with the same values and are passionate to learn."