Tutorial || Washi Tape Pennants - Knitting Needle Organization

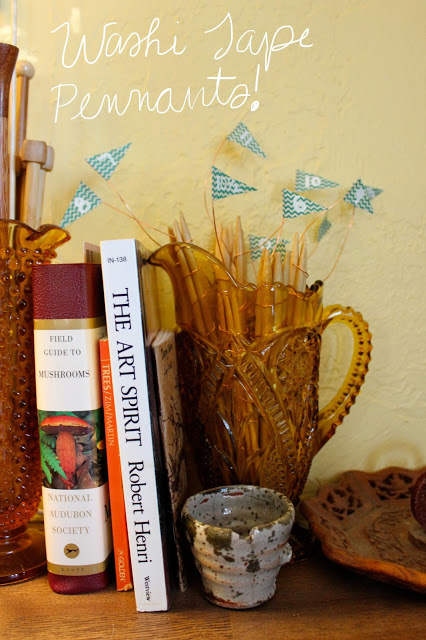
When setting up my new studio space, one thing of importance to me was making my knitting needles easily accessible.  Up until now, my double pointed needles have been stored in their original packaging, and grouped together with all the other double pointed needles in an inconvenient pouch.  Every time I go to look for a certain size of needles, I have to sort through this pouch and then put it away in the organizer on top of my bookshelf. Now that I have a desk to work at, it makes sense to display these in the open, which also makes each size easier to find!  I organized my different double pointed needles by their US size, although you could easily organize them by millimeter size if that's easier for you.
Materials:
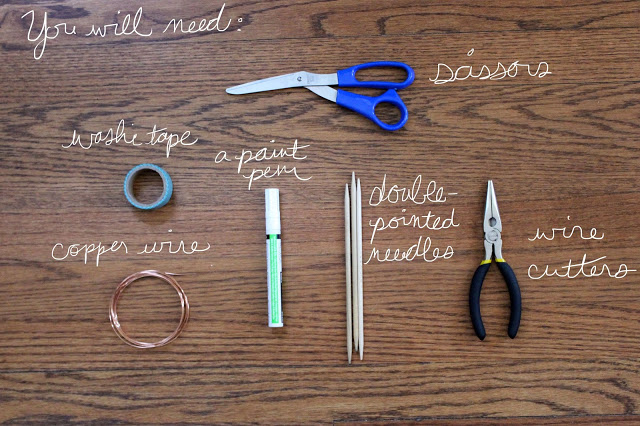
A roll of washi tape,
A paint pen (I used white, but a metallic one would look really great too!)
1+ sets of double pointed knitting needles
Copper wire
Wire cutters
Scissors
Not shown: a mug or vase to display them in


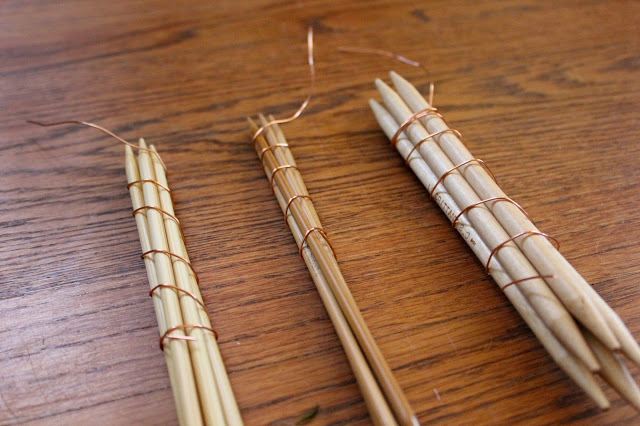
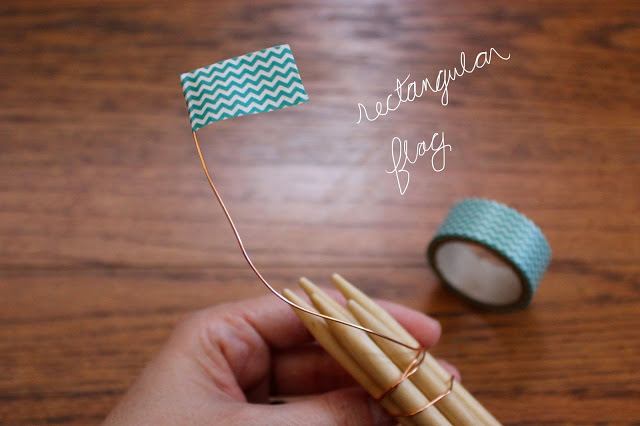
To begin, take a set of double pointed needles and wrap them with the copper wire, enough to hold the needles in place without any slipping out.  At the top, leave a "flag pole" of a few inches and cut with wire cutters.
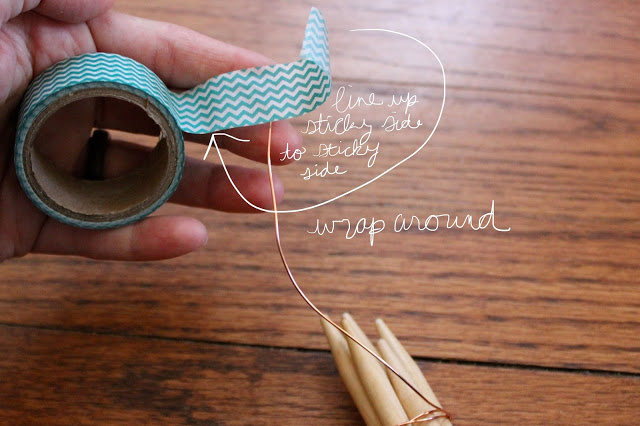
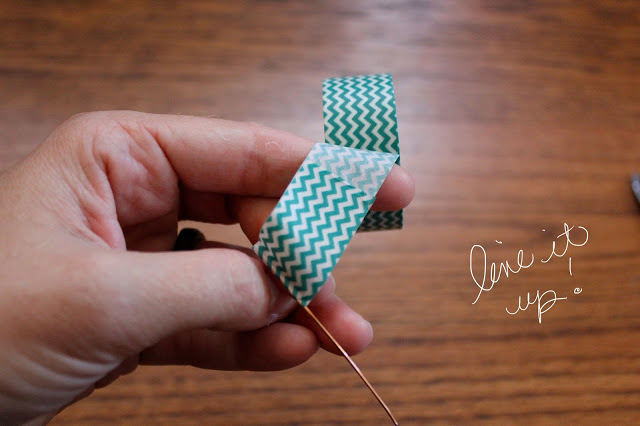
Take the washi tape, and wrap the top of the "flag pole" with it.  Wrap about 1.5" around one side, and stick the back of it to the other side of the tape, lining up the edges so the front side of the tape is showing on both sides forming a rectangular "flag".


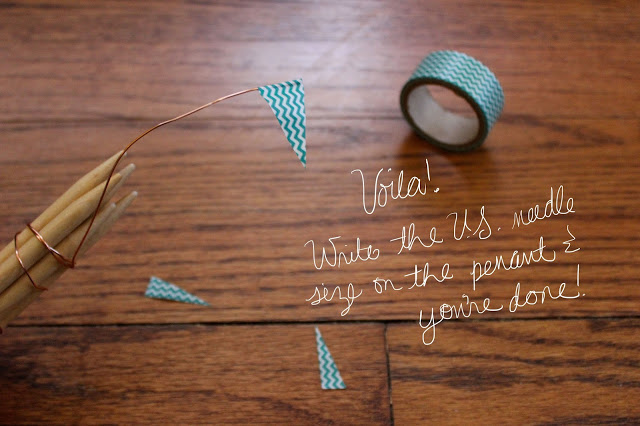
Cut at an angle twice to make a triangular pennant shape out of the washi tape rectangle.


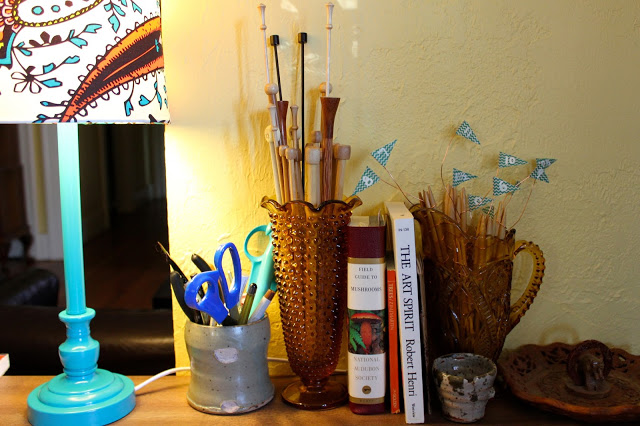
With the paint pen, write your needle size on the pennant and place it in the storage container!


Done!  A nice and easy way to display your double pointed needles while still knowing what the heck the size is when you need to use them!

Tutorial || Tiered Moss/Copper Hanging Planter

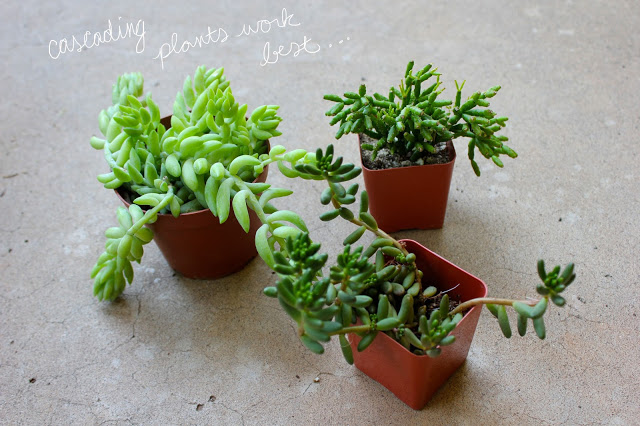
I'm all about a great way to display plants, and this planter idea has been floating around in my head for a while.  I'll try to keep it from making me want to buy ALL OF THE SUCCULENTS, but that's no guarantee.  This project only took a couple of hours and it's perfect for cascading succulents that like to dry out a little bit in between waterings.  The moss holds in moisture after you water it, however.  You can either hose it down gently (this is what I've been doing when I water my other containerized porch plants) or soak it in the sink or a bucket.  If you put this indoors, make sure that you hang it over the bathtub or something after watering to let it drain out completely... unless you just like having water all over the floor.  Just sayin'.


Materials needed:

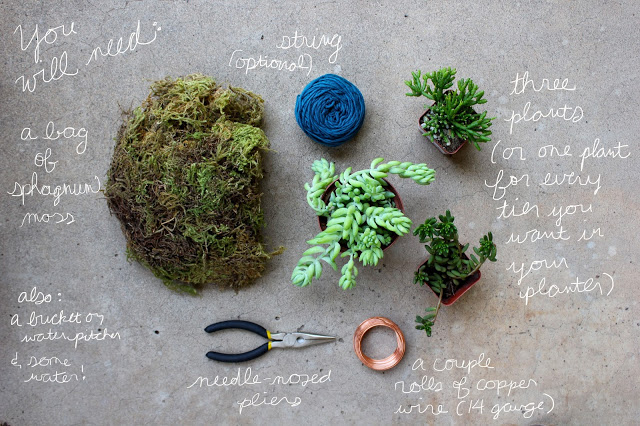
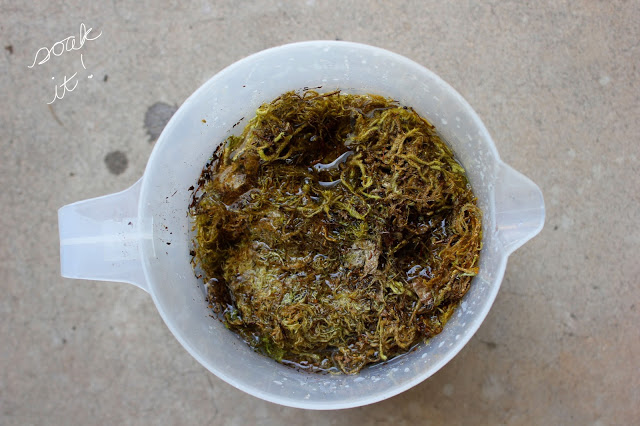
A bag of sphagnum moss Needle-nosed pliers Approx. 50 feet of 14 gauge copper wire Three plants (cascading types that can handle drying out will work best) A bucket for soaking the moss, filled halfway with water Yarn/twine is optional if you would like to tie up the moss ball while you wrap your wire.


1.  Begin by cutting the copper wire into lengths of about 36 inches.  You will need five pieces of wire for each tier of the planter.  Meanwhile, soak the moss in a bucket.


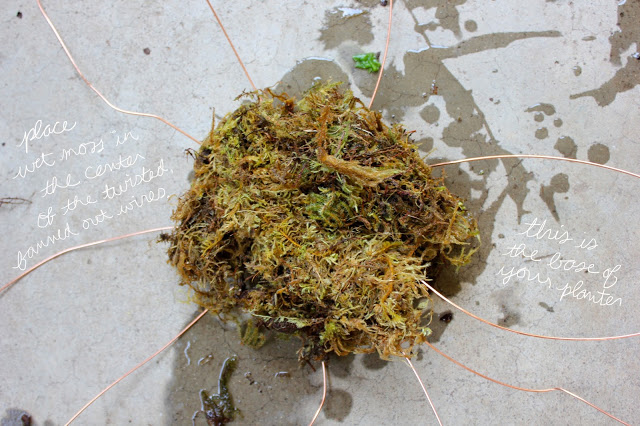
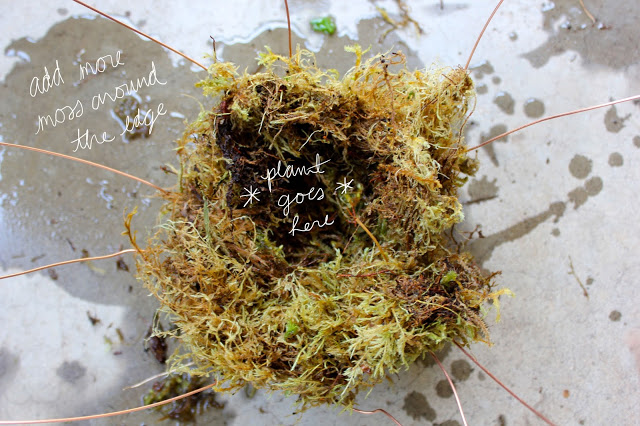
2.  Take five pieces of cut wire in a bundle and find the center of the length of wires.  Using the pliers, twist the wires around each other to form the center of the bottom of your planter.  Spread the wires apart in a circular/sunburst fashion.  You now have ten wires around the circumference of the center twist.


3.  Place a handful of wet moss in the center of the wires to form the foundation for your plant.
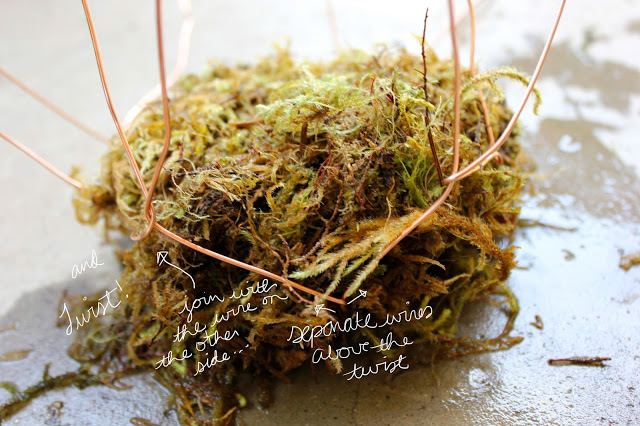
4.  Take two adjacent wires and twist them at the edge of the bottom of the planter.  They should still be spread apart from each other on the bottom to provide more support - just bend them toward each other at the corner to twist.
5.  Go all around the edge of the planter twisting sets of two wires to begin the side supports of the planter.
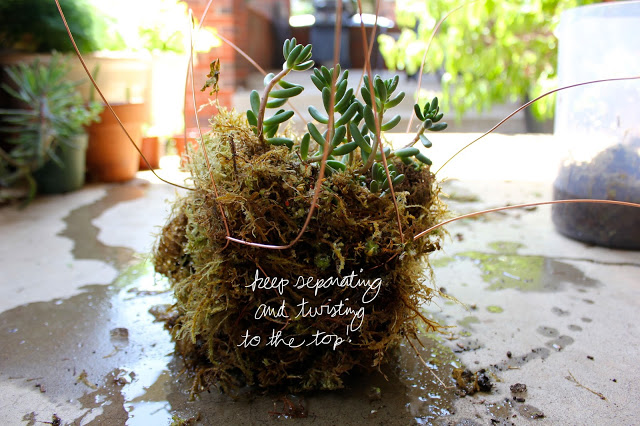
6.  Next, bend each wire in a set away from the other toward the wire on the other side.  Now twist these two wires together forming five new sets of wires.  Continue to repeat steps 5 and 6, adding moss around the edge as you go and leaving a pocket in the center where your plant will be inserted.
7.  Place the plant in the center pocket, and add more potting soil if needed.  Cover the top and sides with more moss.
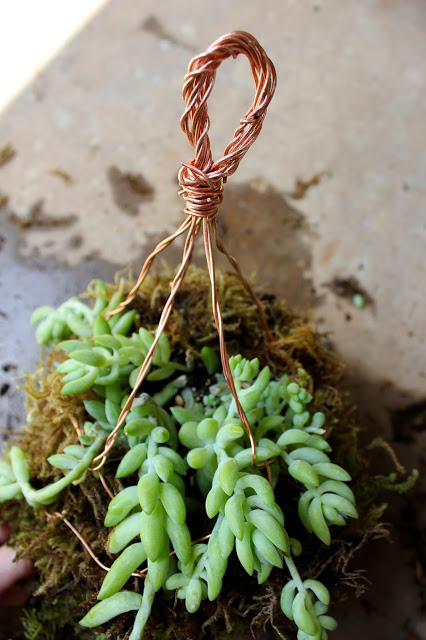
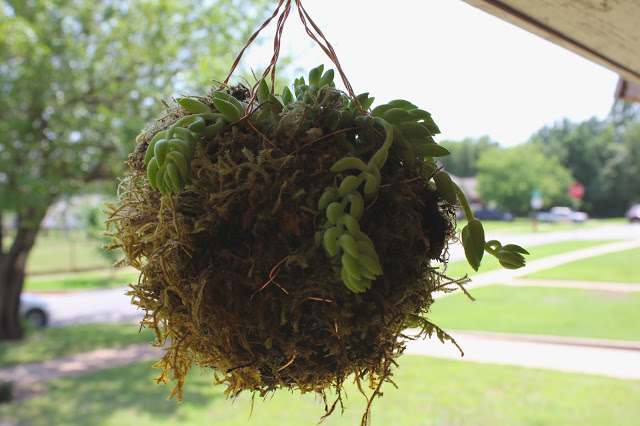
8.  Continue twisting the wire at the sides until you have reached the top.  Gather all the wires, centered above the plant about 4 inches and join them together.  Using the pliers, twist the wires into one coiled wire.  For the top tier of the planter, make a loop with the coil and then twist the ends around the coil below the loop.  You can then hang it from a plant hook.  For the lower tiers, you can join them to the tier above by wrapping the ends of the coil around the wire twist on the bottom of the planter tier, and then securing it by wrapping the ends around the coil.


That's it!  Water once you notice the moss going dry.  What do you think?  Anyone want to make a guess at how many of these will be hanging on my porch by the end of the summer?!  :)
IMG_3456

Tutorial || Ombre Jersey Rug

A few months back, I made a rug as a going away/housewarming gift for a couple of friends moving to Seattle.  The good thing about an ombre or variegated accent piece is that it brings out all shades of a main color and ties in other similarly hued accessories.  In the words of The Dude, "That rug really tied the room together!"  And it's true.
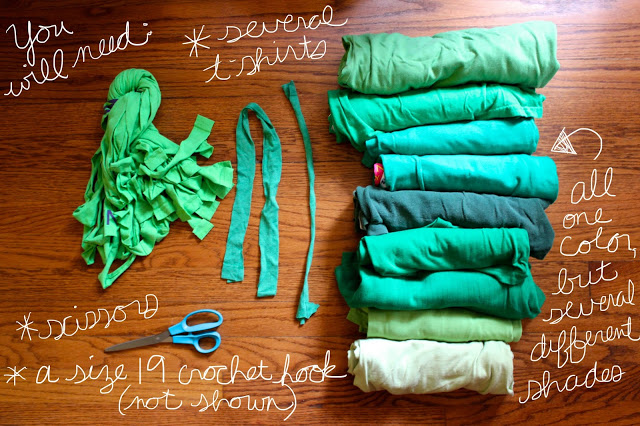


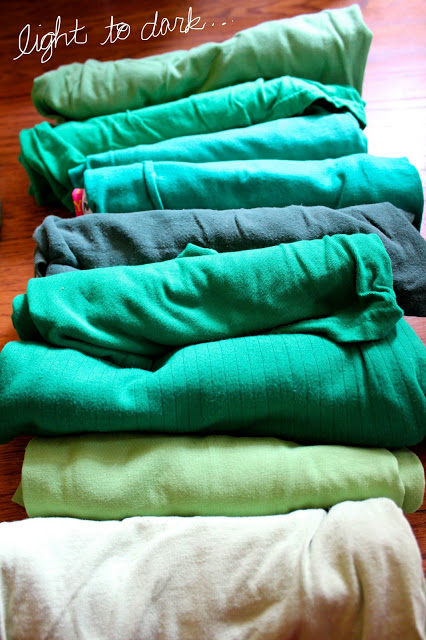
All you need for this DIY is a minimal knowledge of crochet stitches, a pair of scissors, a giant crochet hook (I used size 19, the largest I could find at the time) and a ton of t-shirts.  Buy all the same color (such as green, or red) and then get as many different shades as you can - light, dark, dull, bright, just as many shades as you can find of the particular color you are going to use.  Larger t-shirts are better, since you get more material out of them also.  Once you get all of your t-shirts, I would recommend stacking them or laying them side by side in the order that they will be used.  Line them up from light to dark, to light to dark, etc.  Since some of the shirts will be similar shades you can fade in and out a couple of times and probably get to use all of them.  As far as where to purchase your shirts, I got all of mine at Goodwill.  It's true that this can get expensive quickly, but if you're making a humungous rug is it going to cost more than you would pay to buy one?  Probably not.
 

Start out by cutting your shirts into long strips, about 1 inch wide.  I typically just cut down the shirt length-wise, from the neck to the bottom edge.  Next, you will attach these strips to each other to make t-shirt yarn.  Here's how:
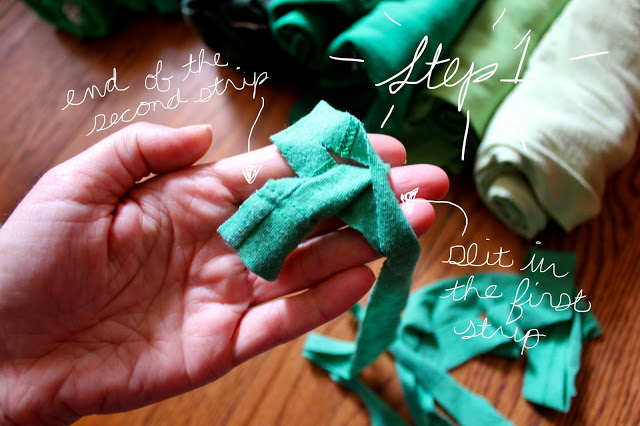
1. Cut a slit in the end of your first strip.  Take a second strip, and slip the end of it through that slit.  Now you have to secure the second strip so that it does not come out of the first one.
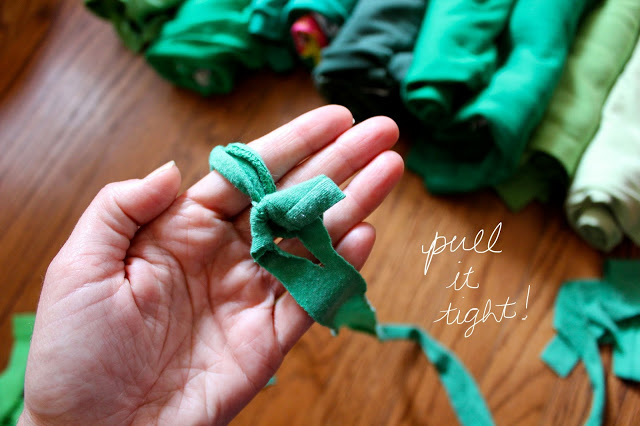
2. Cut a slit in one end of the second strip (while it is still through the first strip).  Take the opposite end of this second strip and place it through the slit on its first end.  Pull to tighten at the joining end.


Repeat steps 1 and 2 until you have enough yarn to make a rug the size of your choice.  I usually just add strips as I go, making yarn for one shirt for instance and balling it up, then making more when I get to the end of the ball.  Now you're ready to start crocheting your rug!
Start out by crocheting a chain that is as wide as you would like for the rug to be (or as long, just depending on which direction you want your stripes to go).  Here is a video tutorial on how to make a chain.
This chain is your first row.  Turn and continue down the chain making a single crochet stitch into each stitch of the chain.  Here is a great video tutorial on how to make a row using single crochet.  Once you get to the end of the row, you will need to chain one more stitch as you turn, then begin to single crochet into your previous row of crocheted stitches.

When you get to the end of your second row, turn and stitch back down the row again as established.  You will keep doing this until the rug reaches your desired length.  It's fun to watch the fade in color unfold!  Here's what it will look like when you're done...
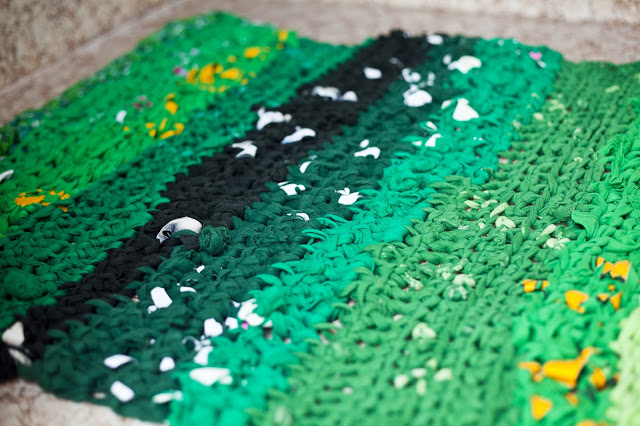
 

This last photo is by courtesy of Sharalee, one of the owners of the rug.  They had a rectangular space, which is why I made it in rows.  However, I've made one in the past that was circular and it looks amazing in that shape!  Unfortunately I have no good photos of that one and it is no longer in my possession because my cat.. ahem.. became a little too fond of it... But to make a circular rug, all you really need to do is chain about 6 stitches, and then begin your single crochet stitch from there in the very first stitch of the chain to join it in a loop.  You will crochet once into each stitch for the most part, but will need to crochet twice into every 3rd - 5th stitch or so to make it lay flat.  As you go along it's easy to gauge if you need to do that more often or less often, as the rug will curl if the outer round has too few stitches or it will bunch up if you have too many stitches.
This is a pretty easy and affordable project that will add some color into your home!

Tutorial || Silver Knitted Mushroom Necklace

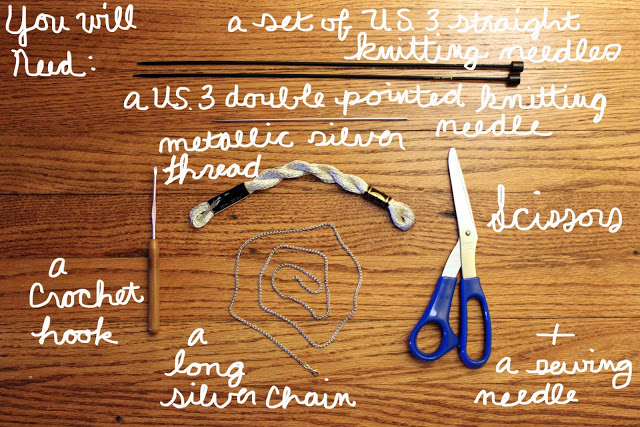
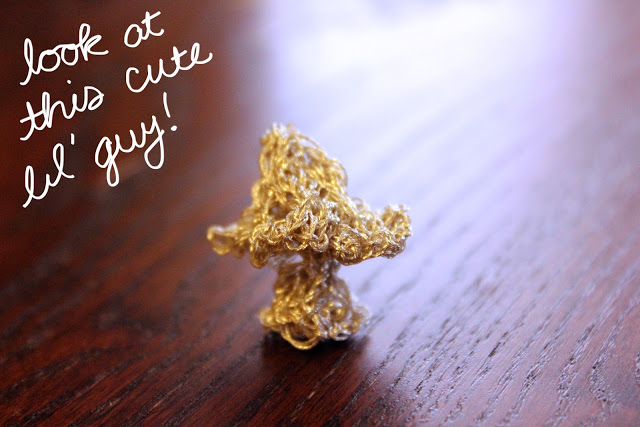
 Those little silver 'shrooms from last week's 52 Forms of Fungi post are too cute not to find a use for, so today I wanted to share how you can make your own and WEAR them on a chain as a cute little accessory.  Note:  You will need to know some basic knitting and crochet skills here.
Knitted mushroom stalk pattern:
cast on 20 stitches with straight needles
Row 1: knit two stitches together to end of row
Row 2: purl to end of row
Rows 3 & 4: repeat rows 1 & 2
Row 5: knit to end of row
Row 6: purl to end of row
Rows 7-10: repeat rows 5 & 6 twice
Cut yarn and place all stitches on the double pointed needle.  Set aside to start on the mushroom cap pattern.
Knitted mushroom cap pattern (front half):
cast on 20 stitches with straight needles
Rows 1-4: same as mushroom stalk pattern
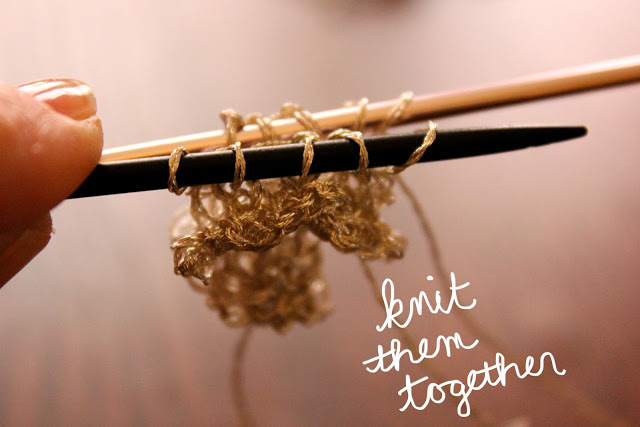
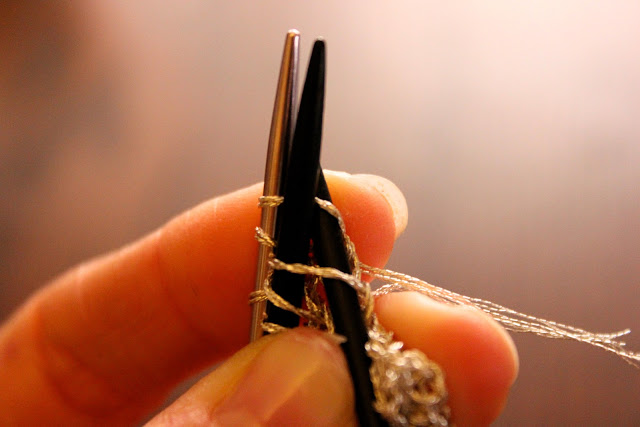
Row 5: place double pointed needle behind the straight needle with the stitches on it.  The right (knit) side should be facing the same direction.  Knit the first stitch of the front needle together with the first stitch from the second needle.  Repeat until all stitches have been knitted.
Row 6: pur to end of row
Row 7: slip slip knit, knit 1, knit two stitches together
Row 8: purl 3 stitches together
cut yarn with a 6 inch tail, pull through the last stitch and tighten.
Knitted mushroom cap pattern (back half):
cast on 20 stitches with straight needles
Rows 1-4: same as mushroom cap front half pattern
Row 5: knit to end of row
Row 6: purl to end of row
Row 7 to end: same as mushroom cap front half pattern
Finishing:
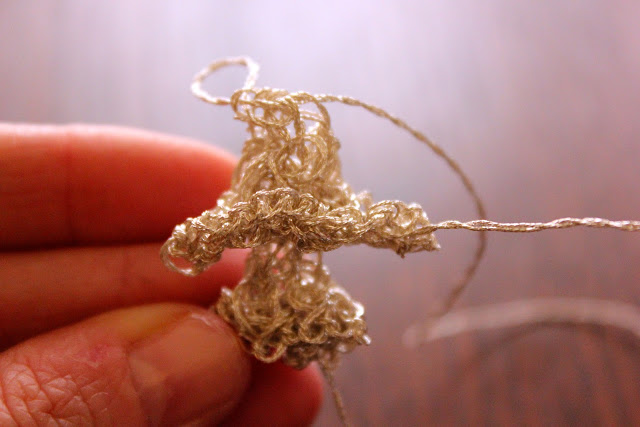
Sew the right and left sides of the stalk together so that the knitted (right) side is facing out.  You now have a cylindrical stem.  Put the two mushroom cap halves back to back so the knitted (right) side is facing out.  Sew the sides together up to the top, leaving the bottom open.  Weave in all ends using a sewing needle.
Making necklace pendants out of the mushrooms:
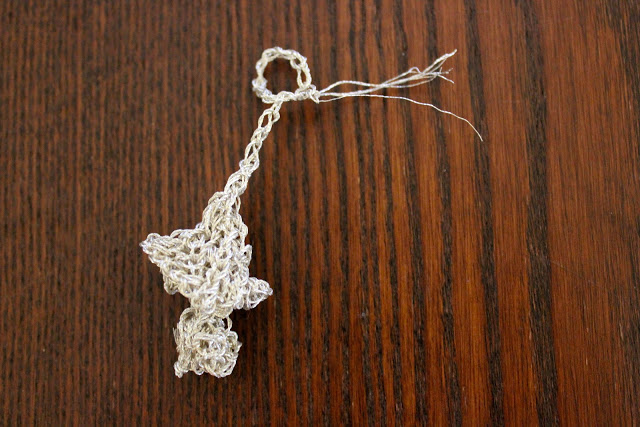
Make a slip knot and put it on the crochet hook.  Make a single crochet stitch through the top of a mushroom and make a chain the length that you would like it to hang.  Chain an additional 6 or 7 stitches and then make a single crochet stitch back through the top of your desired length.  Cut thread and pull the end tight through the remaining stitch.  Weave in the end.  Do this with each of the mushrooms (however many you want to use) at varying lengths (or however you would like to wear them) and then thread the necklace chain through the little loop you made at the top of each crochet chain.