Harvested || Pokeweed Dye

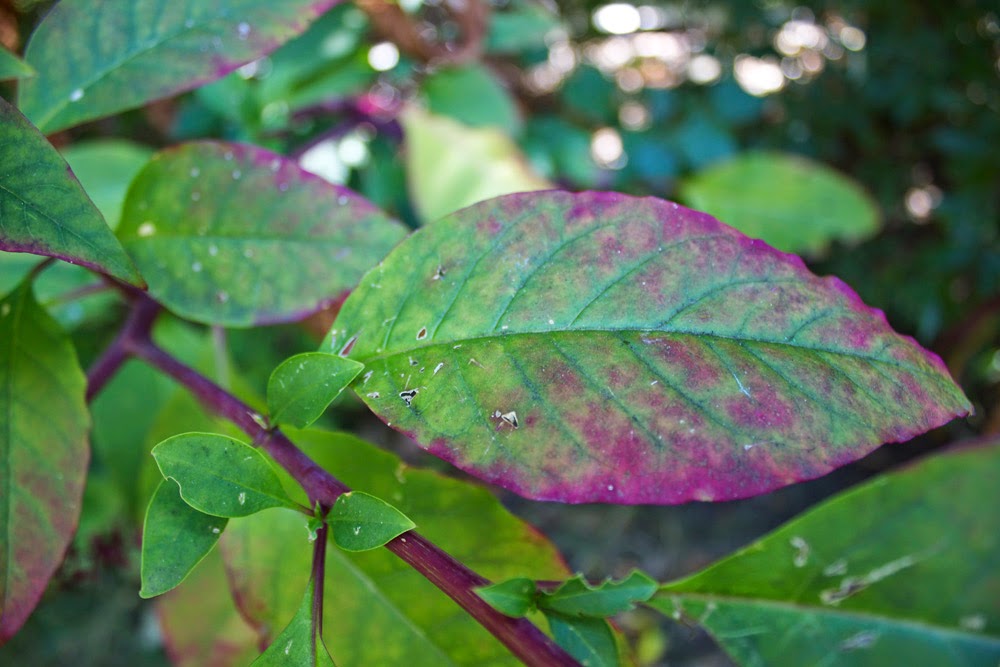
I still have a lot to learn about native plants.  Herbaceous plants are so much harder to ID than trees - trees are easy, or maybe it's just because that's my area of expertise.  I recently started following a wildcrafting group on Facebook just to learn more about the plants that I see on a daily basis… And aside from the tree posts (which I can usually chime in on) the main thing I've learned is that THERE ARE SO MANY PLANTS THAT LOOK LIKE OTHER PLANTS!  So I have a lot of observation and studying up to do.  Fortunately, there are other plants that look NOTHING like other plants.  Take pokeweed, for instance.  The huge leaves, and pink flower stalks which eventually bear these blueberry-like (though not edible) fruits.
I picked up a book in Portland, Oregon a couple of years ago called Harvesting Color, a beautiful and informative guide to native dye plants across the US (with recipes).  I remember recognizing poke weed in the book as a plant that I had seen in people's gardens.  Now that I think about it, I'm not sure if people plant it as an ornamental or if it just shows up and they let it stay because it looks pretty.  Because let's face it, it looks really dang pretty.
Last fall around this time, J and I were on a hike in Charon's Garden in the Wichita Wildlife Refuge in this gnarly little canyon/boulderfield, and I remember glancing over to see this one majestic little pokeweed.  The first one I had observed since reading about it in the book.  Then I took some photos and continued along the trail until becoming distracted by some lichen making their home on a face of granite.
This spring, all types of plants sprang up around my new yard, some of which I knew and others which I did not.  I had started a wildflower bed on the far back lot and while I was checking obsessively every day hoping to spot some type of activity with my seeds, these large, leafy seedlings sprouted behind them and continued to grow larger and larger.  It wasn't until I started to see a pink tint transforming the base of the stems that I knew… pokeweed.  As the season wore on, I began to spot more and more of these colorful, unusual plants.  From my observation, the hummingbirds like them too.
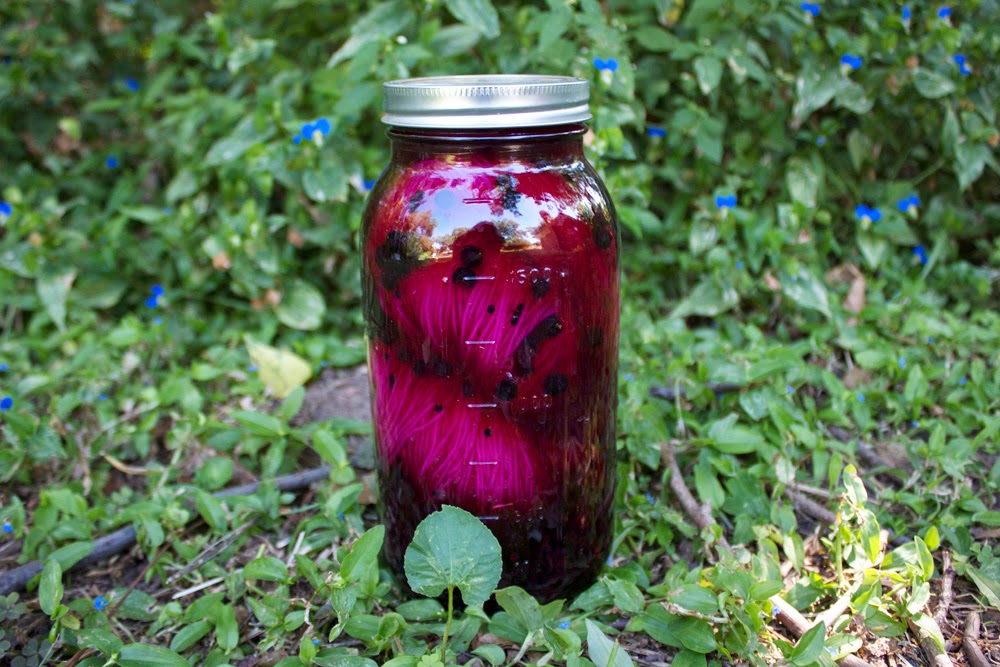
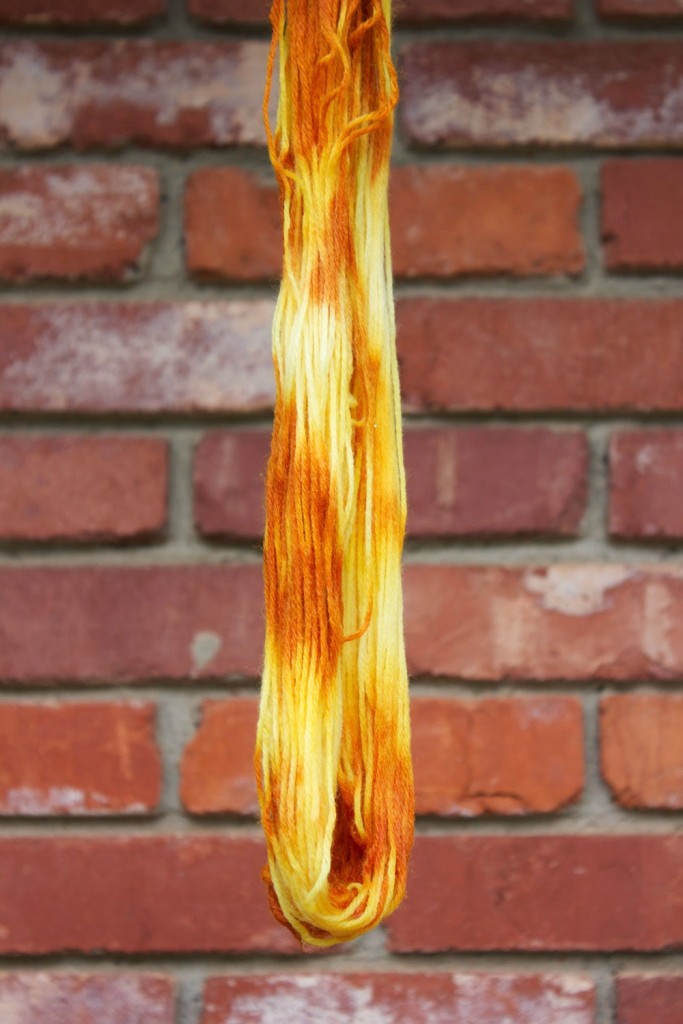
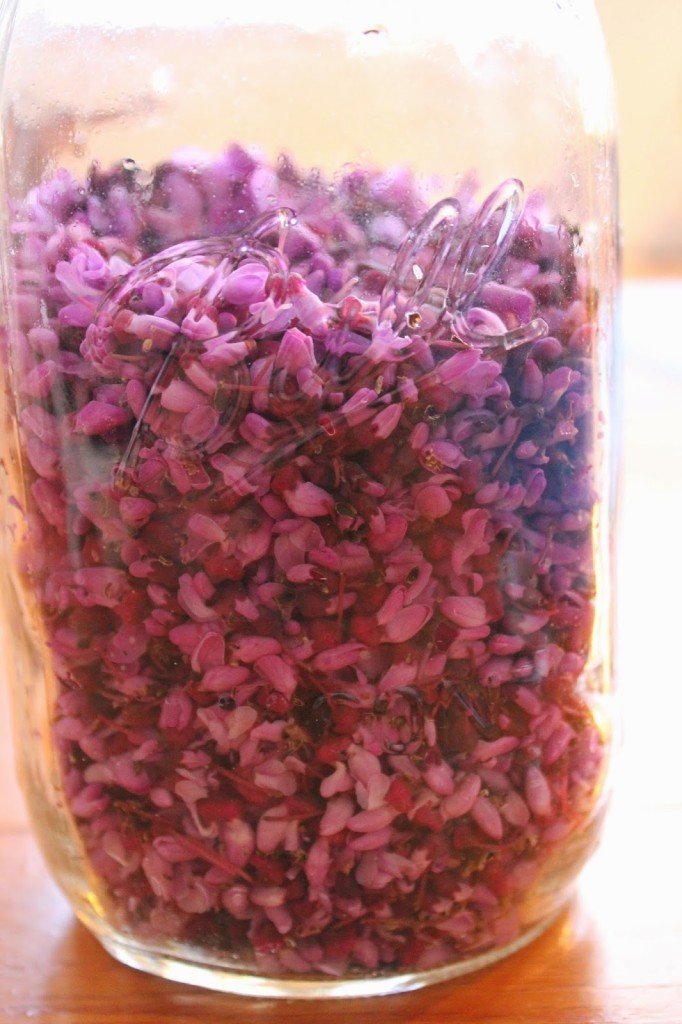
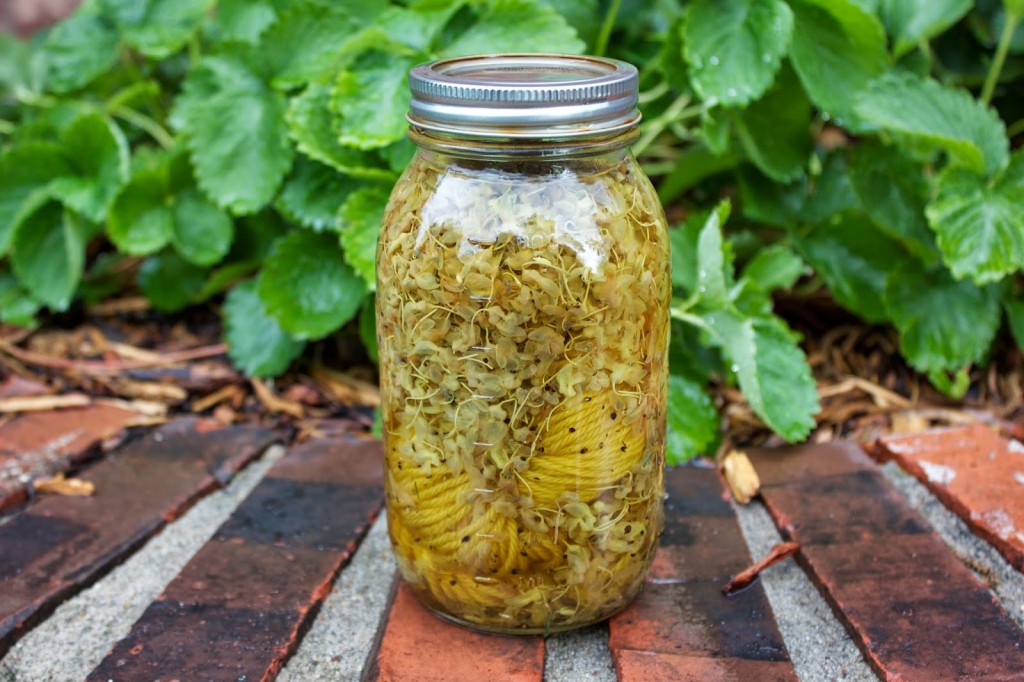
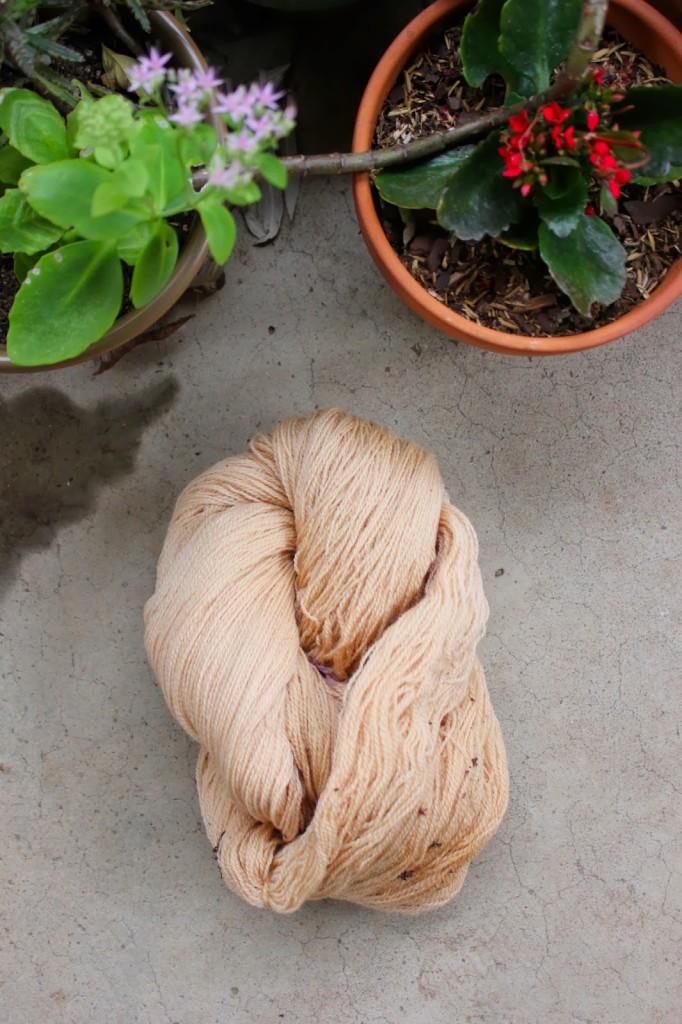
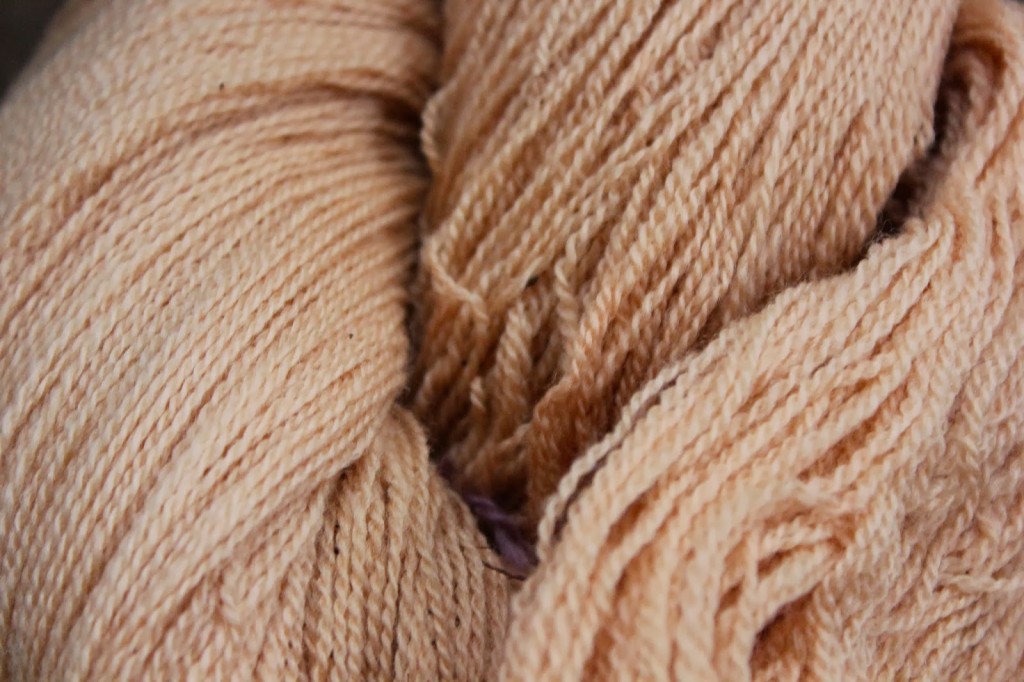
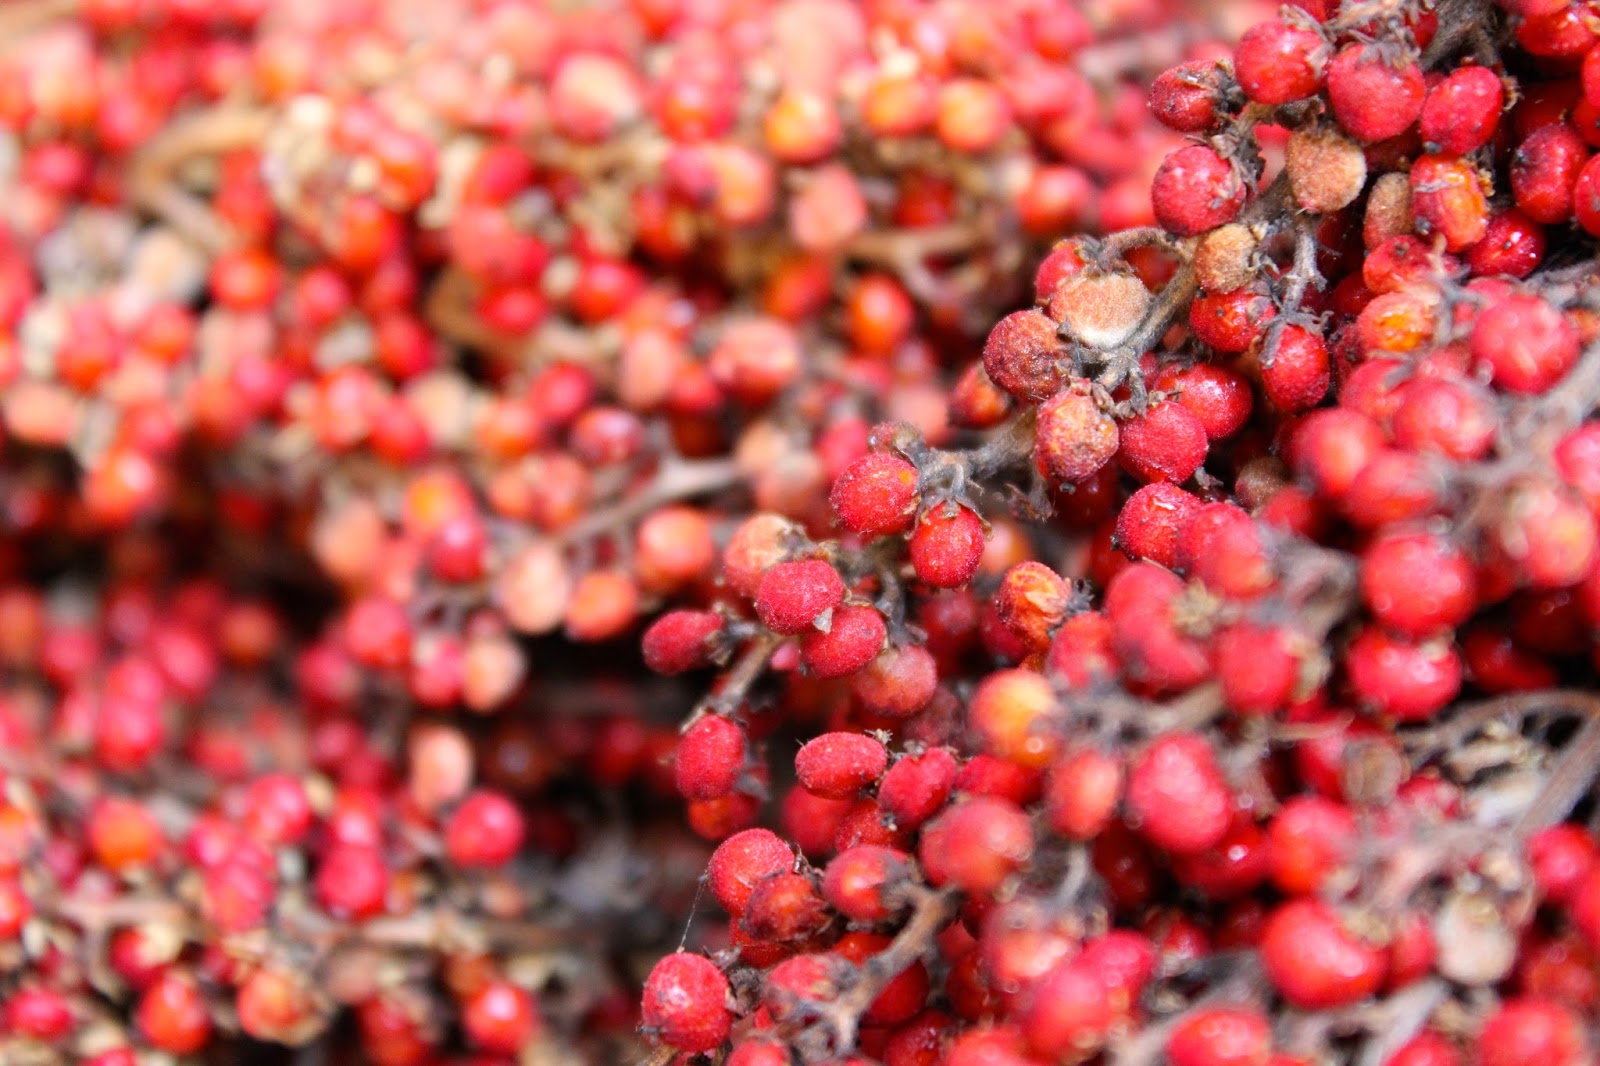
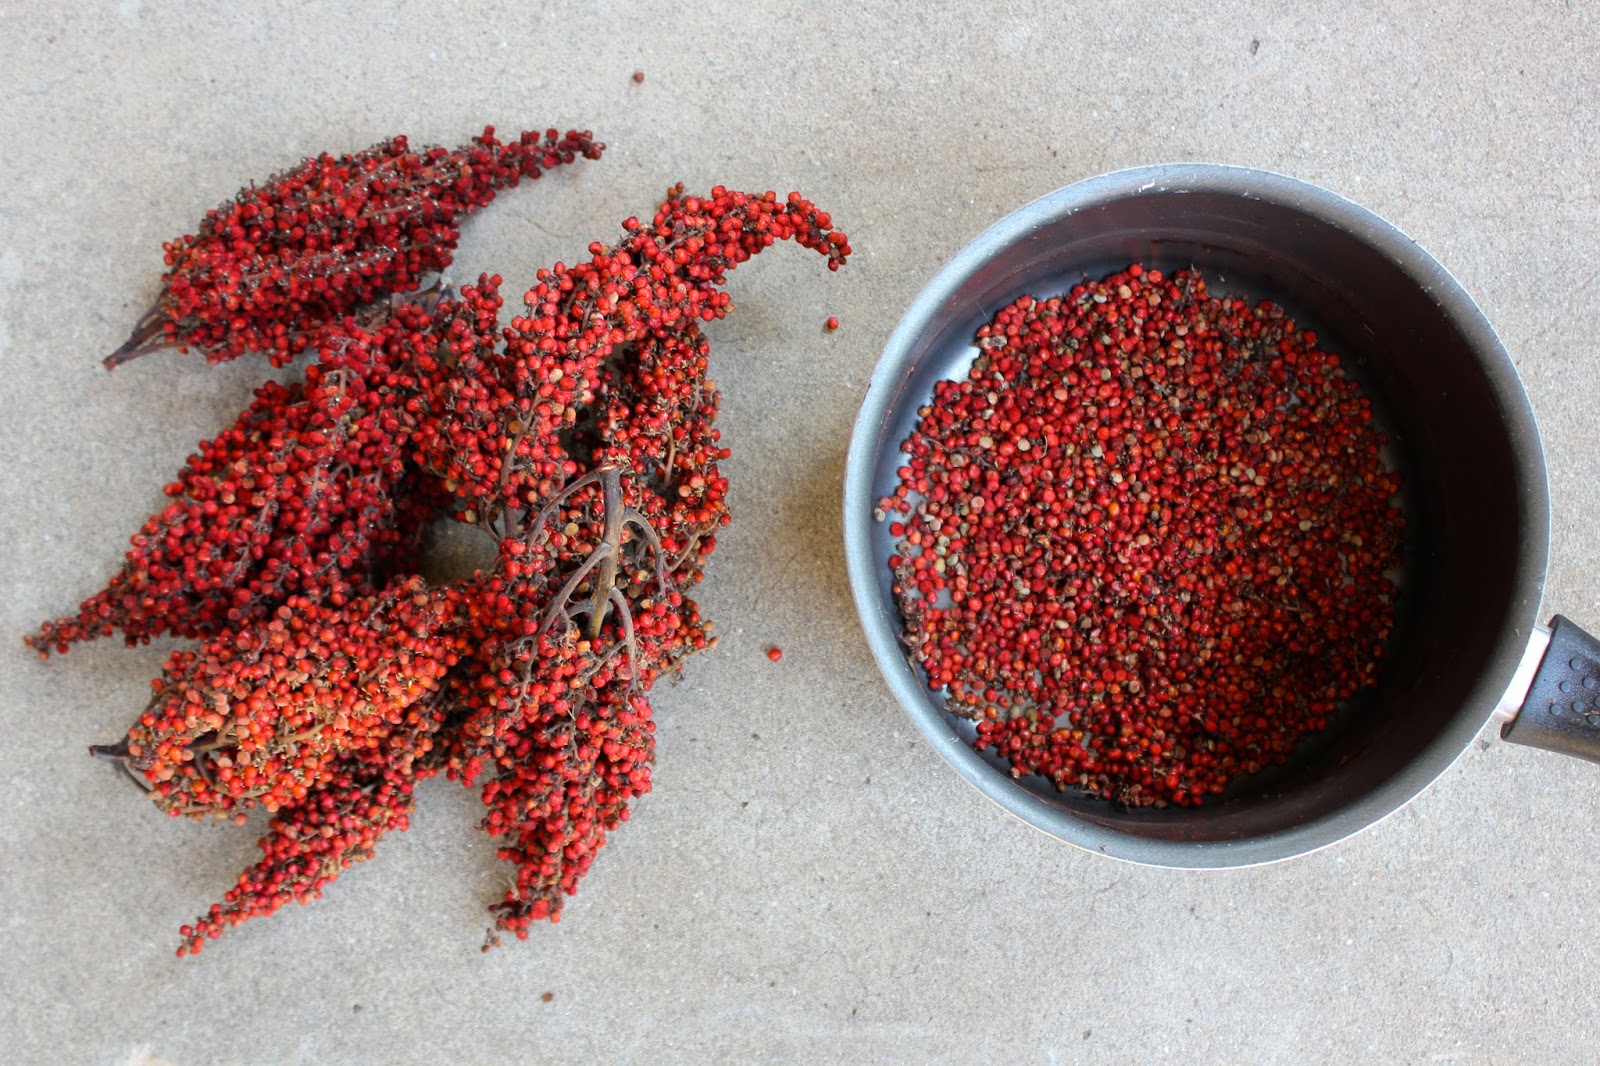
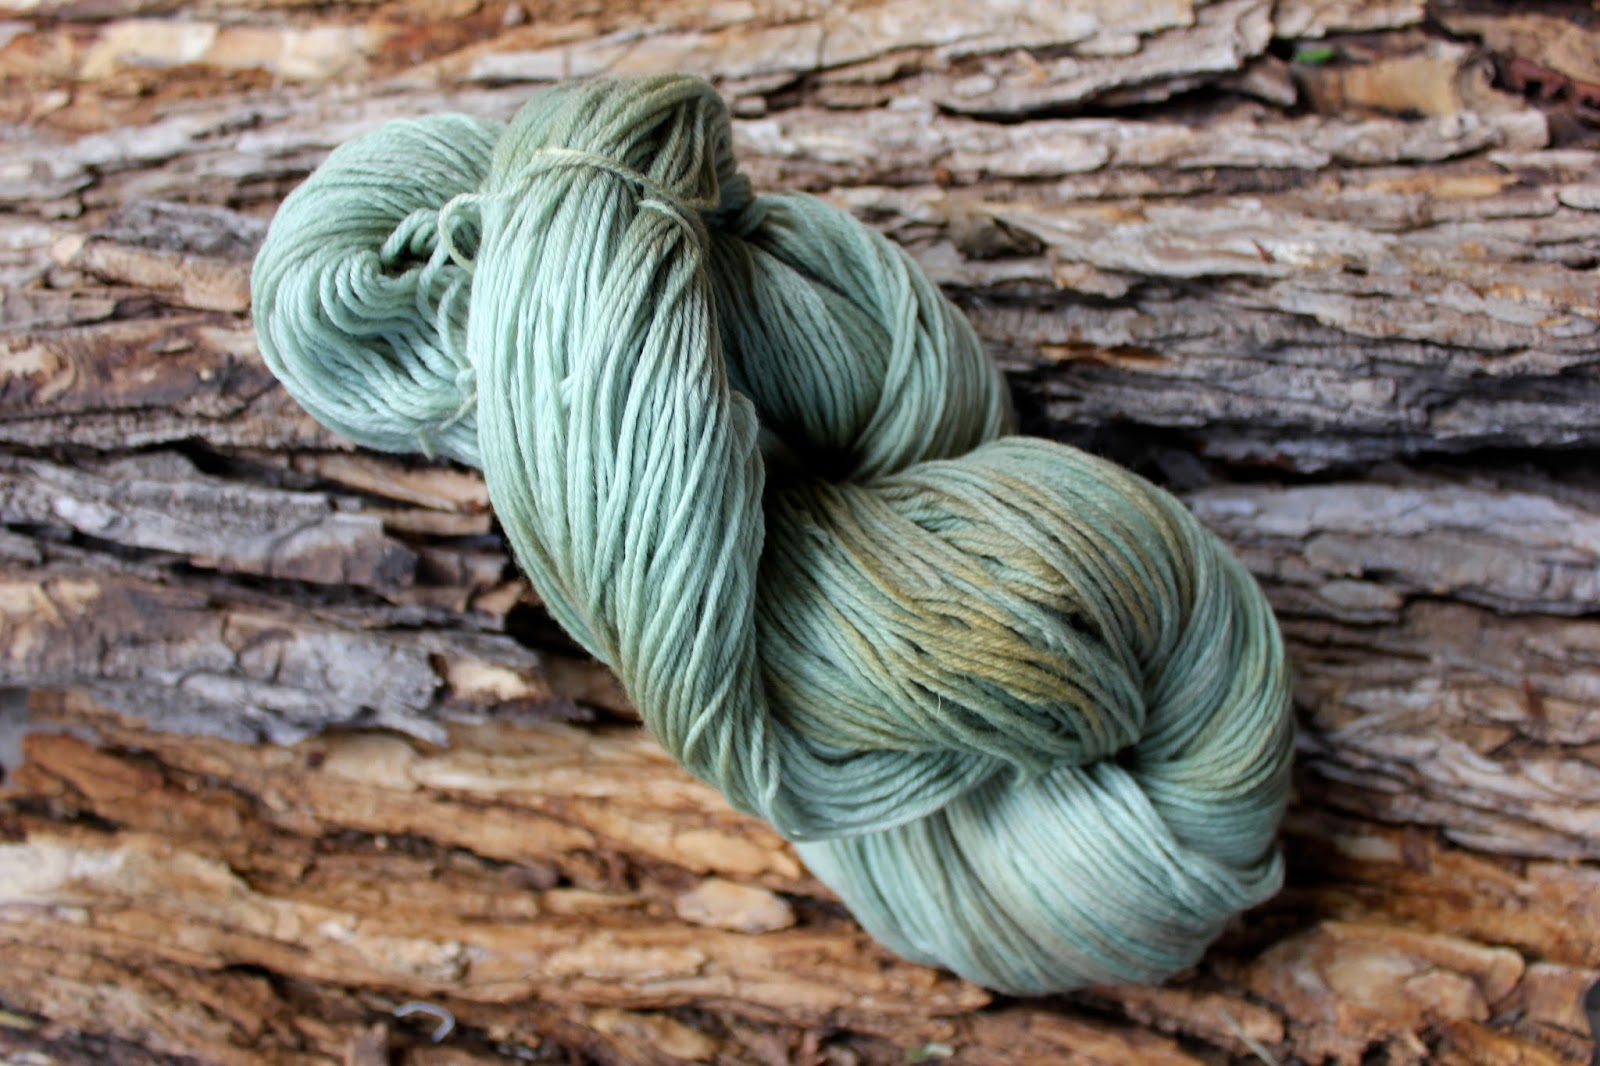
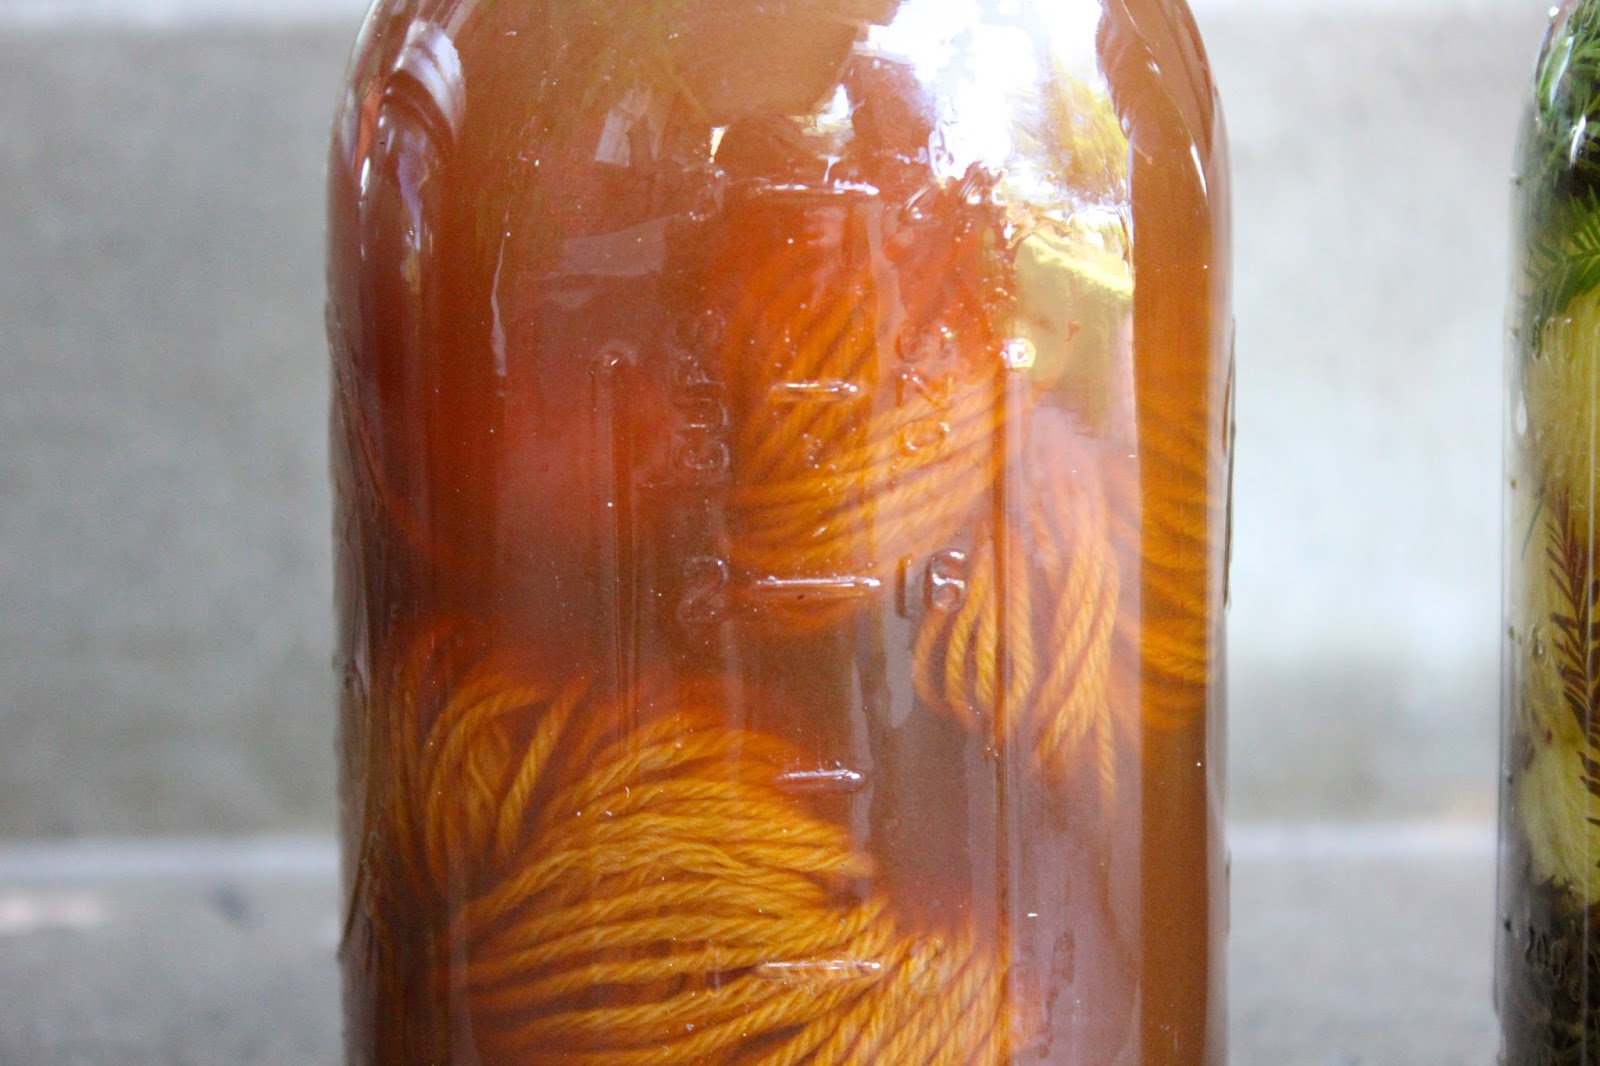
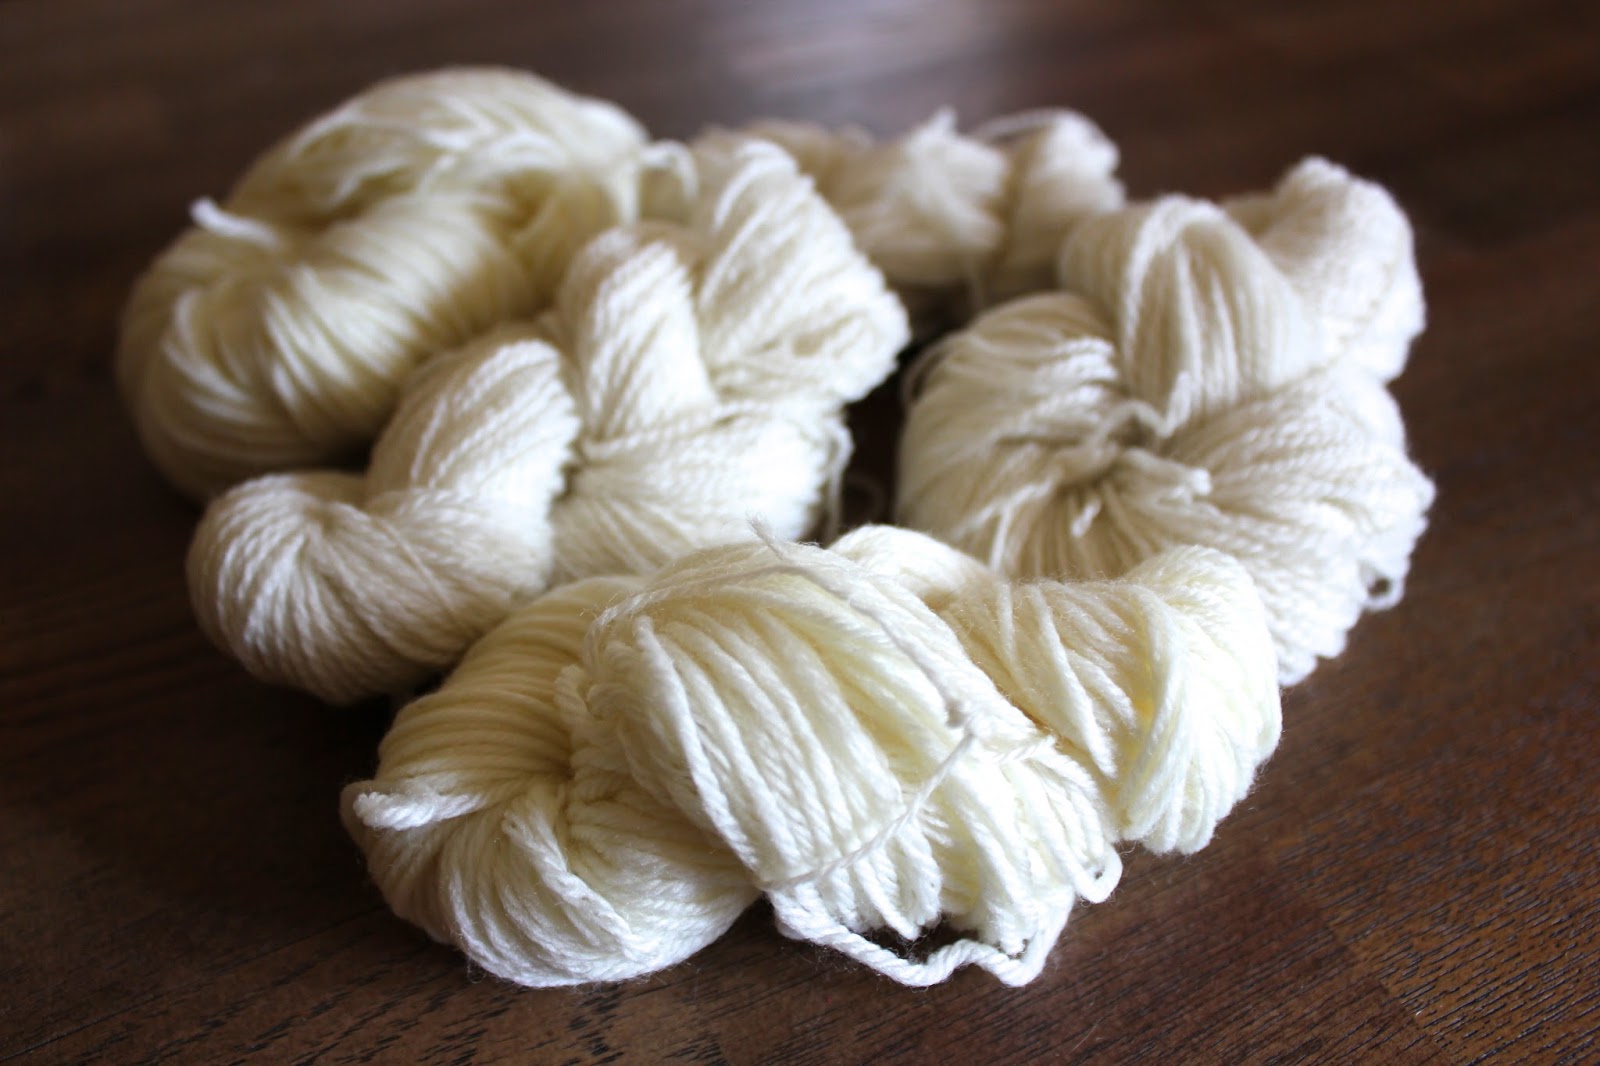
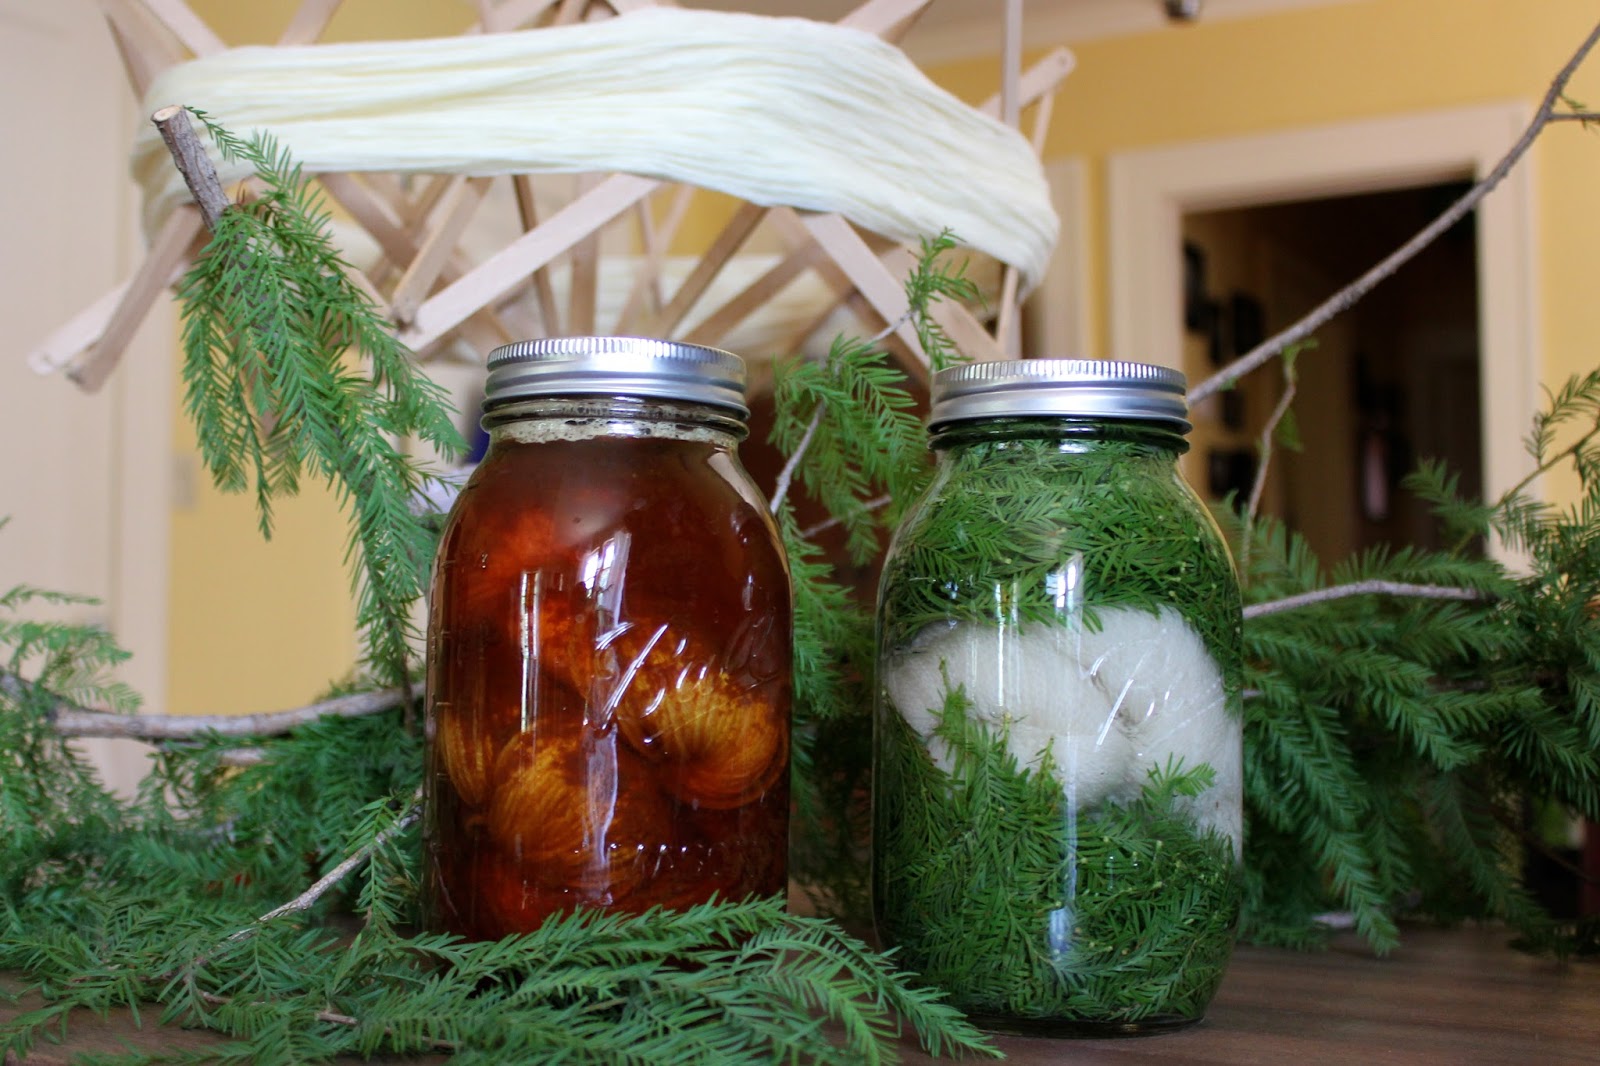
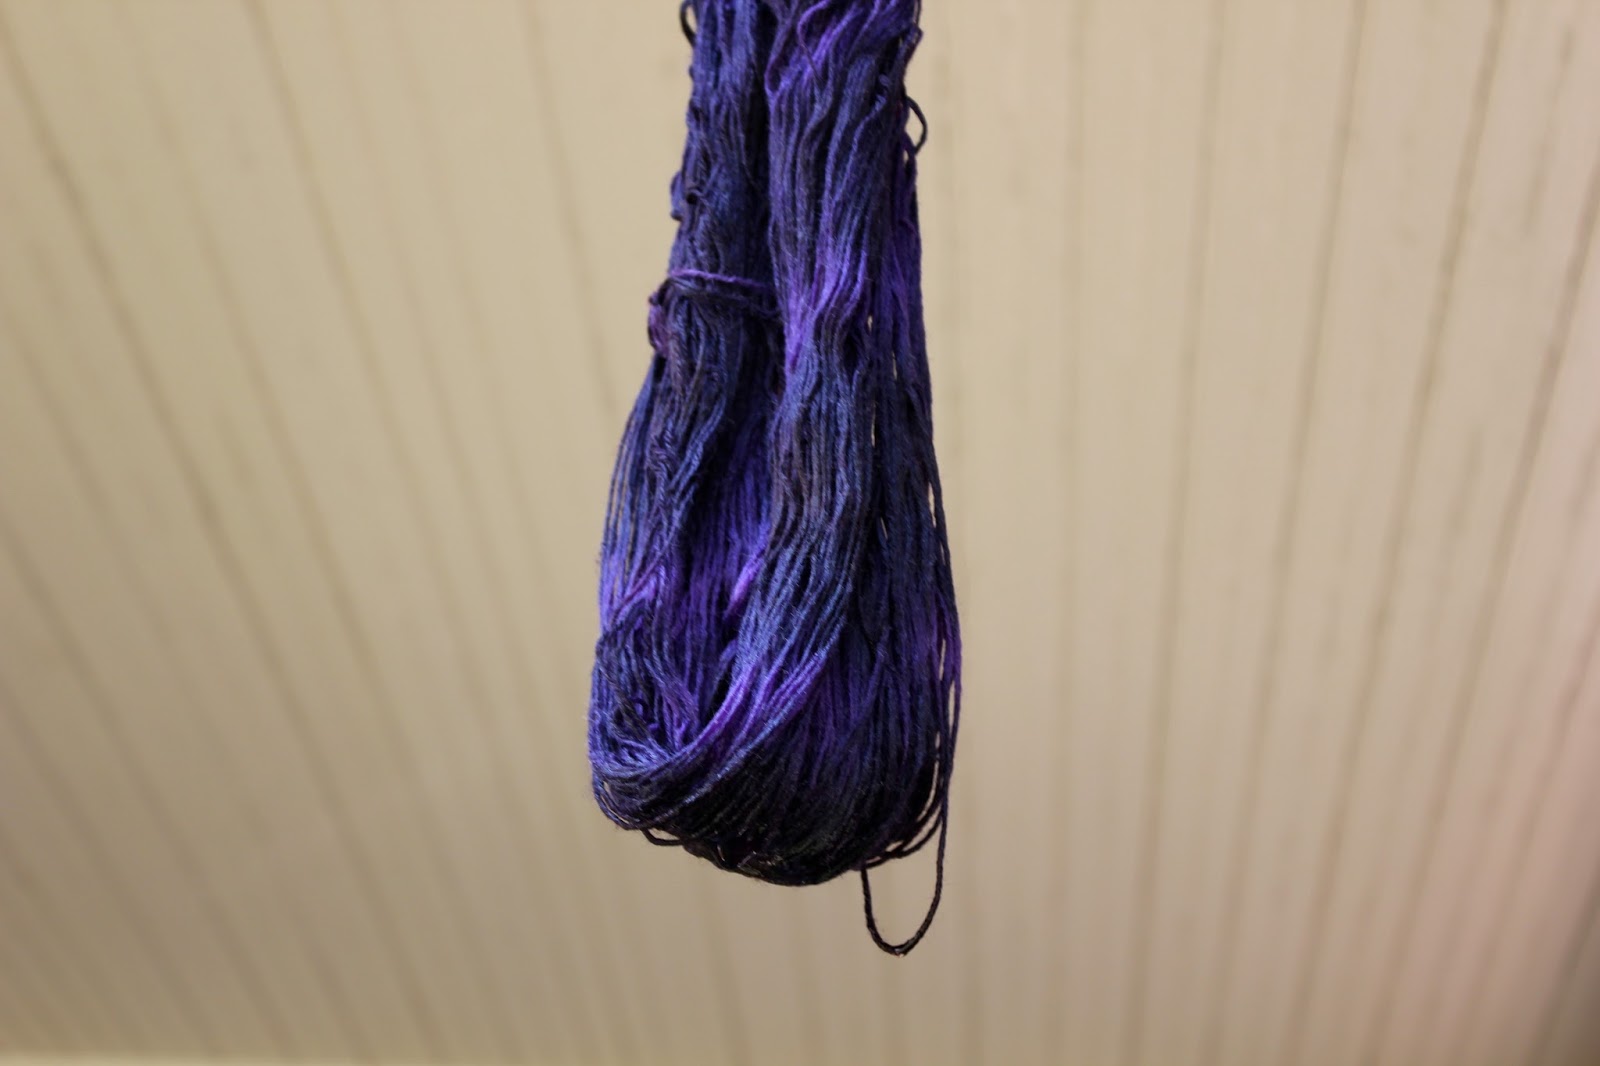
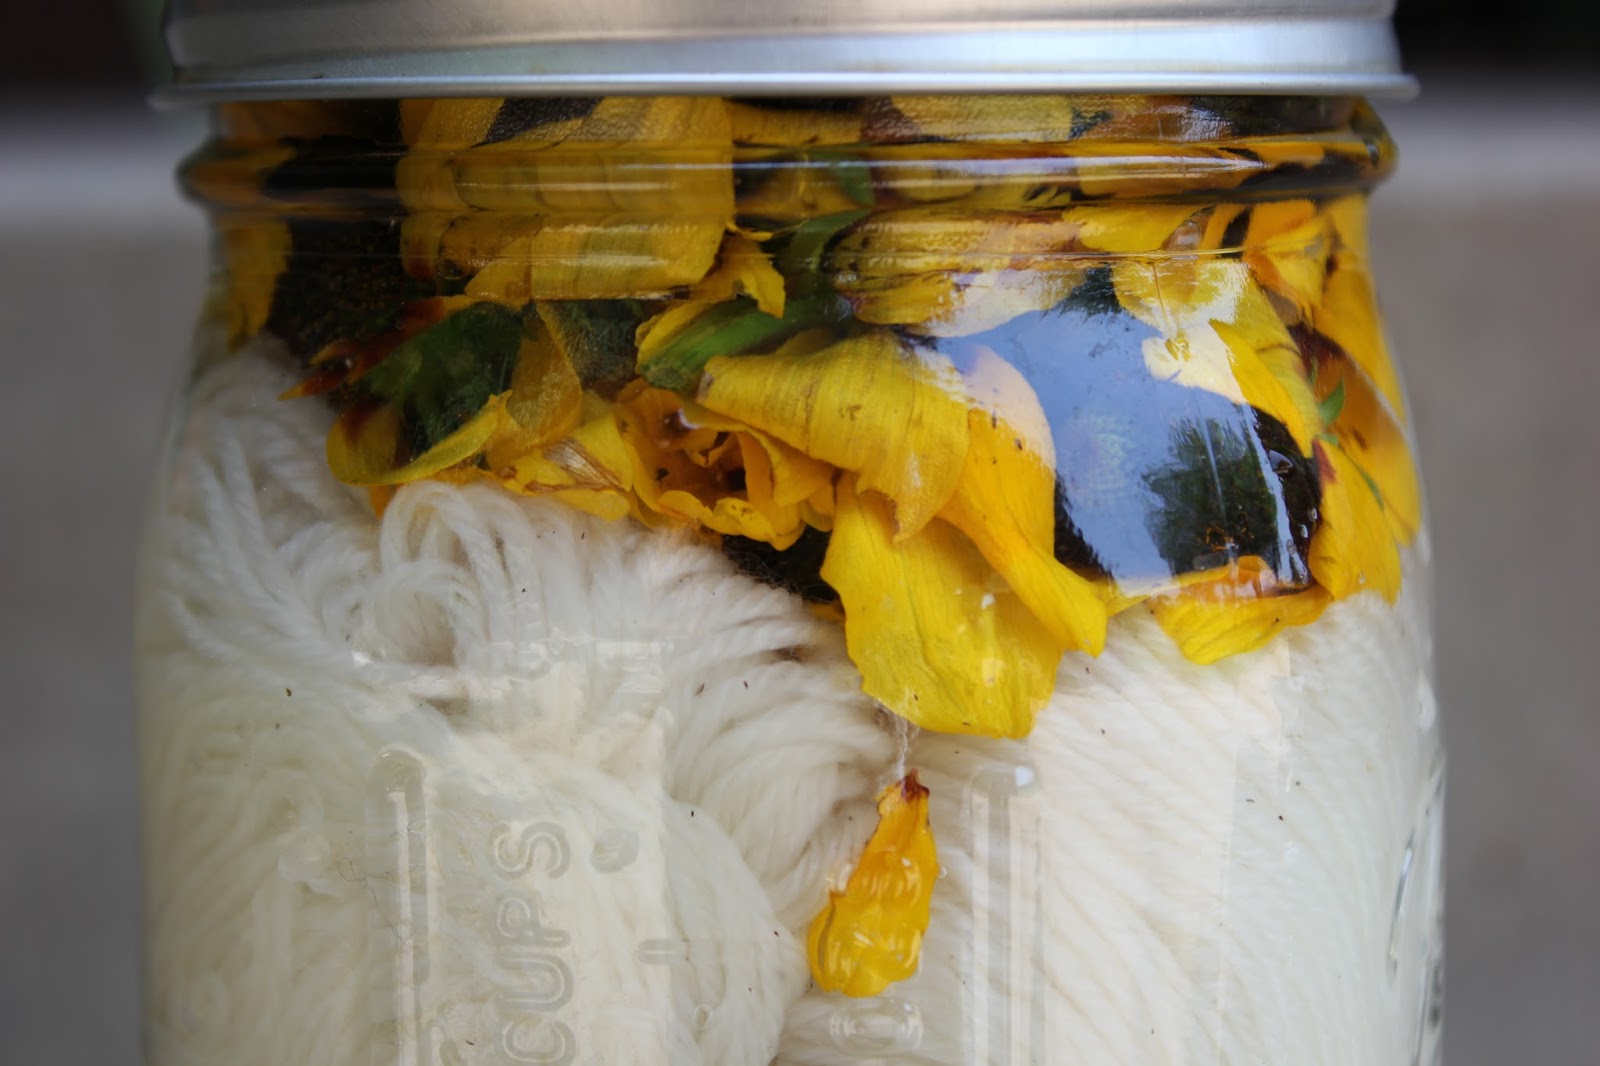
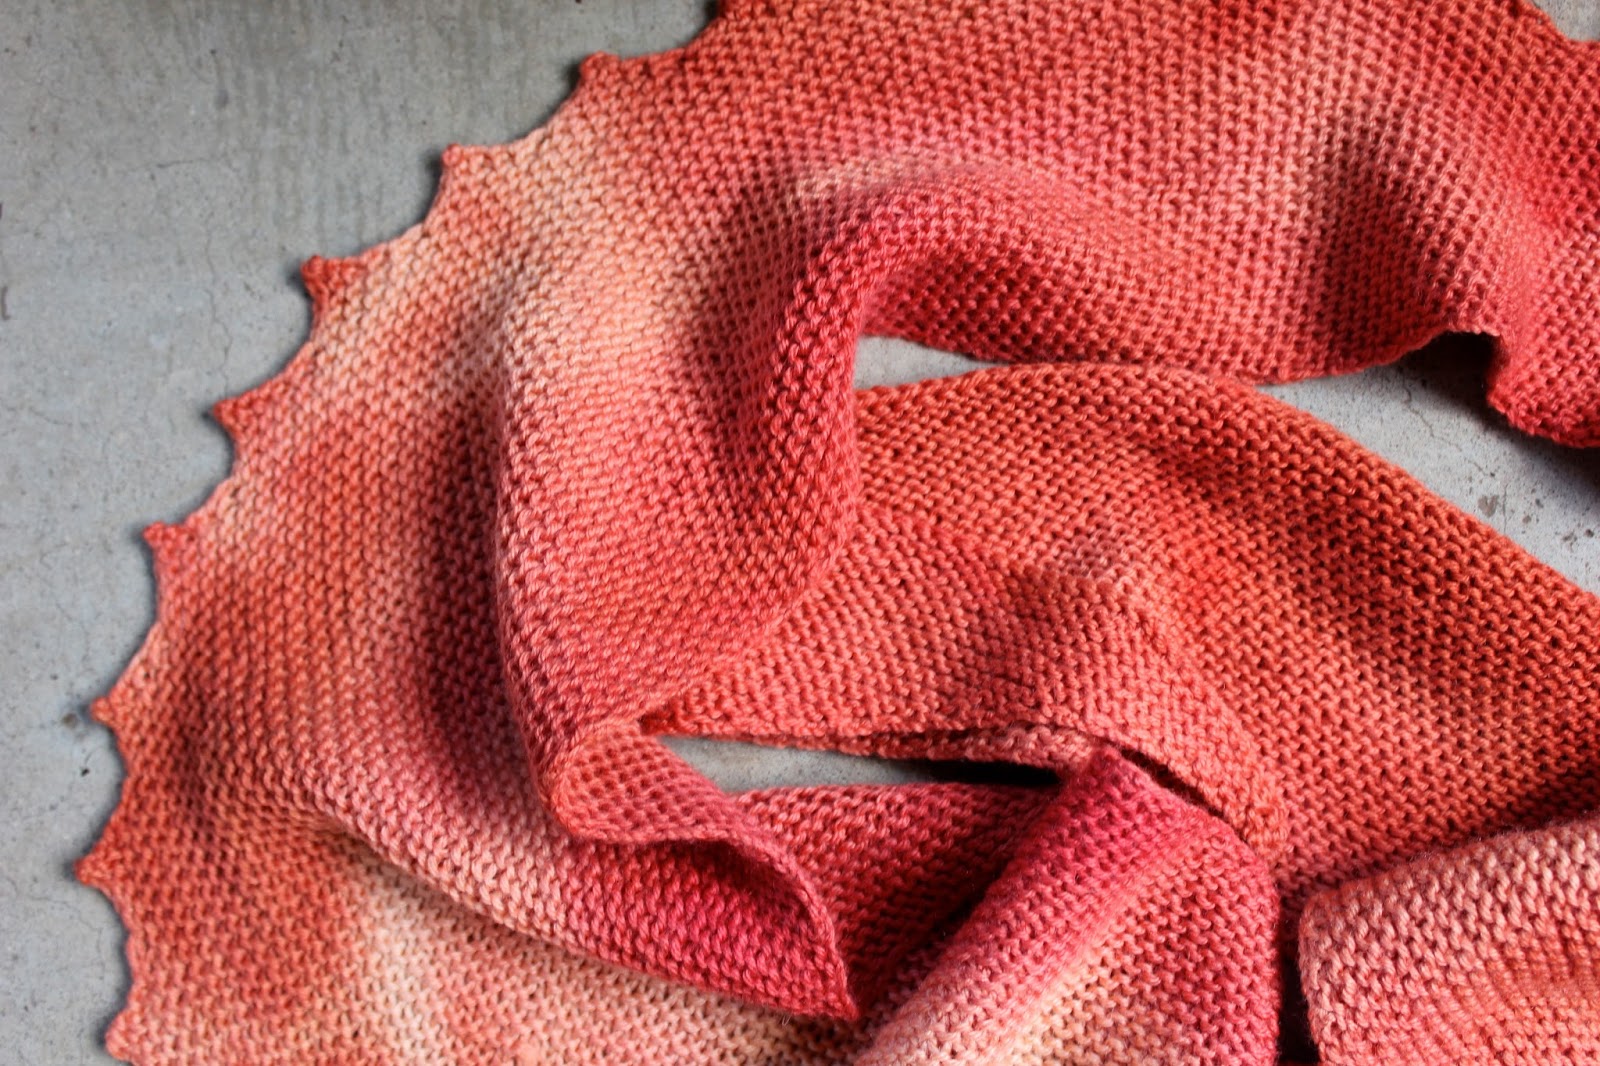
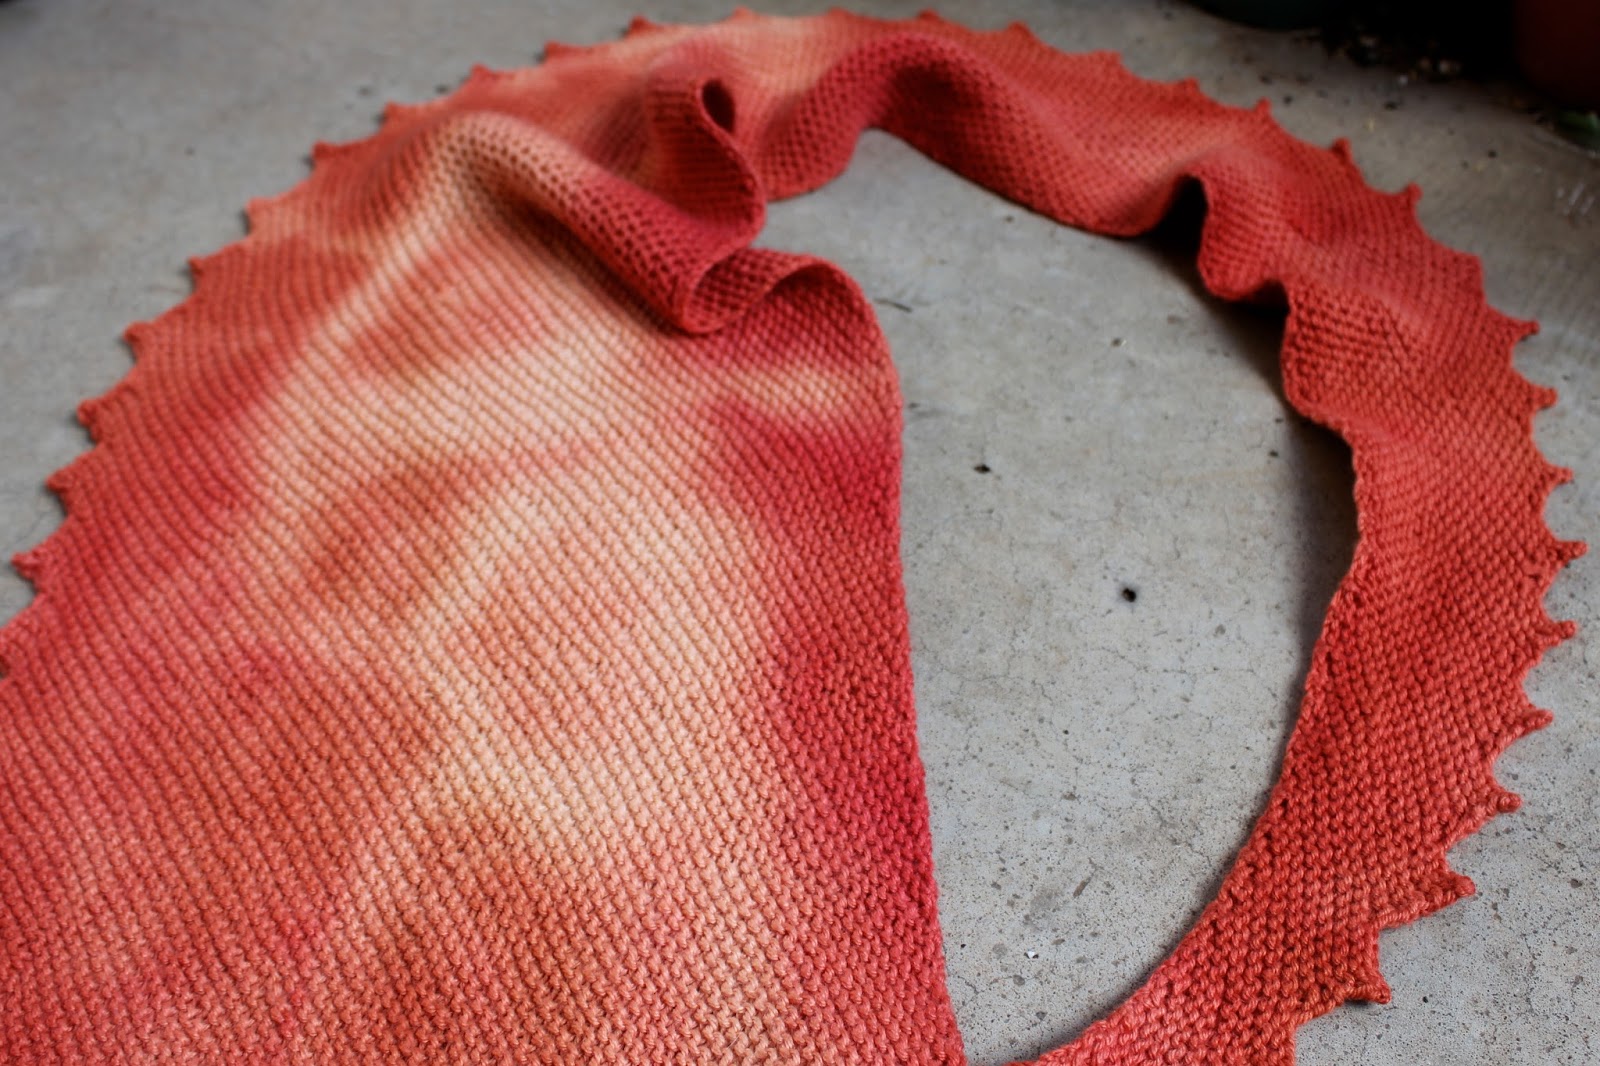
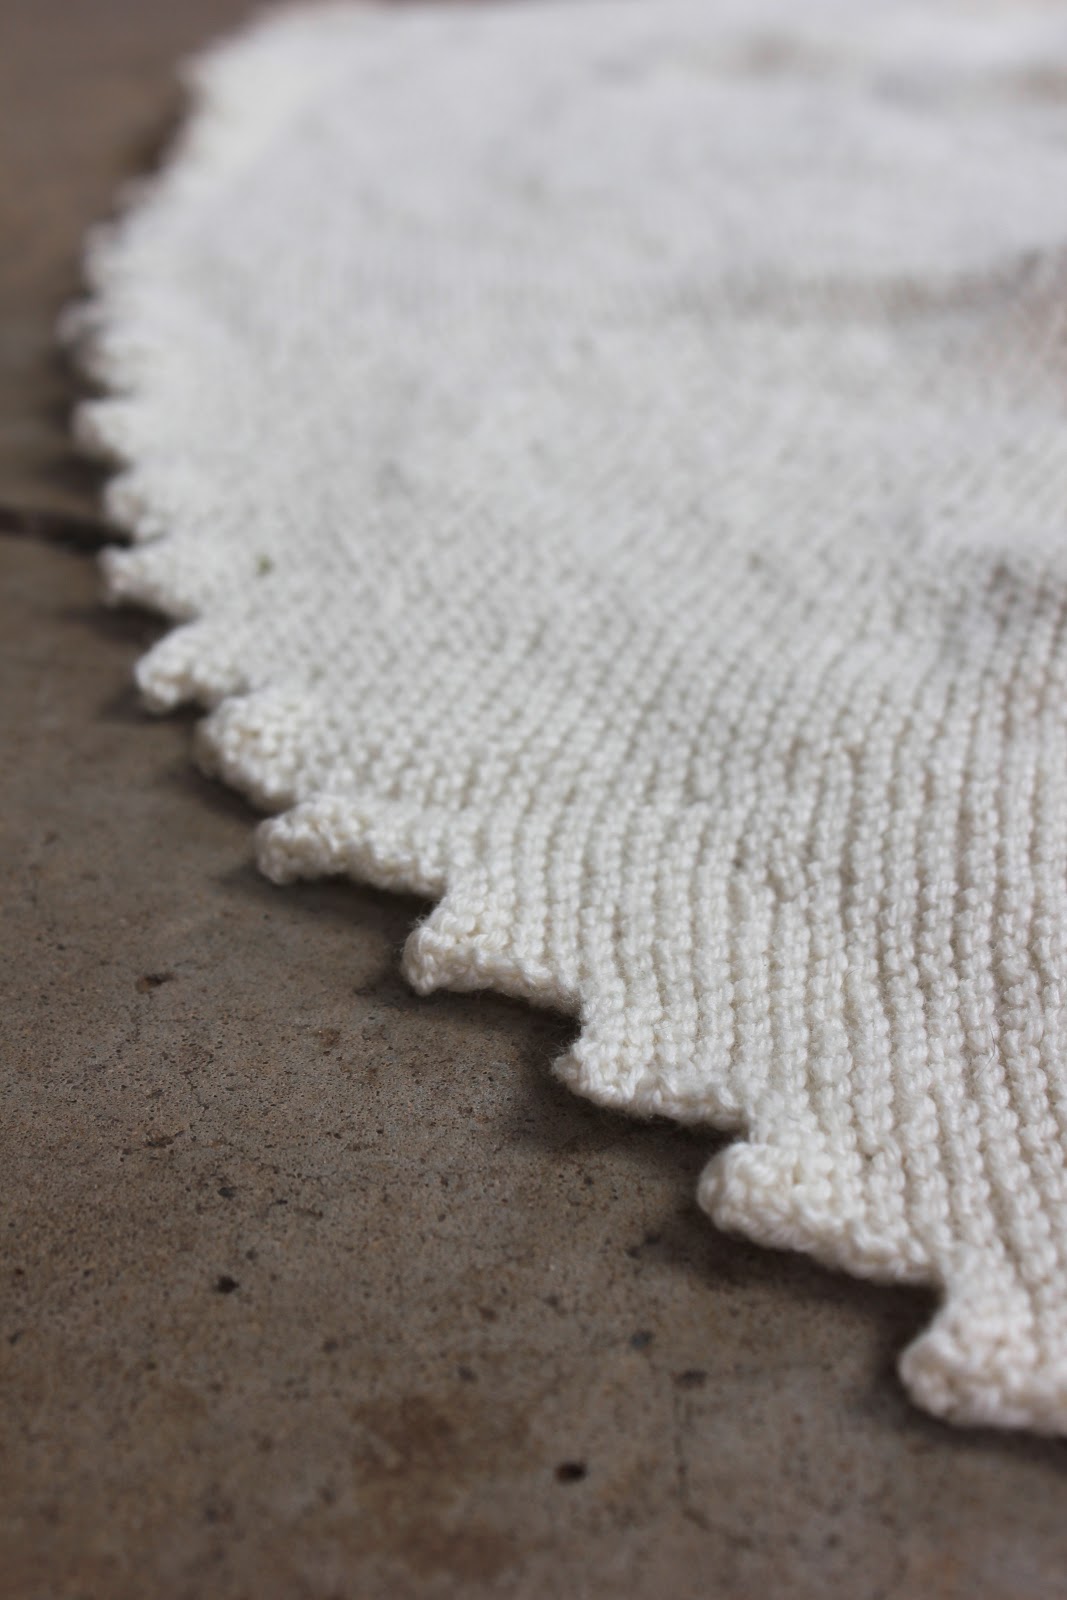
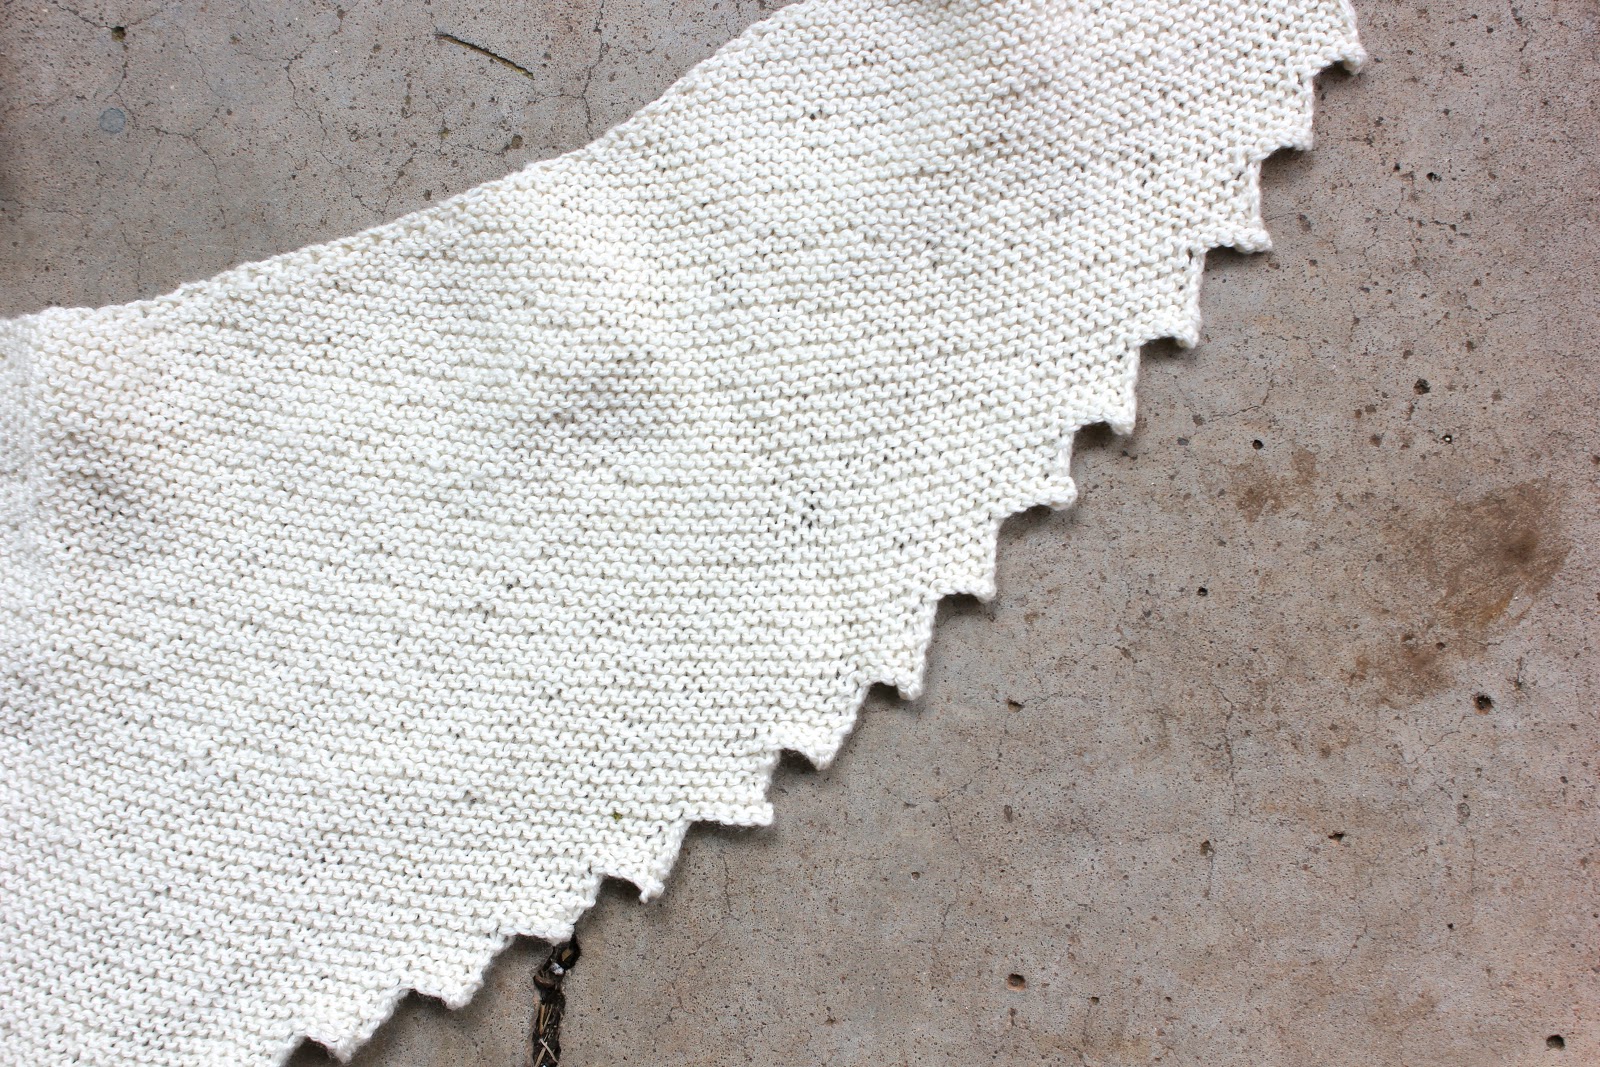
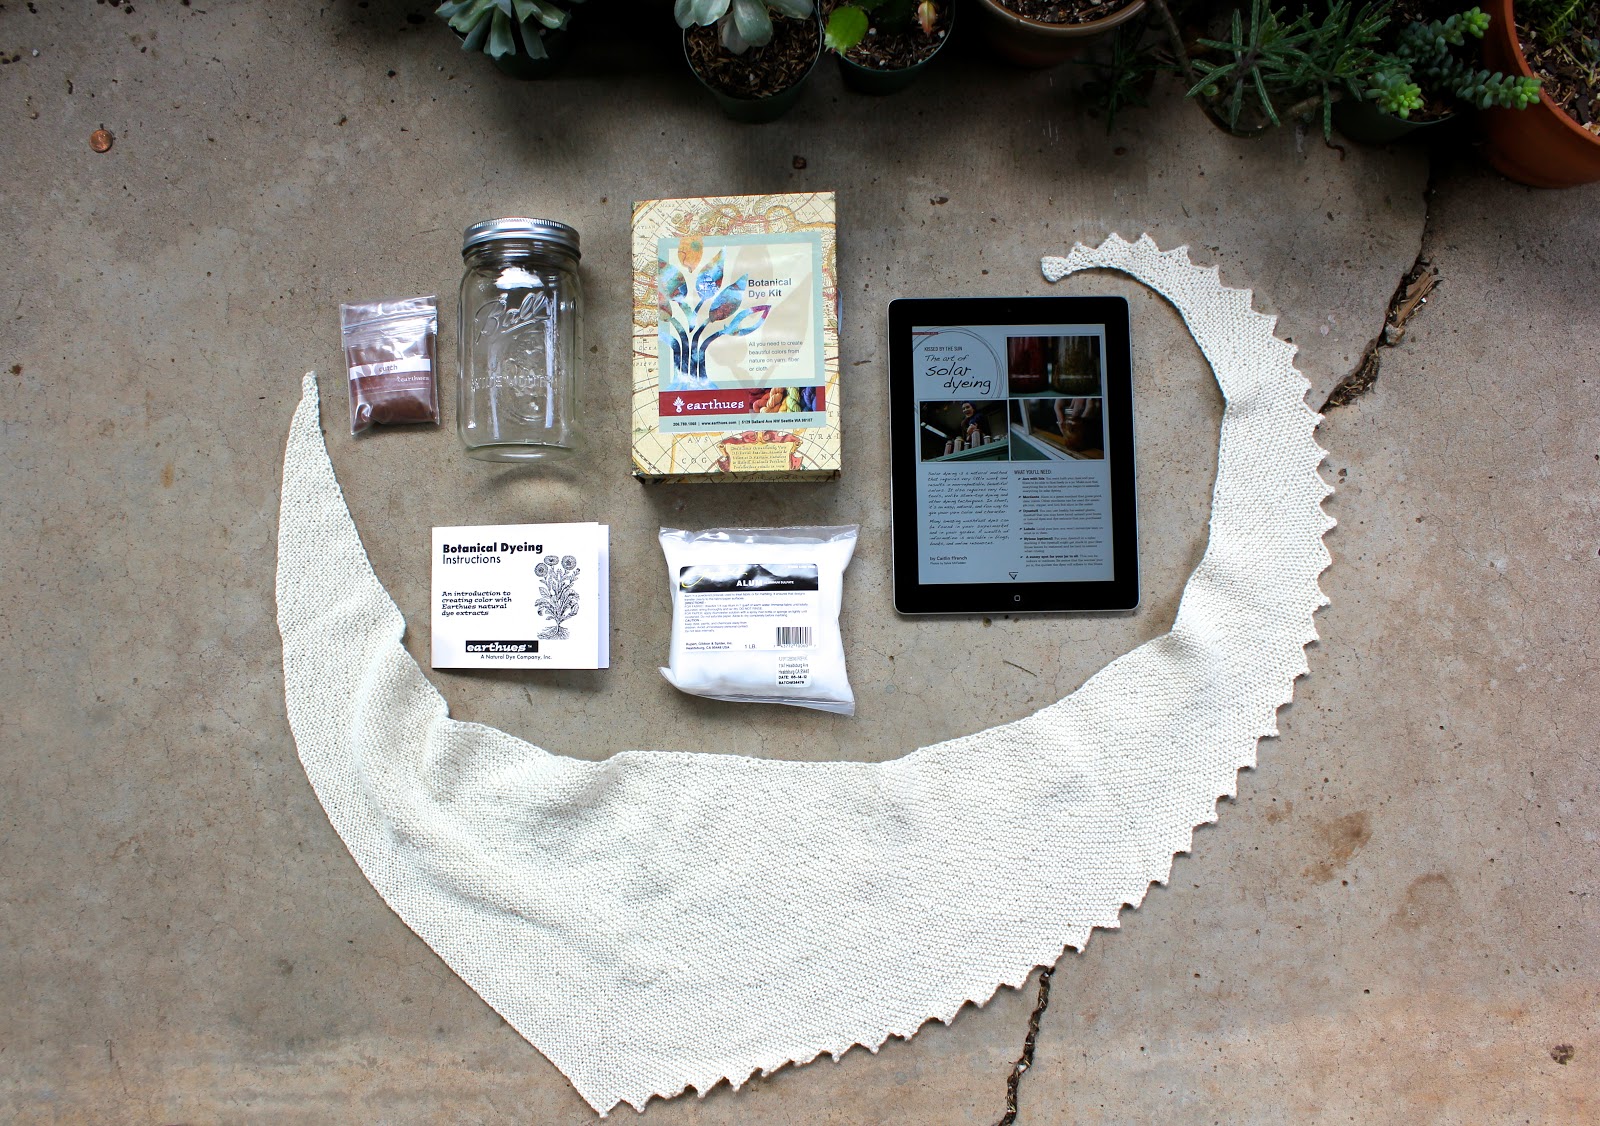
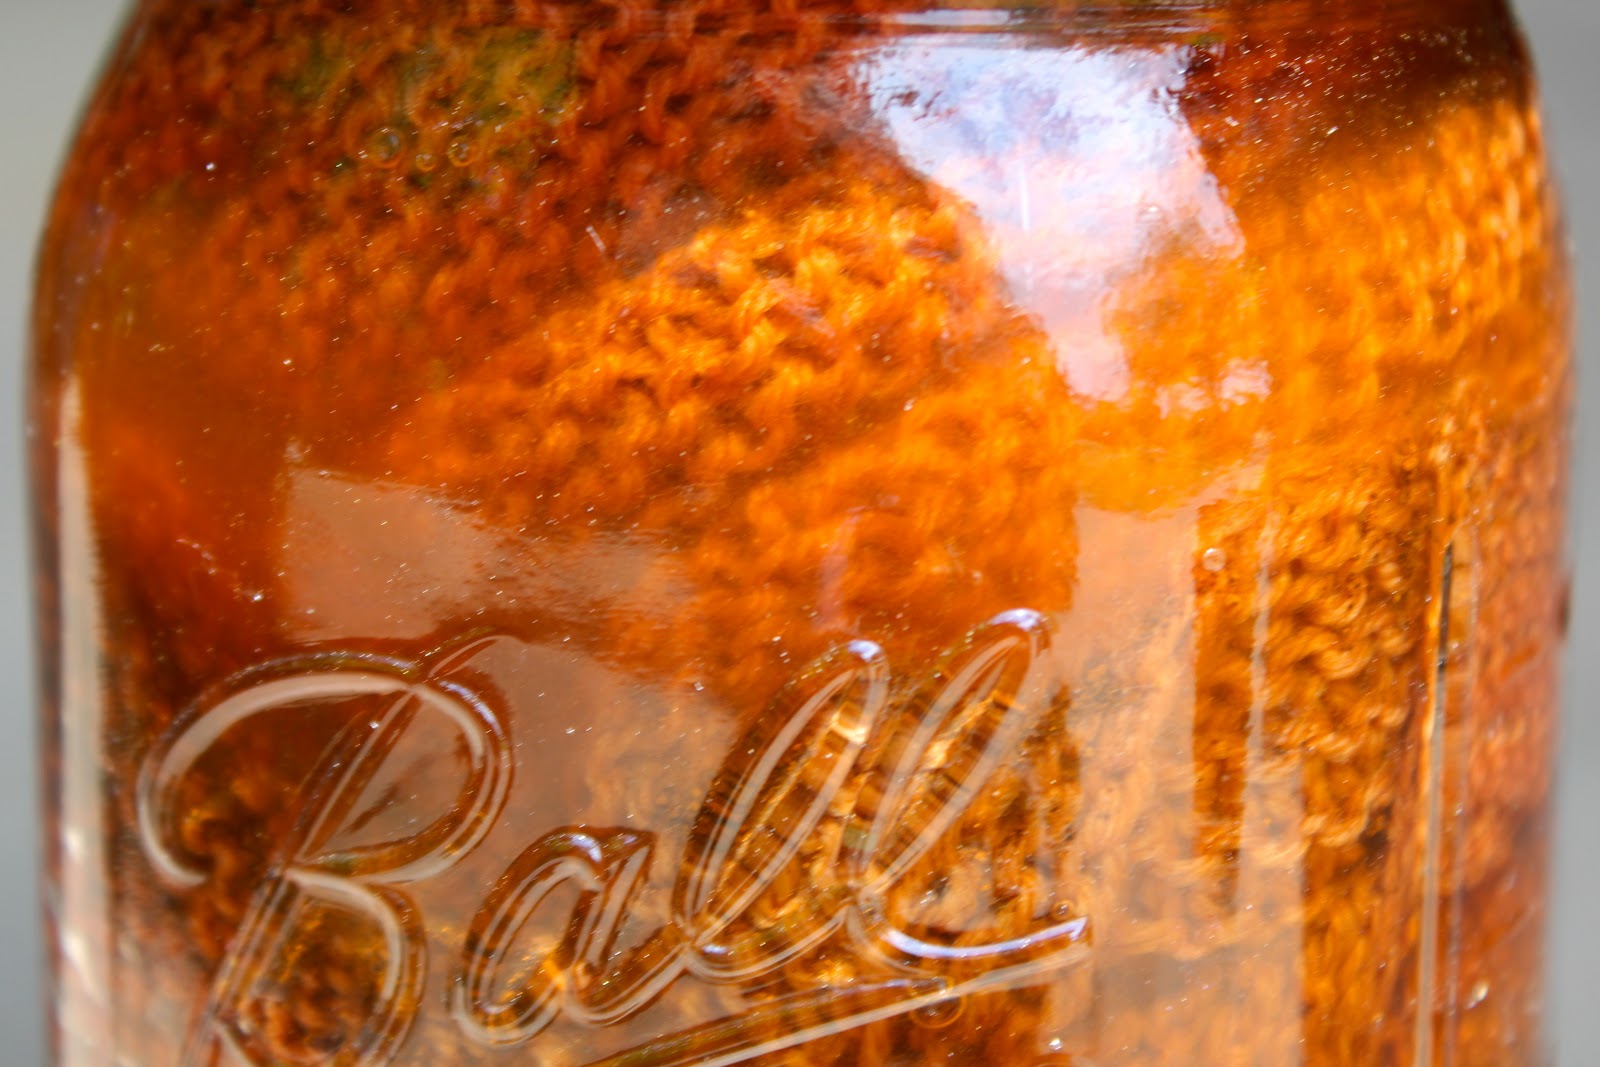
The berries have been ripening and drying out for weeks now and I finally made myself get out and harvest some for a solar dyeing project this past weekend.  One hand holding the jar and the other in a latex glove, I stripped several handfuls of berries from over a dozen plants on my half acre, watching the pink juice dripping off of my glove and thankful to experience this craft.  100 grams of wool and an alum mordant later, I'm excited to see how the dye fixes to the yarn a few weeks from now.

Solar Dyeing || #4 - Onion Skins

A while back I mentioned doing some solar dyeing demonstrations for an Earth Day event at Martin Park Nature Center in conjunction with my exhibition, Niche.  At the end of June, I finished off a couple of my dye jars and had only shared the one using red bud blossoms.  The jar shown here included 100% wool dyed with onion skins, using alum as a mordant.  As you can see, it was packed pretty tightly.  The resulting yarn showed some interesting variegation of yellow and orange-brown.
My posting schedule has been a little inactive this past month - summertime has its demands I have not been able to spend much time at the computer.  I do have a few projects to share soon, however.  Until later this week...

Harvested || Dye From Red Bud Blossoms

Back in April, I did some solar dyeing demonstrations for Earthfest at Martin Park Nature Center, in conjunction with my outdoor exhibition, Niche.  Oklahoma's state tree is eastern red bud, and they are abundant here.  Funny enough, our climate tends to be a little hard on these little trees in the summer - they often have sunscald, splits in the trunk and decay, especially when growing in full sun.  The 'Oklahoma' variety has a thicker cuticle on its leaves and tends to be a little more tolerant of heat and drought.  In any case, red bud puts on quite a show in the spring with the small purple blooms lining its branches.  We have a few fairly mature specimens in the back yard, and I decided to try a little experiment this spring.  I collected a bagful of blossoms to use in one of my demonstration jars, unsure of what the outcome would be.  Flowers can be deceptive when it comes to dyeing - I learned that when I got a lovely sage green from prairie coneflower last summer.  While I would have been delighted with a purple hue, I went into this experiment without expectations, and I was wowed by the result.  After two and a half months in the dye jar, I finished with incredibly vibrant, golden yarn.  It's beautiful!  Next year I will definitely make more, and try it out with different mordants to see the variation.
This yarn was dyed using red bud blossoms with an alum mordant and a splash of vinegar.  I boiled half of my blooms to extract color before putting water in the jar with the yarn, and added a handful of fresh flowers to the jar as well.

Solar Dyeing || #3 Results - Sumac Berries

You may remember this dye jar that I started a couple of months ago.  I let it sit for several weeks while I was working on Saprobia, to allow the pigments to really soak in.  It's funny how with pretty much every solar dyeing experience I've had, the outcome was not at all what I expected.  This is not a bad thing - I don't really go into it with a vivid idea of the end result, but the color of the yarn is rarely in alignment with the color of the dye solution.  I had anticipated a pale red from the sumac berries, but what I ended up with was more of a light peachy tan.  Next year I will try some different mordants and see what comes of it.  Have you dyed with sumac before?  How did yours turn out?  I need to start coming up with projects to know with all of these naturally dyed skeins!


Solar Dyeing || #3

Smooth sumac is a common thicket-forming tree here in Oklahoma, usually found on the edge of prairie and disturbed sites such as roadsides.  It's native, and pops up in these areas as a primary succession species to make way for the slower growing, more shade tolerant trees of our native forest type.  In the fall, these trees really stand out because of the large clusters of bright red berries that form at the meristems.  When I first tried out natural dyeing, I thought of these berries and how curious I was to see how they would work.  Here we are in late summer, and I finally got my chance!
To start, I picked the berries off of the stems and then boiled them in some water to extract the pigment. I may get a larger jar later and put some berries in it with the dye mixture, but the lace weight skein of yarn I used was a little too large to fit in the jar with both the liquid and more berries, so this is why I left them out.  Mordants used: alum and vinegar.
Eventually I'd like to try cochineal, but this looks to be a nice light red dye from a plant native to my area.

Prairie Coneflower Naturally Dyed Yarn

It's been nearly two months since I visited this field of gold, sunny prairie coneflowers.  It felt like the field of poppies in the Wizard of Oz... except... they weren't poppies.  And I didn't feel compelled to take a nap.  So maybe it wasn't anything like that, except for my overwhelming awe at the seemingly solid blanket of color.  After collecting a huge bouquet I started a solar dye jar that afternoon, as you may have read about here.  The dye stuff included seed heads and petals, with mordants of alum and vinegar.  One of the best parts about the solar dyeing process is watching the transformation take place, first of the water's hue and then of the yarn itself.  I half expected a yellow shade to develop, or at least a yellow-green.  Instead, after a week or two it became apparent that the dye stuff exuded more of a bluish-green, sagey tone.  Here is the result:
Faint, but lovely.  The gold splotches, I believe, came from dyestuff residue on the sides of the jar where the yarn was pressed up against it.  I may have been able to remove the yarn a couple of weeks earlier than I did, which could have prevented this.  It adds character though, which I am all about.  So... in case you ever thought about dyeing with coneflower, this is what you might get!  What should I make with it?

Dye Jar Progress

Since summer is now in full swing here in Central Oklahoma and we've been hitting heat indexes of over 100 degrees, my solar dyeing projects are coming along nicely.  The one on the far left, I started about three weeks ago using prairie coneflower bloom heads and petals.  The center one is osage orange extract, and the one on the right is bald cypress leaves.  These two on the right are for a big project I'm working on to show this fall.  All are mordanted with alum and vinegar.


As you'll notice at the bottom of the jar, after a day or two in the sun (or submerged, one or the other), the leaves start to lose their green hue and take on more of the copper color that you see in the fall.  I just removed the dye stuff from the top of the jar this morning and added some fresh leaves to get some additional pigment.  It seems to be coming out a bright yellow color.


While I would love to try dyeing with actual osage orange root, I had this extract and for the sake of getting some of these jars going I decided to go ahead and use it.  The shade is a beautiful, burnt orange.  Less red than the madder that I used last month.  It's going to add a lot of brightness to the project I'm using it for.


I've really loved watching the evolution of this jar.  After the first week in the sun, the water took on a deep purple hue.  When I started noticing the yarn taking on color, however, it looked more green.  Now, it almost looks like the coneflower heads have produced a blue-green color in the yarn.  I removed the dye stuff from the top of the jar and topped it off with water this morning.  It was a little cramped in there so the yarn was stuffed into the center... Hopefully this will allow it to spread out some and absorb more color in the center section.  This yarn has no project slated for it yet, so I will likely let it sit until the water looks clear and there is no more pigment to be absorbed.


On a side note, check out these stalks that one of my succulents is putting out!  I love watching these guys grow...


And finally, I'm happy to report that the bottom tier of the copper/moss tiered planter that I made last month is putting on new growth!  This dude will be cascading down the sides of the moss ball in no time!
I've got family visiting for the next few days (hello, three day weekend!) and am looking forward to some quality time and doing some fun things.  I hope you have a lovely weekend as well and I'll be back on Monday with a DIY!

Weekend Workspace || 7-6-13

I'm working on many different things at once today, aided by my jitters-inducing, home-brewed ice coffee, which makes one ten times more productive than usual (or at least puts one in a better mood while they are doing it).  These are exciting times because I am starting to work on and plan out a really huge project for a show this fall!  I need to formally introduce it, but not today.  Just know that it's a concept I've been honing in my head for months now and thanks to the wonderful people at OVAC, it's going to happen.  More on this soon...
The logwood purple dye jar looked pretty effective about a week after I started it, but I just this afternoon opened it and rinsed the fiber.  The yarn is a deep purple jewel tone, with some patches of lighter hues where it was twisted for the skein.  I've got it drying on the porch now, and am fairly certain that it will make a beautiful shawl later in the year.
These little polypores above are for a new piece I'm working on to show next month.  It's another new execution for me, and so far I'm happy with the progress.
Well, back to it!  I hope you're having a relaxing and/or highly productive Saturday as well.

Solar Dyeing || #2

Before I get into this - Seed Stitch Fine Yarn recently asked to interview me about the Decomposition series and 52 Forms of Fungi, and they posted this nice article last night.  I've had a couple of other interviews that I just realized were never linked on the blog - I'll compile those to share soon.  Moving on to the subject at hand.....
You may expect that this will become a regular inclusion in forthcoming blog posts.  I am in love with solar dyeing, and I don't care who knows it!  More than anything, I'm excited to experiment with different plants and mordants to learn as much about natural dyeing as possible... so here we go.
This is my second attempt at solar dyeing (you can read about the first project here and here), but it's my first attempt using actual plants that I harvested.  The first experiment incorporated some dye extracts processed by Earthhues.  This recipe includes prairie coneflower or Ratibida columnifera (thanks to Misti for confirming the plant ID - and by the way, if you're the type who is interested in natural observation and gardening, or you just like looking at beautiful photos of nature in general, you should really check out her blog. I enjoy it very much.)  I used alum and vinegar in the dye jar as well, and the fiber is Knit Picks bare Stroll sock yarn (100 g).
After just the first afternoon I noticed that the water was taking on a purplish hue, although I read that coneflower results in green.  We shall see!
Another jar with logwood purple extract, alum and vinegar is sitting out on the porch as well, although I did not get to take any photos of it.

Solar Dyeing Results

It's been about a month now since I started my mason jar of madder, alum and a Hitch Hiker scarf knitted in bare yarn.  This weekend, I decided that I could not wait any longer and liberated my scarf into the kitchen sink where I rinsed and rinsed until I could roll out the excess, clear running water and hang it up to dry.
Keeping an eye on the jar during this process is like watching gifts appear under the Christmas tree.  Just about every day I would get home from work, lean in for a good look and then grab it and give it a good shake to mix up the undissolved dye sediment.  The water wasn't quite clear when I made the decision that it was done, but I think I may have used too much dye to begin with and it was definitely soaking up into the outer layer of yarn.
As I mentioned in my original post when I started this project, the garment was a little large for the jar that it was in so I was expecting a somewhat splotchy outcome.  The resulting pattern of color is quite beautiful, with a dark rusty hue in the most saturated parts and a light gold on the parts that were obviously in the center of the scarf when it was rolled up in the jar.
I must say, I am so addicted to this new hobby!  New bare yarn is on the way, so I'm going to try this process with skeins and THEN knit with it!  I would also like to try using materials that I foraged or at least something that I collected/bought and prepared myself.
Have you tried any solar dyeing or even natural dyeing?  How did it turn out?


Solar Dyeing + Off the Needles || Hitch Hiker Shawl

Since I had a few other projects going on concurrently, it took me a while to finish this hitch hiker shawl that was part of a knit-along with the Instagram-along-ers Ravelry group.  Normally I take "off the needles" photos of a finished object styled and worn, but I did not do that with this one... because it's not finished yet!
Recently, I featured Caitlin Ffrench for the first post of the "Fiber Is..." column, and she just happened to have an article on solar dyeing in this summer's issue of Knit Scene.  When I started the shawl it was a last minute thing and I wanted to use some yarn from my stash.  For whatever reason I had some bare merino that would work perfectly.  Earlier in the year I made the herringbone cowl in a natural hue though, and didn't really want another scarf of the same color.  The solar dyeing tutorial seemed like a great way to try out something new and also add some color to my finished shawl.
For Christmas I received the Earthhues natural dyeing kit from my parents, which is available through Knit Picks.  Stovetop dyeing has been high on my list of things to learn for a while, but my kitchen isn't exactly ideal for large projects like that and it just seems really daunting.  Once I read through Caitlin's solar dyeing tutorial, I felt that this seemed a little more manageable for my first attempt at natural dyeing.  If you don't have a copy of the magazine yet, I really encourage you to pick it up.  There are some really cute patterns in it as well!
I used alum and madder for my shawl, which should come out to be a deep gold/orange color when it's finished.  Even after a couple of days it looks like some of the color has soaked up into the fiber.  Since it's a finished garment rather than a skein of yarn, I'm not sure exactly how it will look when it's done.  However, I like imperfections and variegation in solids, so it won't bother me a bit if it comes out a little splotchy.  Note to self: get some bigger jars for next time.
Have you tried any solar dyeing?  I'm really addicted now and fully intend to start several more jars as soon as I can get my hands on some skeins of natural yarn.  What are your favorite natural dye combinations?