I first became acquainted with staghorn ferns when living in Austin - a good friend who was also a coworker had one in our office, but it had unfortunately seen better days by the time I arrived there. I tried to revive it, but really didn't know much about the plant despite my otherwise green thumb. All I knew was that one of my favorite garden centers down there, The Great Outdoors, had a giant staghorn hung from an old live oak tree, and there are few non-tree plants that have had that kind of impact on me. Every year, the Zilker Botanical Gardens host a garden festival, which was where the office plant originated from. I picked one up that year only to experience the same failure and disappointment at my inability to get one of these interesting specimens to thrive. Now several years the wiser, I have realized after many house plant casualties the phenomenon of "loving a plant to death". Too much water, folks. It's one of the main reasons that people kill indoor plants! Once I learned to be patient about plant care, I found that I had much greater success with long term health of indoor greenery.
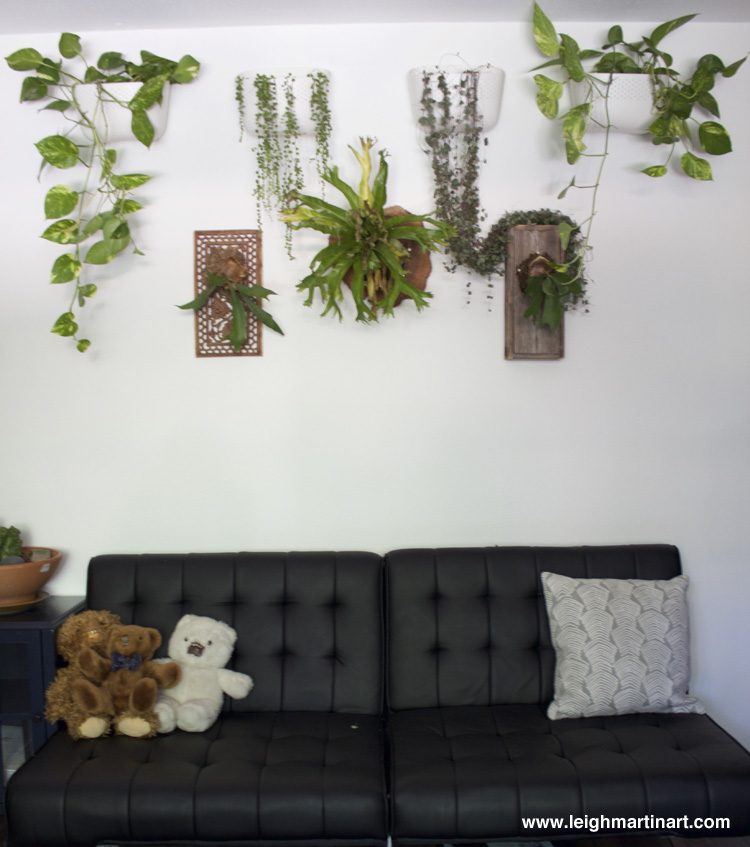
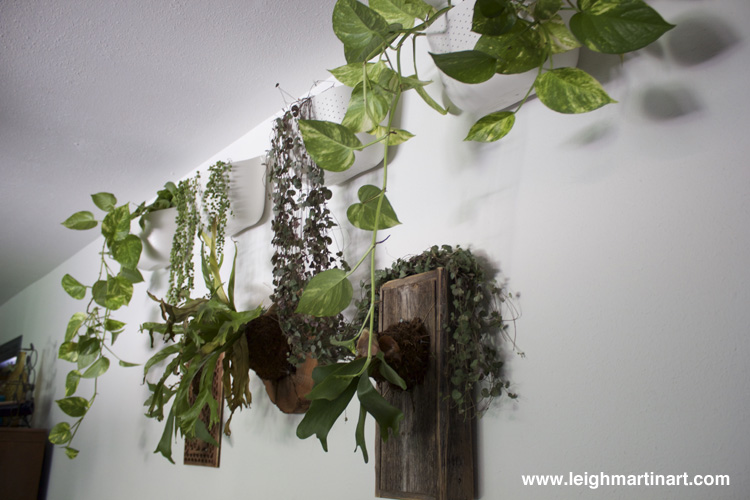
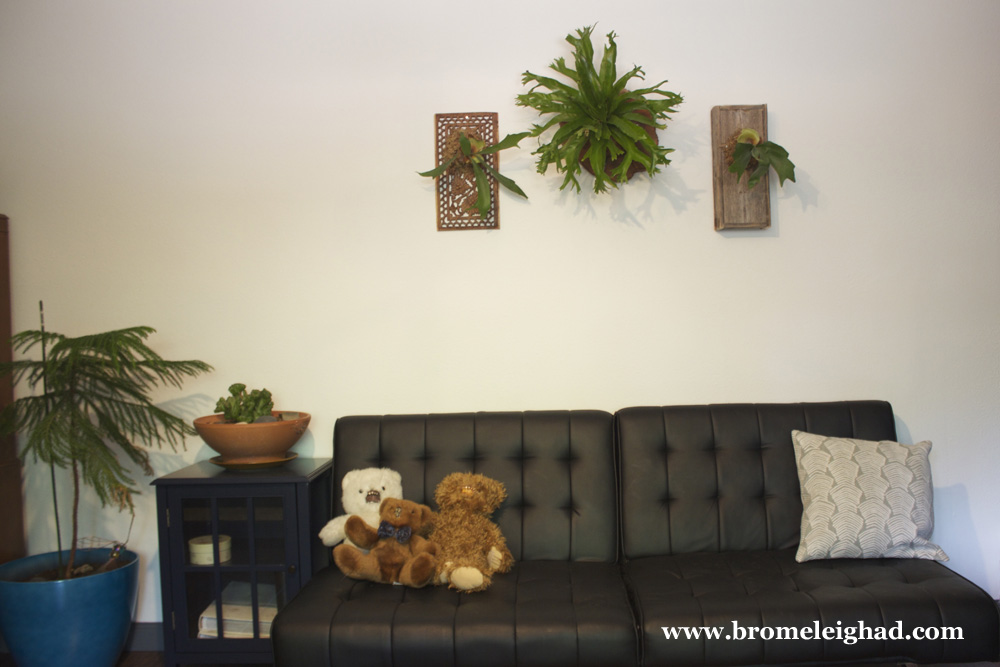
Living walls have interested me for a number of years now. With the exception of my studio, much of our house is pretty dim during the day. However, the living room boasts a large window facing the east, and the room is bright in the morning hours and lit indirectly in the afternoon. The wall facing the window is long and from the get go I saw it covered in plants when envisioning our new home. Last year for my birthday, J gave me a birdnest fern, mounted on a tree cross section by a local business, Ghostcat Botanical. This winter I found a couple of stag horn ferns in 4" pots and finally found a couple of pieces of wood to mount them on at an antique mall over Memorial Day weekend. One is a box built from old barn wood, and the other is a hand carved panel, presumably from some type of cabinet door.
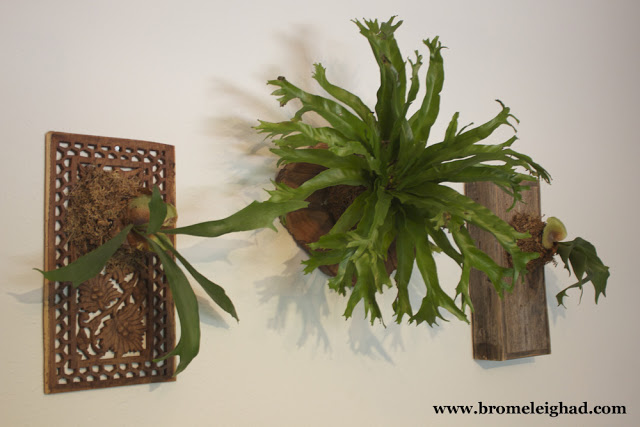
Mounting staghorn ferns is actually pretty simple. Supplies include a mount such as a board or tree cross section, sphagnum moss, nails and hammer (or screws, your preference), and fishing line. Staghorns are epiphytic plants, which means that they do not actually need potting medium - the roots will just attach to the surface that they are mounted to. Since mine were started in the 4" pots they did have a little soil around the roots, which I wrapped with moist sphagnum moss. I then set the root ball on the mount to determine where to place my nails. Using about 6 nails around the perimeter of the root ball, I drove them in about an inch from the edge of where the root ball would be. You can mark these spots and remove the plant while hammering. Once nails are in place, position the plant again and make sure the moss is covering all surfaces of the soil. Tie the fishing line to one of the nails and bring it over and around the root ball in a clockwise direction to a nail on the opposite side and wrap the line around it a couple of times. Be sure to take the line underneath the flat fronds at the base of the plant and be careful not to damage or remove them, even if they are brown. From here, take the line clockwise across the root ball again, to the nail just past the first one you tied on to (in the clockwise direction). Wrap a couple of times, and take the line clockwise to the nail just past the second one you wrapped. Continue to wrap, bringing the line just past the opposite nail that was previously wrapped until you have gone around the whole root ball a couple of times. It doesn't necessarily matter exactly what pattern you wrap in, as long as the line is consistently supporting the root ball on all sides. I wrapped around the base a couple of times as well, before tying the line off to the tail of line where I started and tucked both ends behind the moss.
Gardenista has a great tutorial on mounting staghorn ferns as well, which I definitely recommend checking out if you're interested in trying it.
I know it's not exactly what one would call a living wall just yet, but it's a start! I can't wait to keep adding to it over time and watching these babes grow. On another note, I'm in the process of harvesting spores from the birdnest fern and plan to try my hand at propagating them. I'll let you know how it goes!