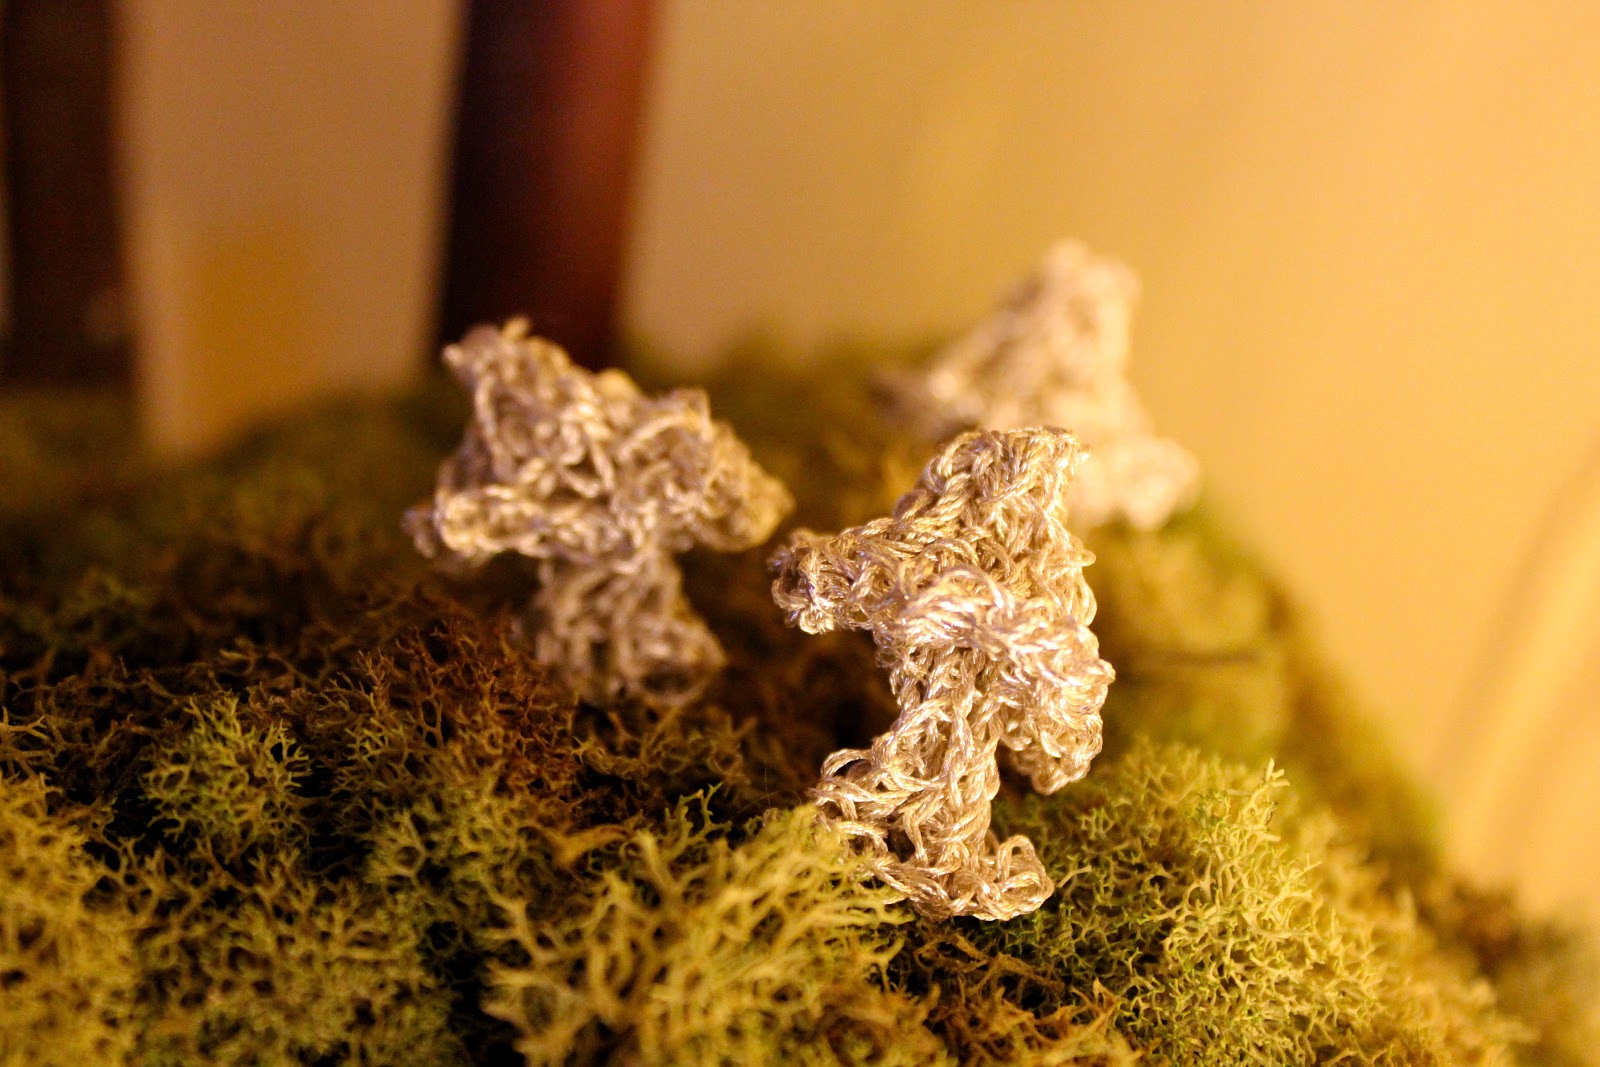
Those
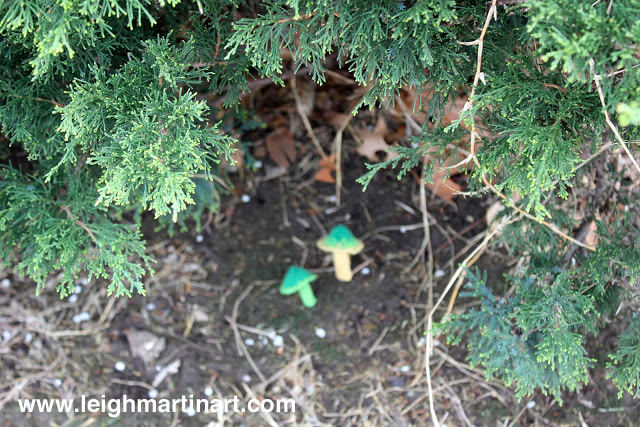
little silver 'shrooms from last week's
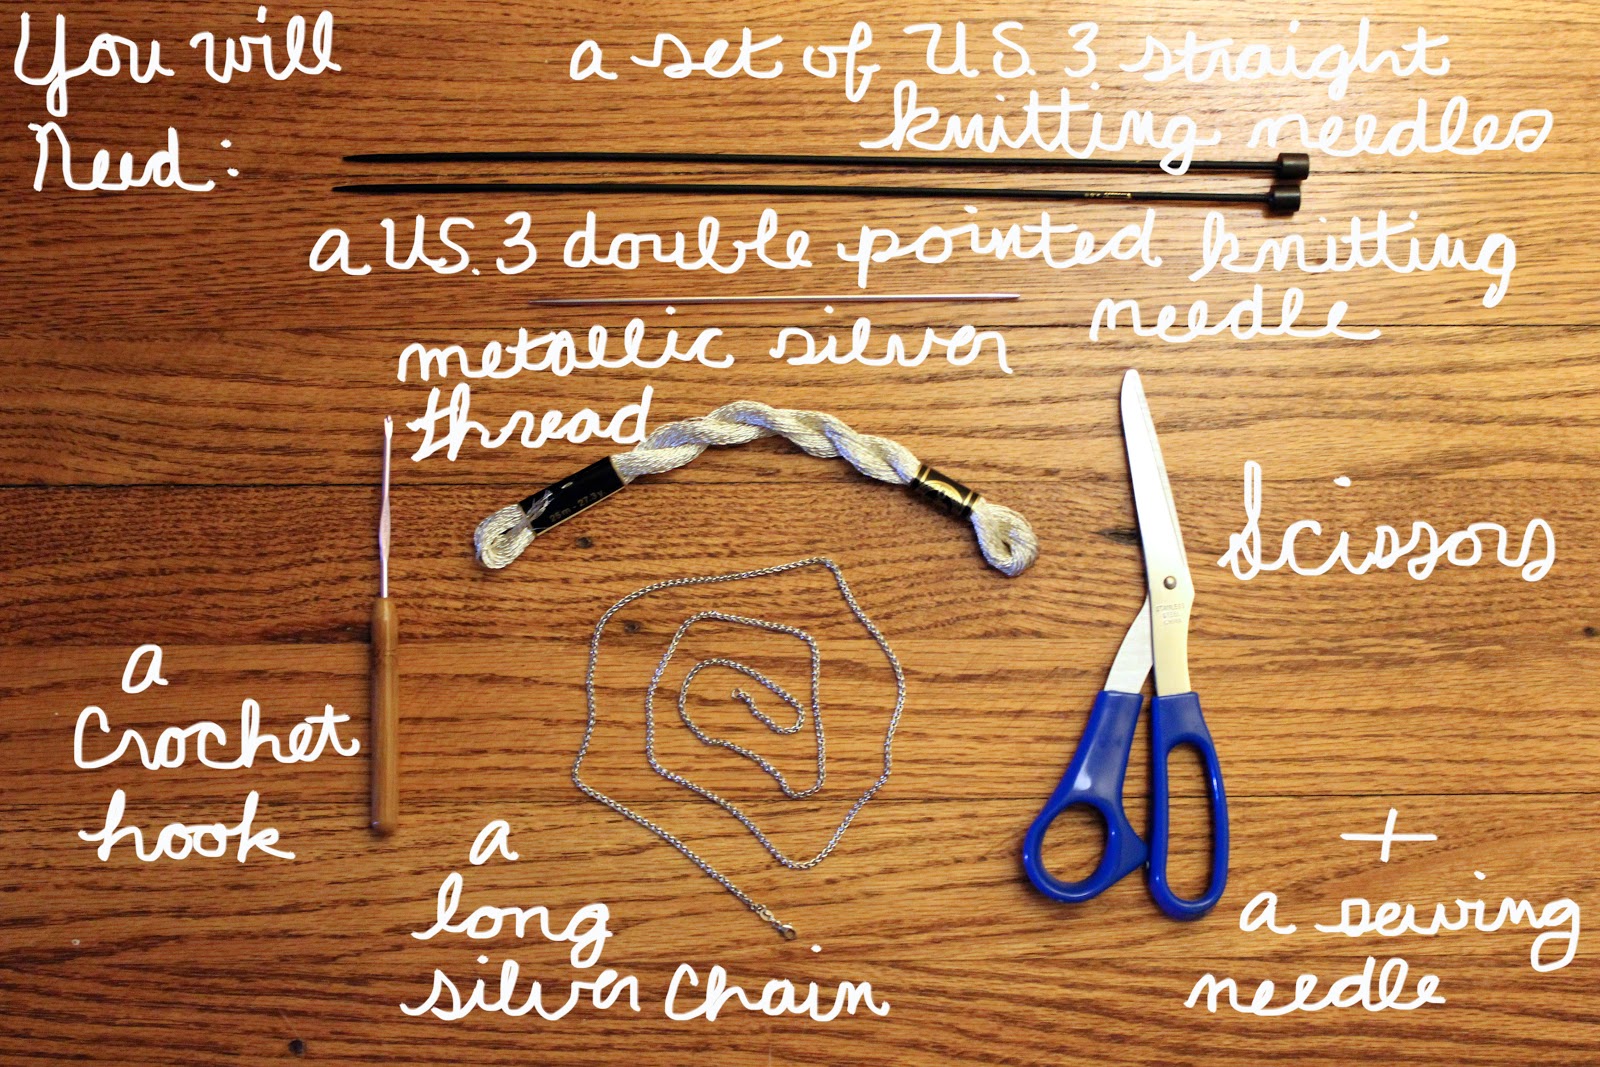
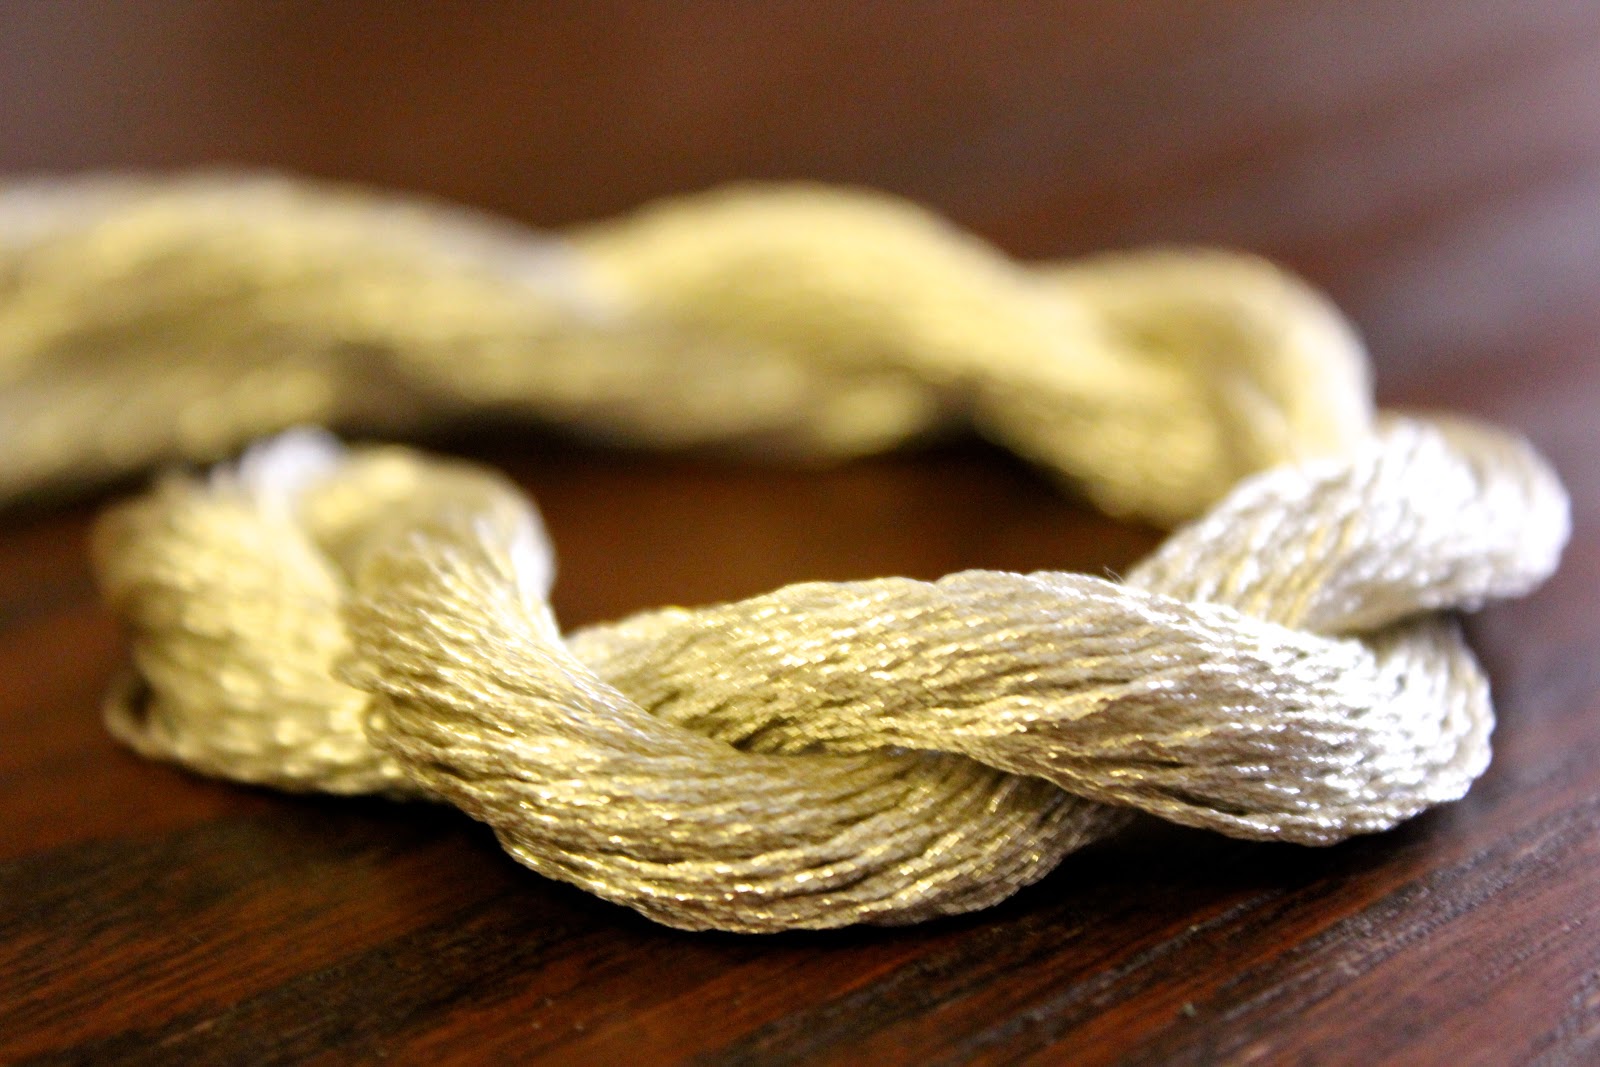
52 Forms of Fungi post are too cute not to find a use for, so today I wanted to share how you can make your own and WEAR them on a chain as a cute little accessory. Note: You will need to know some basic knitting and crochet skills here.
Knitted mushroom stalk pattern:
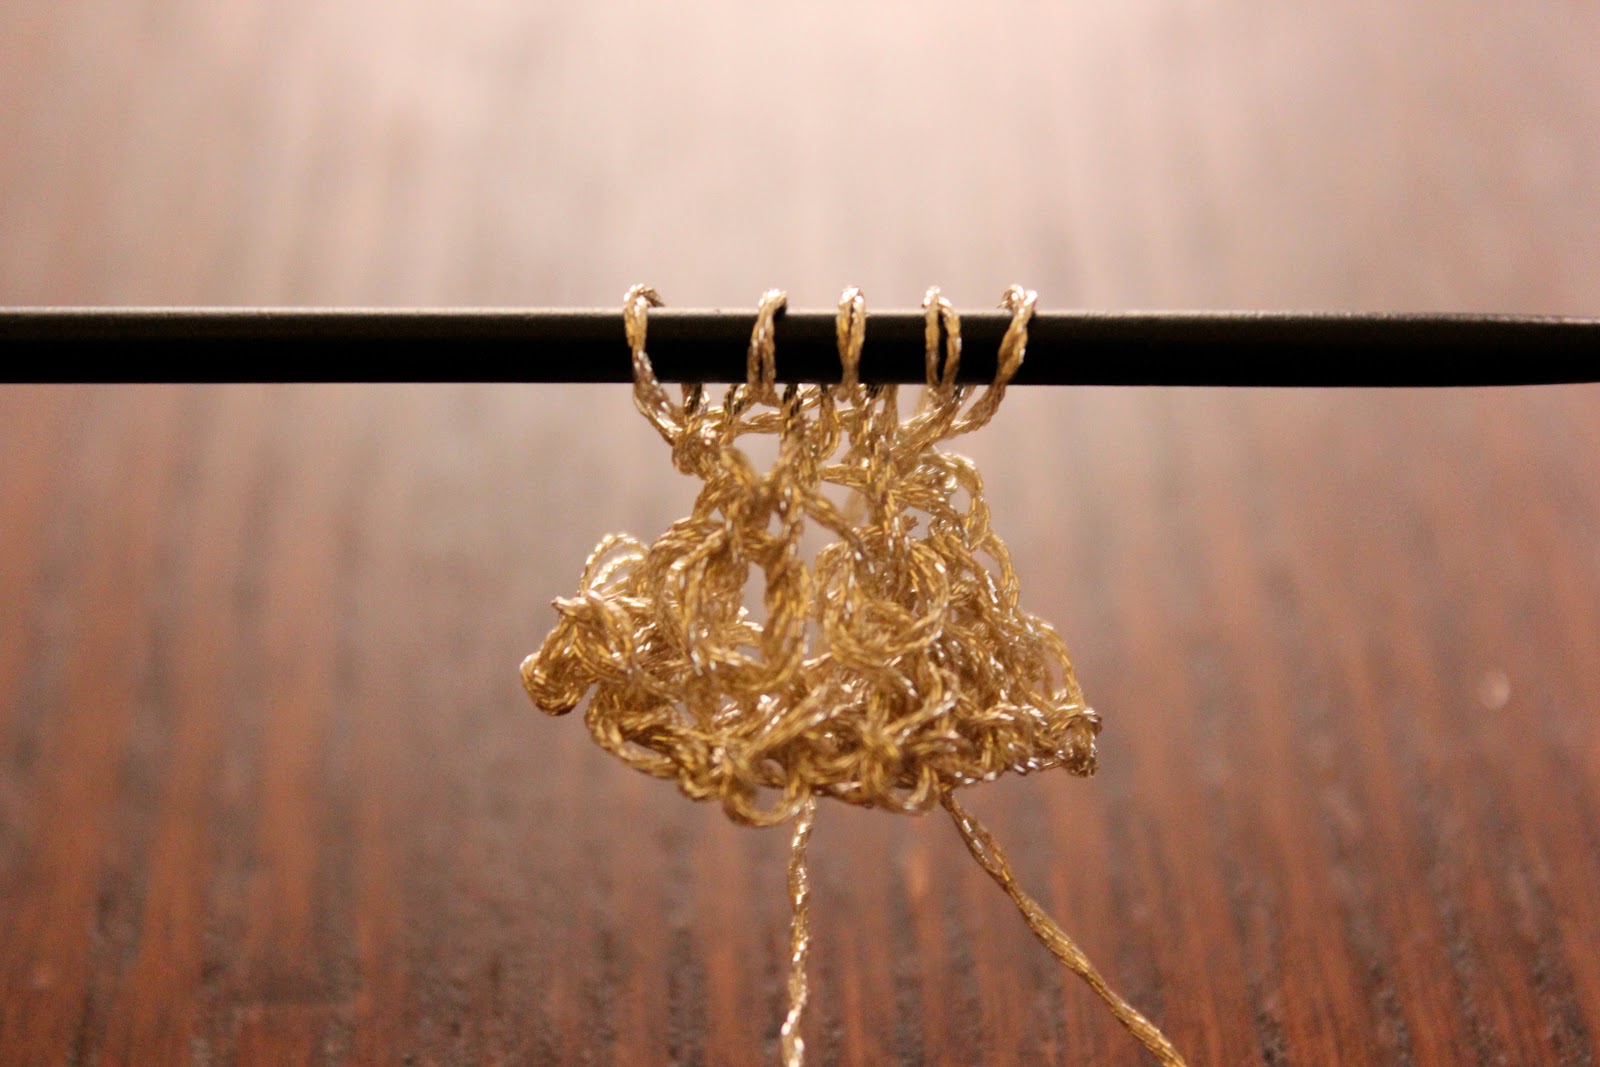
cast on 20 stitches with straight needles
Row 1: knit two stitches together to end of row
Row 2: purl to end of row
Rows 3 & 4: repeat rows 1 & 2
Row 5: knit to end of row
Row 6: purl to end of row
Rows 7-10: repeat rows 5 & 6 twice
Cut yarn and place all stitches on the double pointed needle. Set aside to start on the mushroom cap pattern.
Knitted mushroom cap pattern (front half):
cast on 20 stitches with straight needles
Rows 1-4: same as mushroom stalk pattern
Row 5: place double pointed needle behind the straight needle with the stitches on it. The right (knit) side should be facing the same direction. Knit the first stitch of the front needle together with the first stitch from the second needle. Repeat until all stitches have been knitted.
Row 6: pur to end of row
Row 7: slip slip knit, knit 1, knit two stitches together
Row 8: purl 3 stitches together
cut yarn with a 6 inch tail, pull through the last stitch and tighten.
Knitted mushroom cap pattern (back half):
cast on 20 stitches with straight needles
Rows 1-4: same as mushroom cap front half pattern
Row 5: knit to end of row
Row 6: purl to end of row
Row 7 to end: same as mushroom cap front half pattern
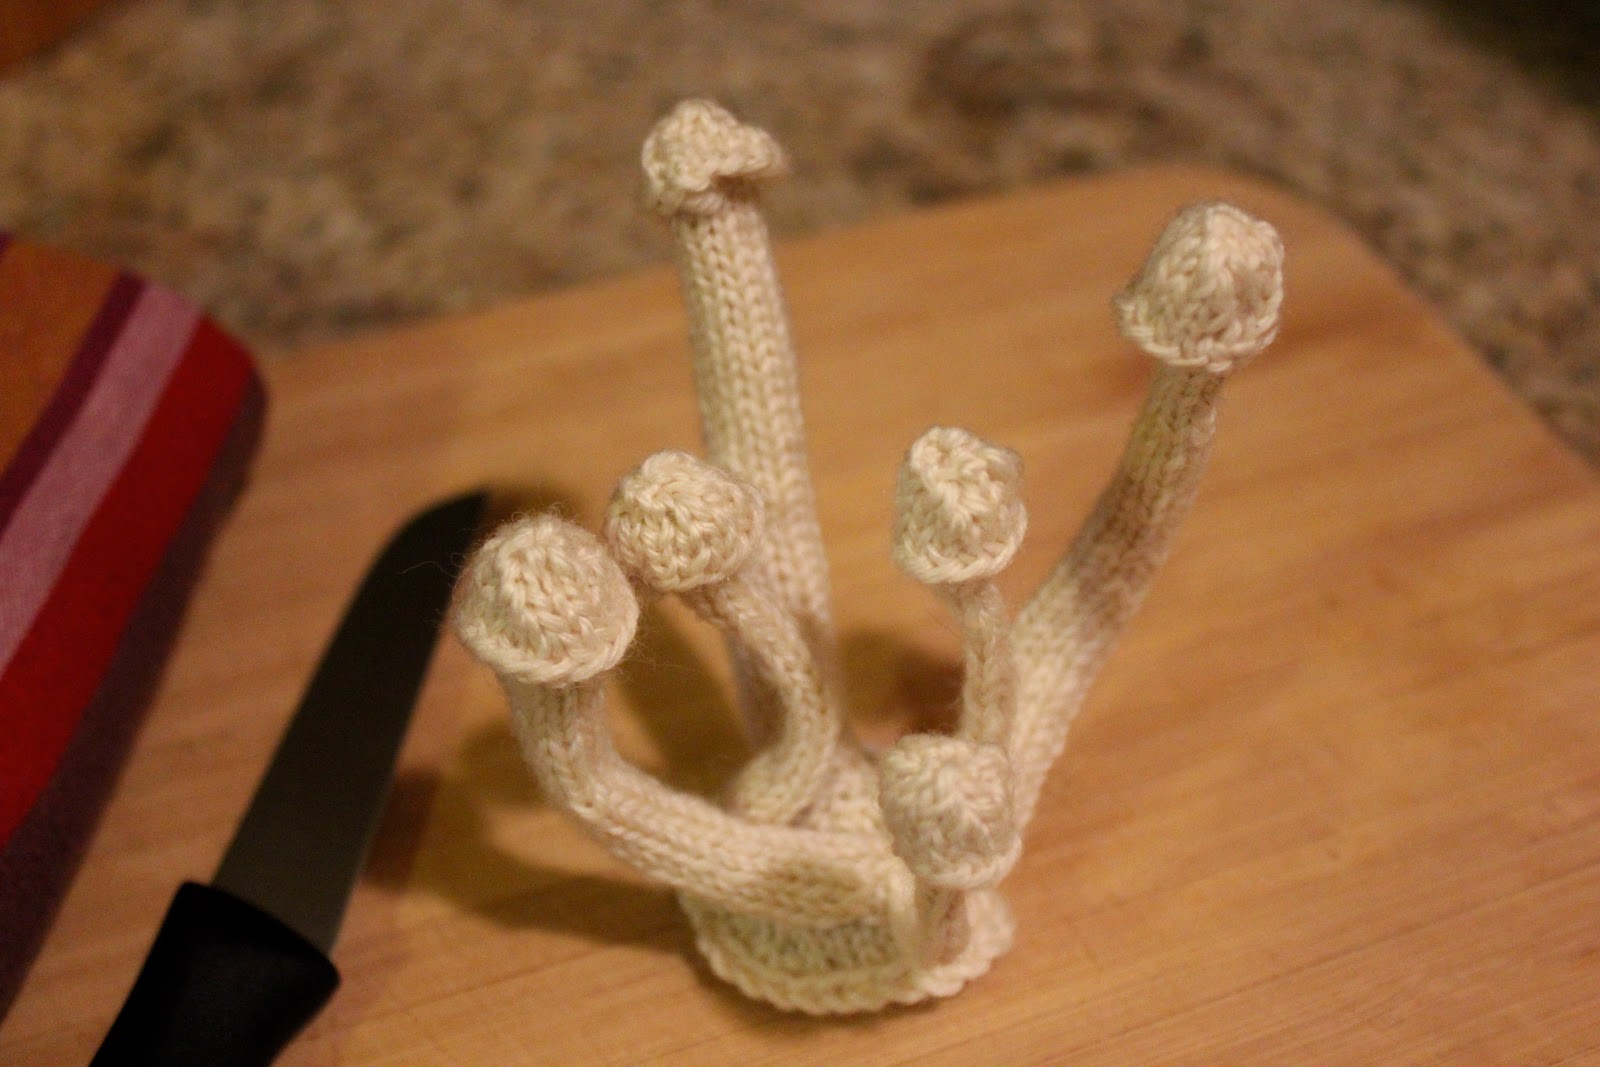
Finishing:
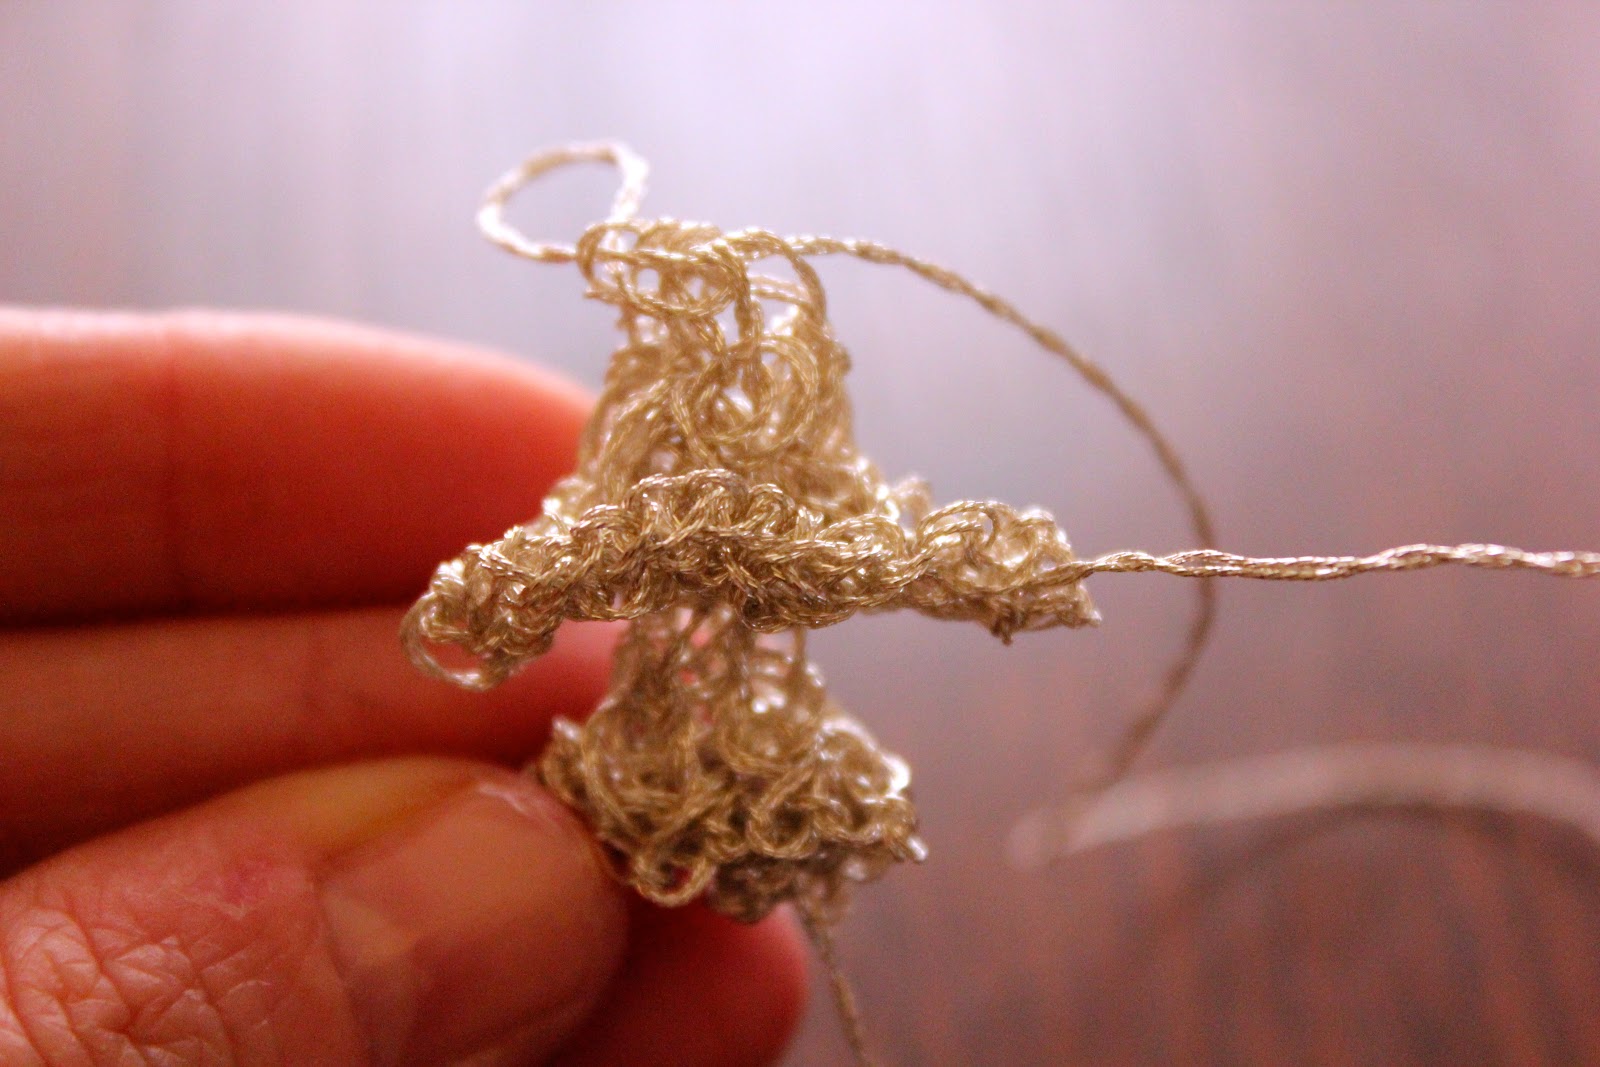
Sew the right and left sides of the stalk together so that the knitted (right) side is facing out. You now have a cylindrical stem. Put the two mushroom cap halves back to back so the knitted (right) side is facing out. Sew the sides together up to the top, leaving the bottom open. Weave in all ends using a sewing needle.
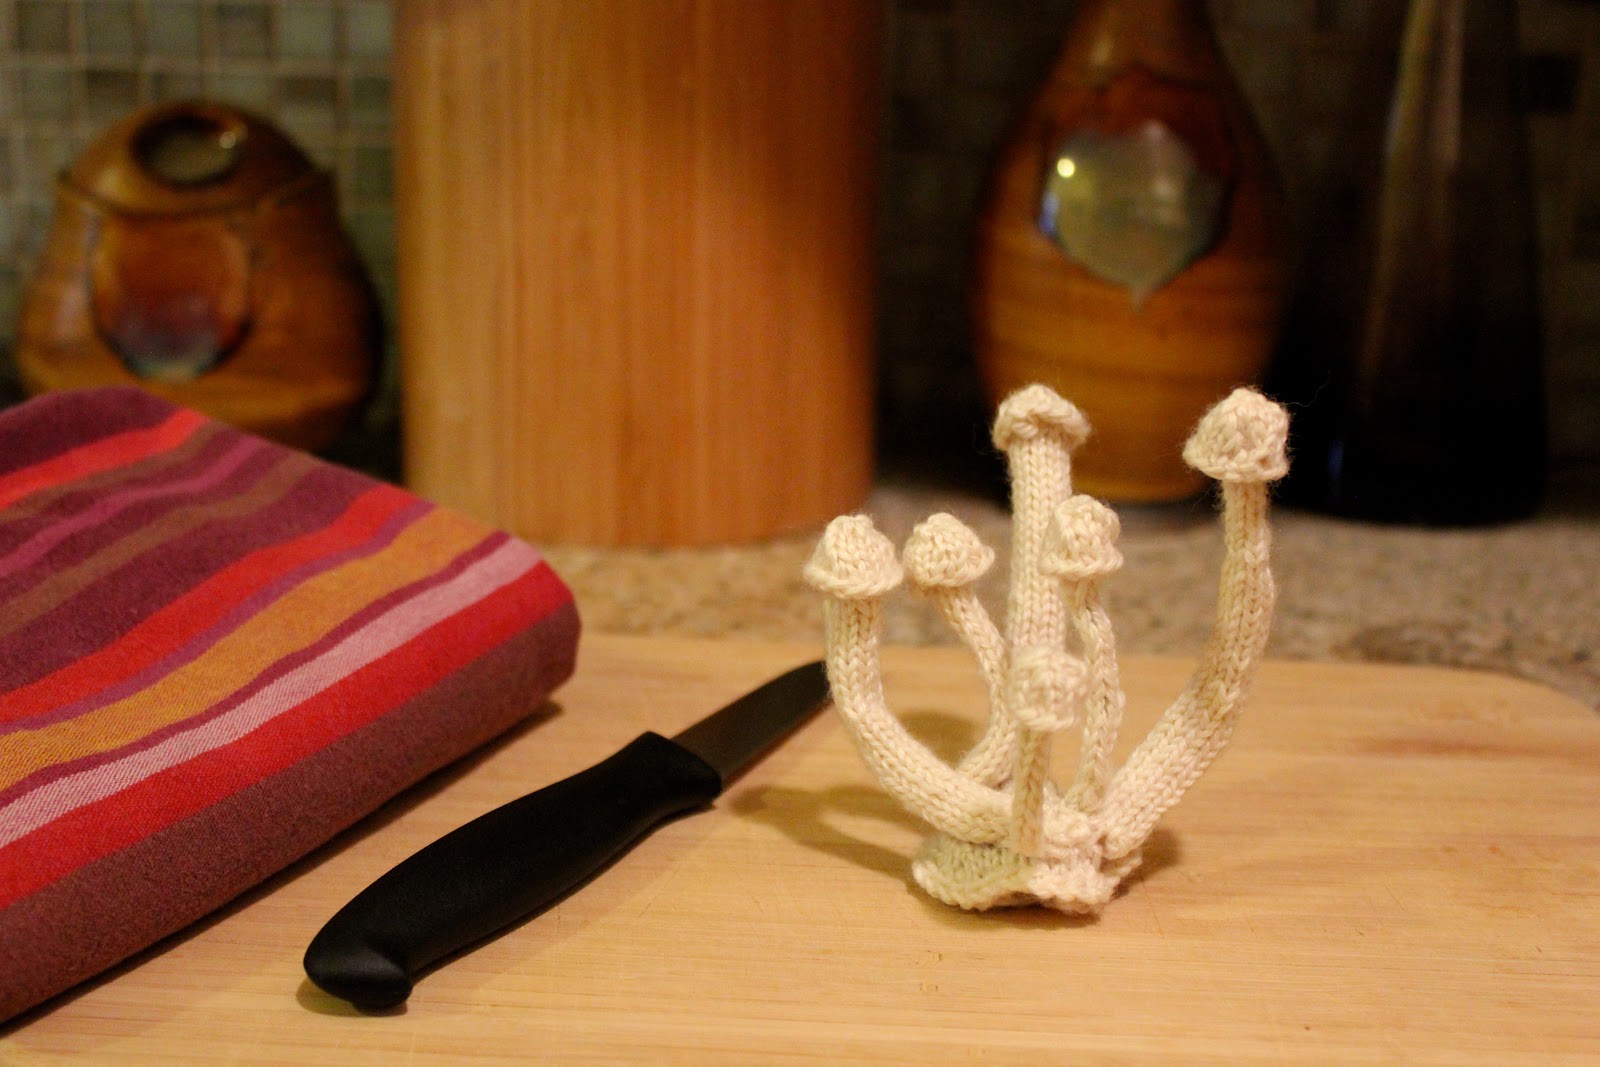
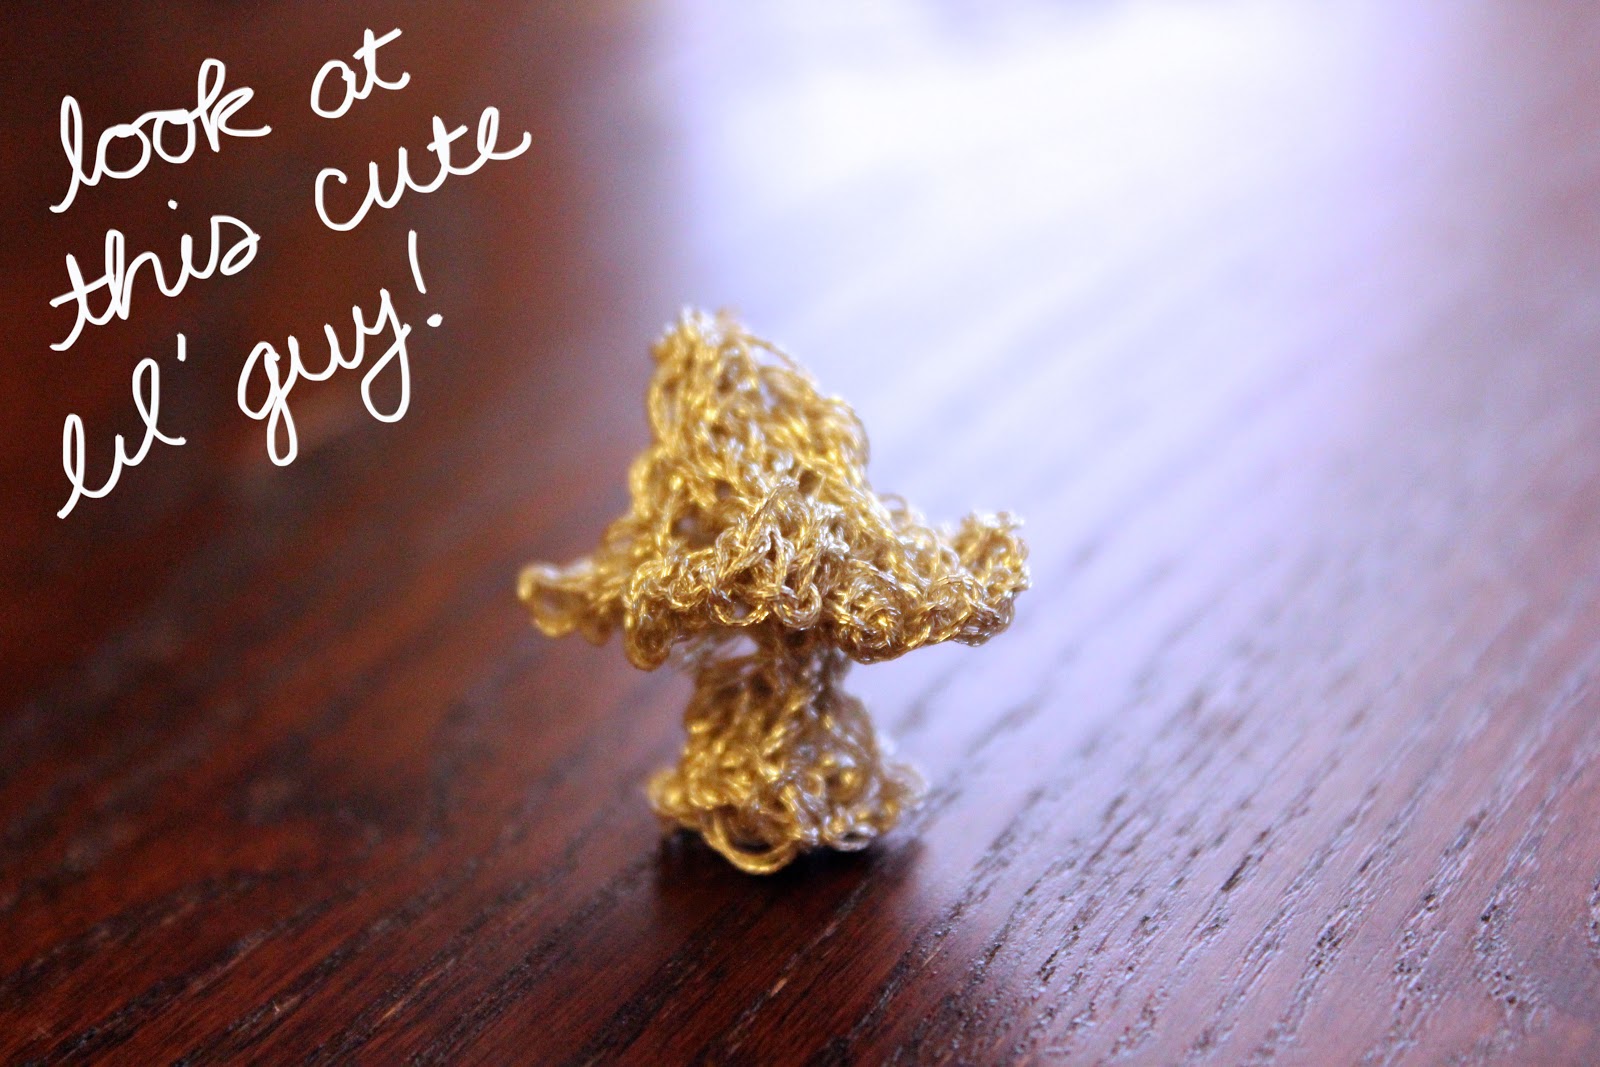
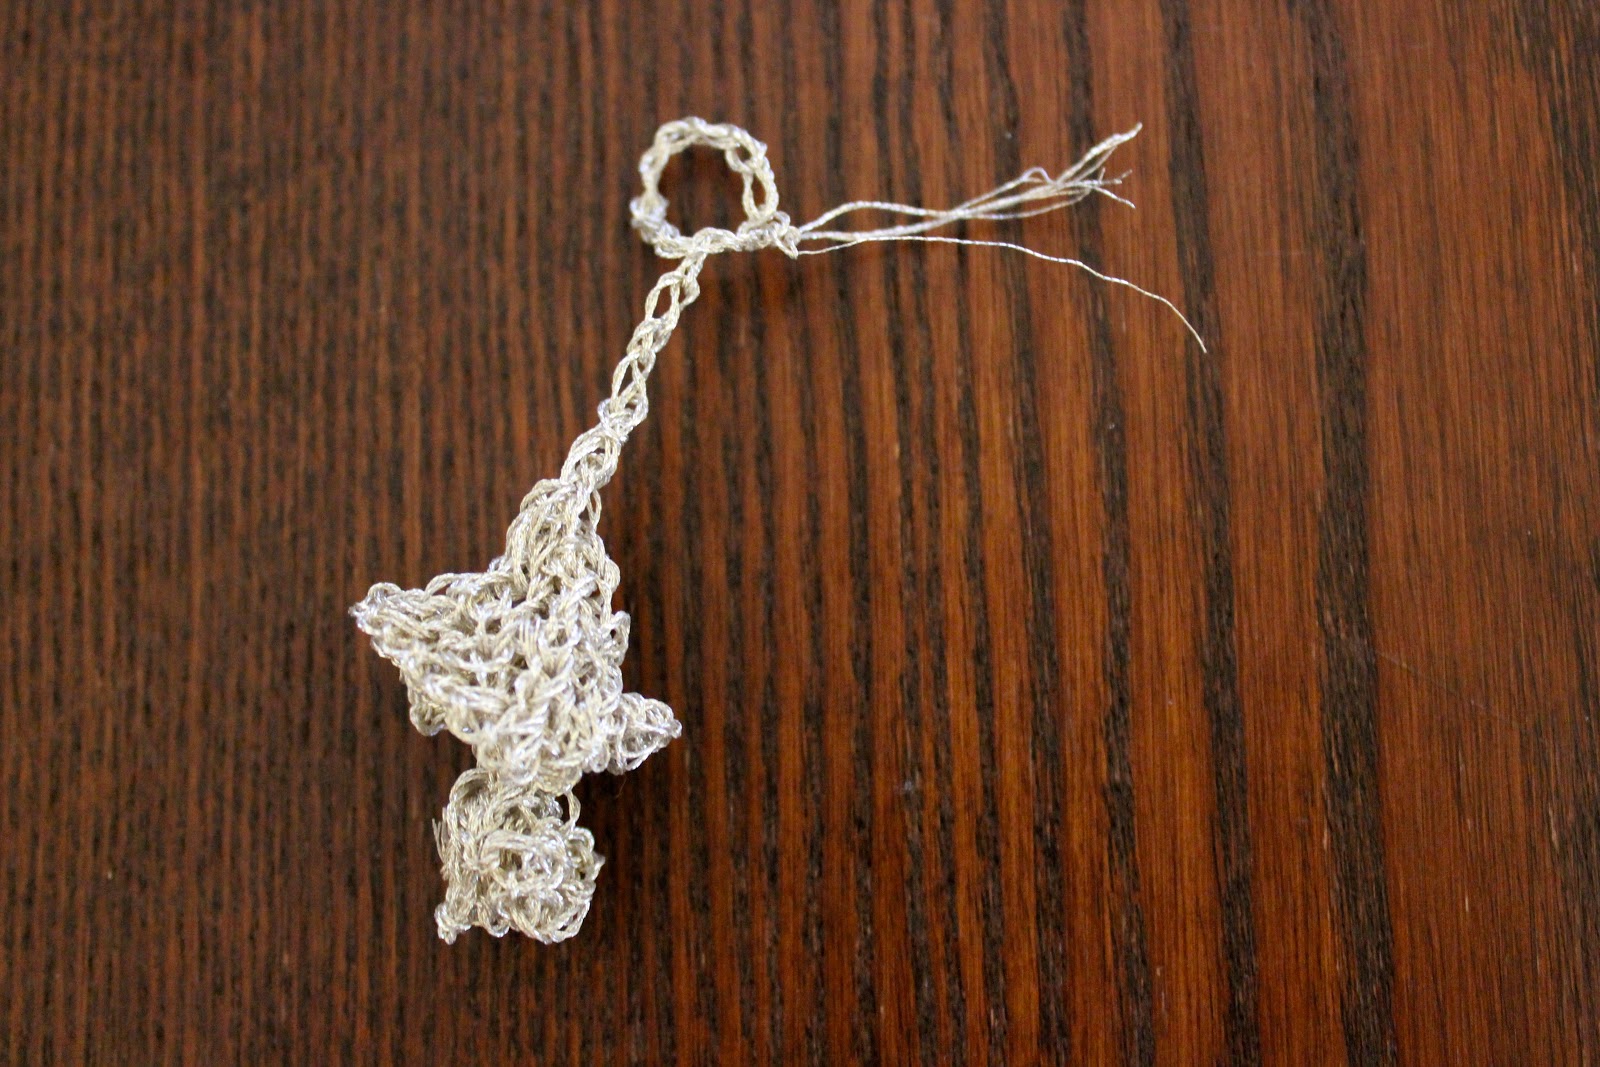
Making necklace pendants out of the mushrooms:
Make a slip knot and put it on the crochet hook. Make a single crochet stitch through the top of a mushroom and make a chain the length that you would like it to hang. Chain an additional 6 or 7 stitches and then make a single crochet stitch back through the top of your desired length. Cut thread and pull the end tight through the remaining stitch. Weave in the end. Do this with each of the mushrooms (however many you want to use) at varying lengths (or however you would like to wear them) and then thread the necklace chain through the little loop you made at the top of each crochet chain.